Advanced Provisioner
The Advanced Provisioner App is capable of providing an unprecedented level of access to device-specific features in one unified interface. Provision almost any device, regardless of make or manufacturer. This significantly reduces the operational expenditure of maintaining devices while still providing a high level of flexibility and excellent customer support.
2600Hz has also integrated provisioning within the SmartPBX application for more basic functions. This tool lets you go beyond simple device configuration by customizing the device to each user’s preference such as BLF.
Autoprovisioning – Selecting a Manufacturer and Device
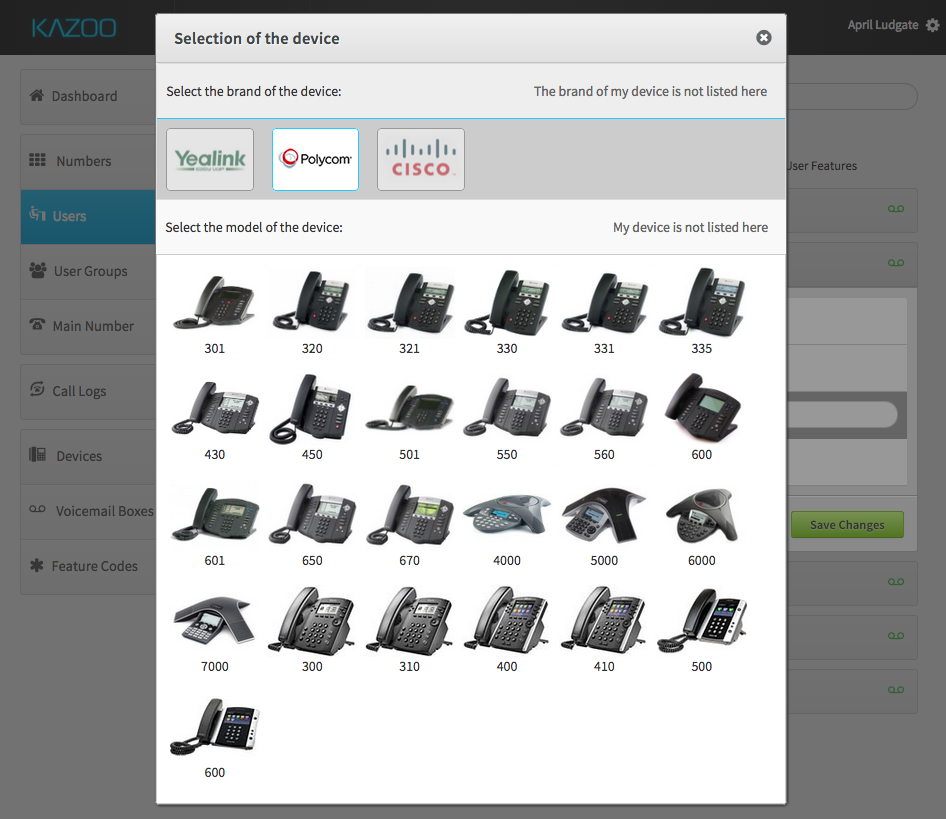
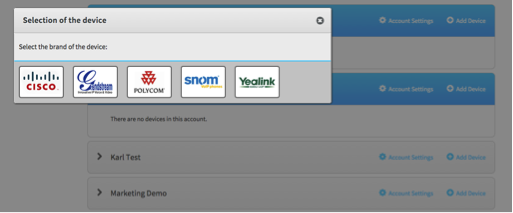
Autoprovisioning a device can be accomplished both in SmartPBX and within the Advanced Provisioner. Conveniently find the account you wish to add the device to in the main screen which lists all of your immediate sub-accounts. You can add devices by selecting the logo of the manufacturer. Once the manufacturer has been chosen, available model numbers along with a picture of the device will be displayed to provide easy identification.
To Provision a Device within the Advanced Provisioner
- Click on the "Add Device" button within the Advanced Provisioner Dashboard.
- Select the logo of the manufacturer for the device.
- Select the model, which will be displayed along with a picture for easy identification. If you do not see your manufacturer or model, you will need to manually provision your device.
- Enter the MAC address and create a name for your device. The MAC address is on the back of your SIP device.
Based on your device Manufacturer you’ll need to do one of two things:
- If you have purchased a supported device through a 2600Hz supplier, your device should be ready to use right away.
- Auto-Provision Devices using a non 2600Hz Supplier varies among manufacturers, so you need to go into the manufacturers website to auto-provision each device. To do this, turn on your SIP device and enter the IP Address into your web browser. Included in the link are the step-by-step instructions to auto-provision a 2600Hz-supported device based on the underlying manufacturer.
Managing a Device
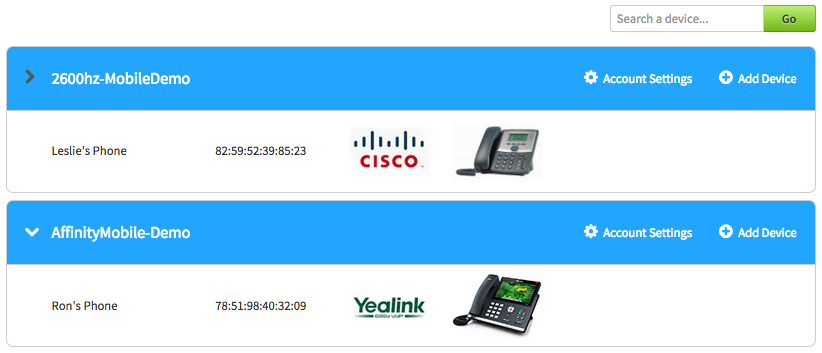
You can customize any device or simply remove it using the Advanced Provisioner. If the account is unknown, you can utilize the search box in the top right hand corner of the UI.
Customizing Provider Settings
Provide a convenient way to set configuration options, such as the SIP registrar or outbound proxies for all managed devices across all accounts. These settings can be overridden on each account or device when necessary.
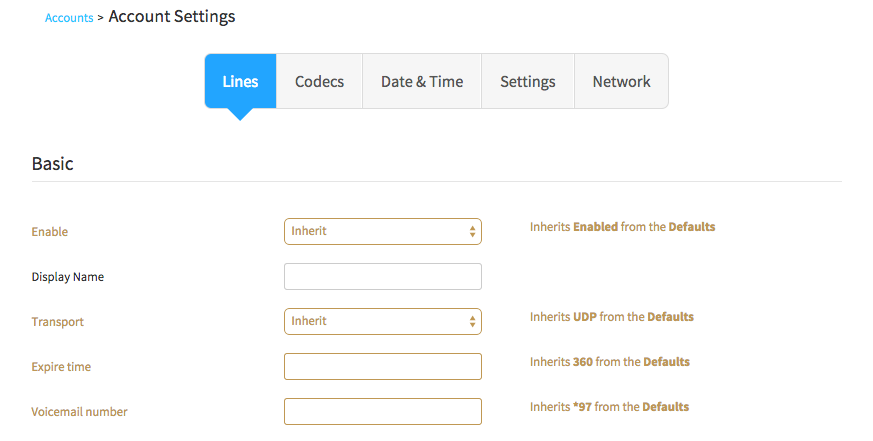
Customize Account Settings
Similar to Provider Settings, Account Settings apply to all devices of that account. You can configure the VLAN ID to the voice network of the deployment environment.
To Customize Account Settings:
- Click on the "Account Settings" button within the specific user of the Advanced Provisioner Dashboard.
- From there, you can provide settings for Lines, Codecs, Time, Admin and Network Configuration.
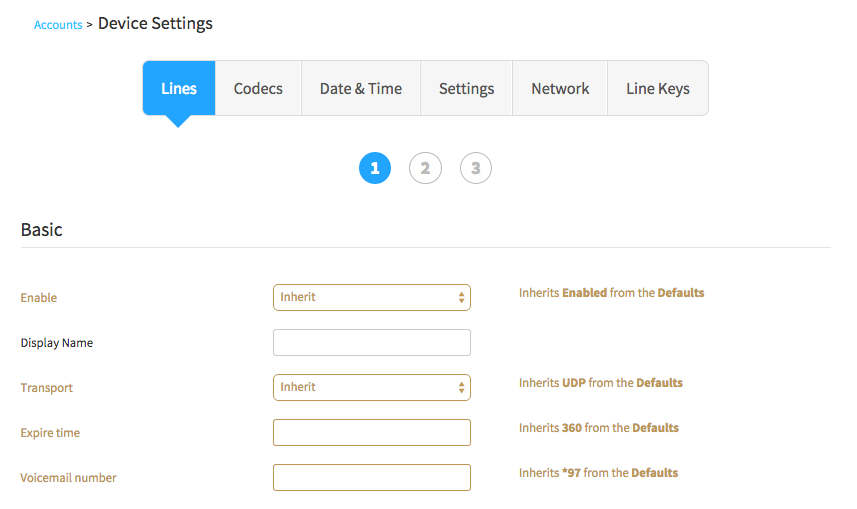
Customize Device Settings
Depending on the model of the device, settings may slightly differ. However, the basic settings will be available on all devices and provide the ability to configure basic service. Some devices may have multiple lines or extra keys (suchas BLF).
To Customize Device Settings:
- Click on the device of the specific user within the Advanced Provisioner Dashboard.
- After clicking on the device, select "Configure."
- From there, you can provide settings for Lines, Audio Codecs, Time, Dialplan, Admin and Network Configuration.