Search the Community
Showing results for tags 'sms to email'.
-
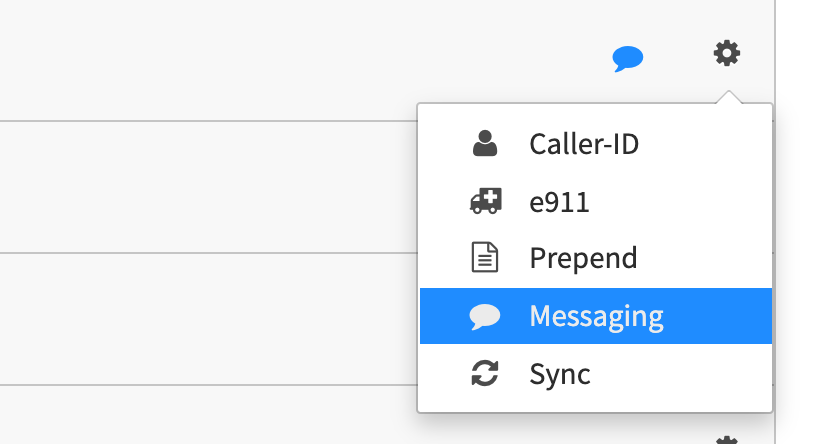
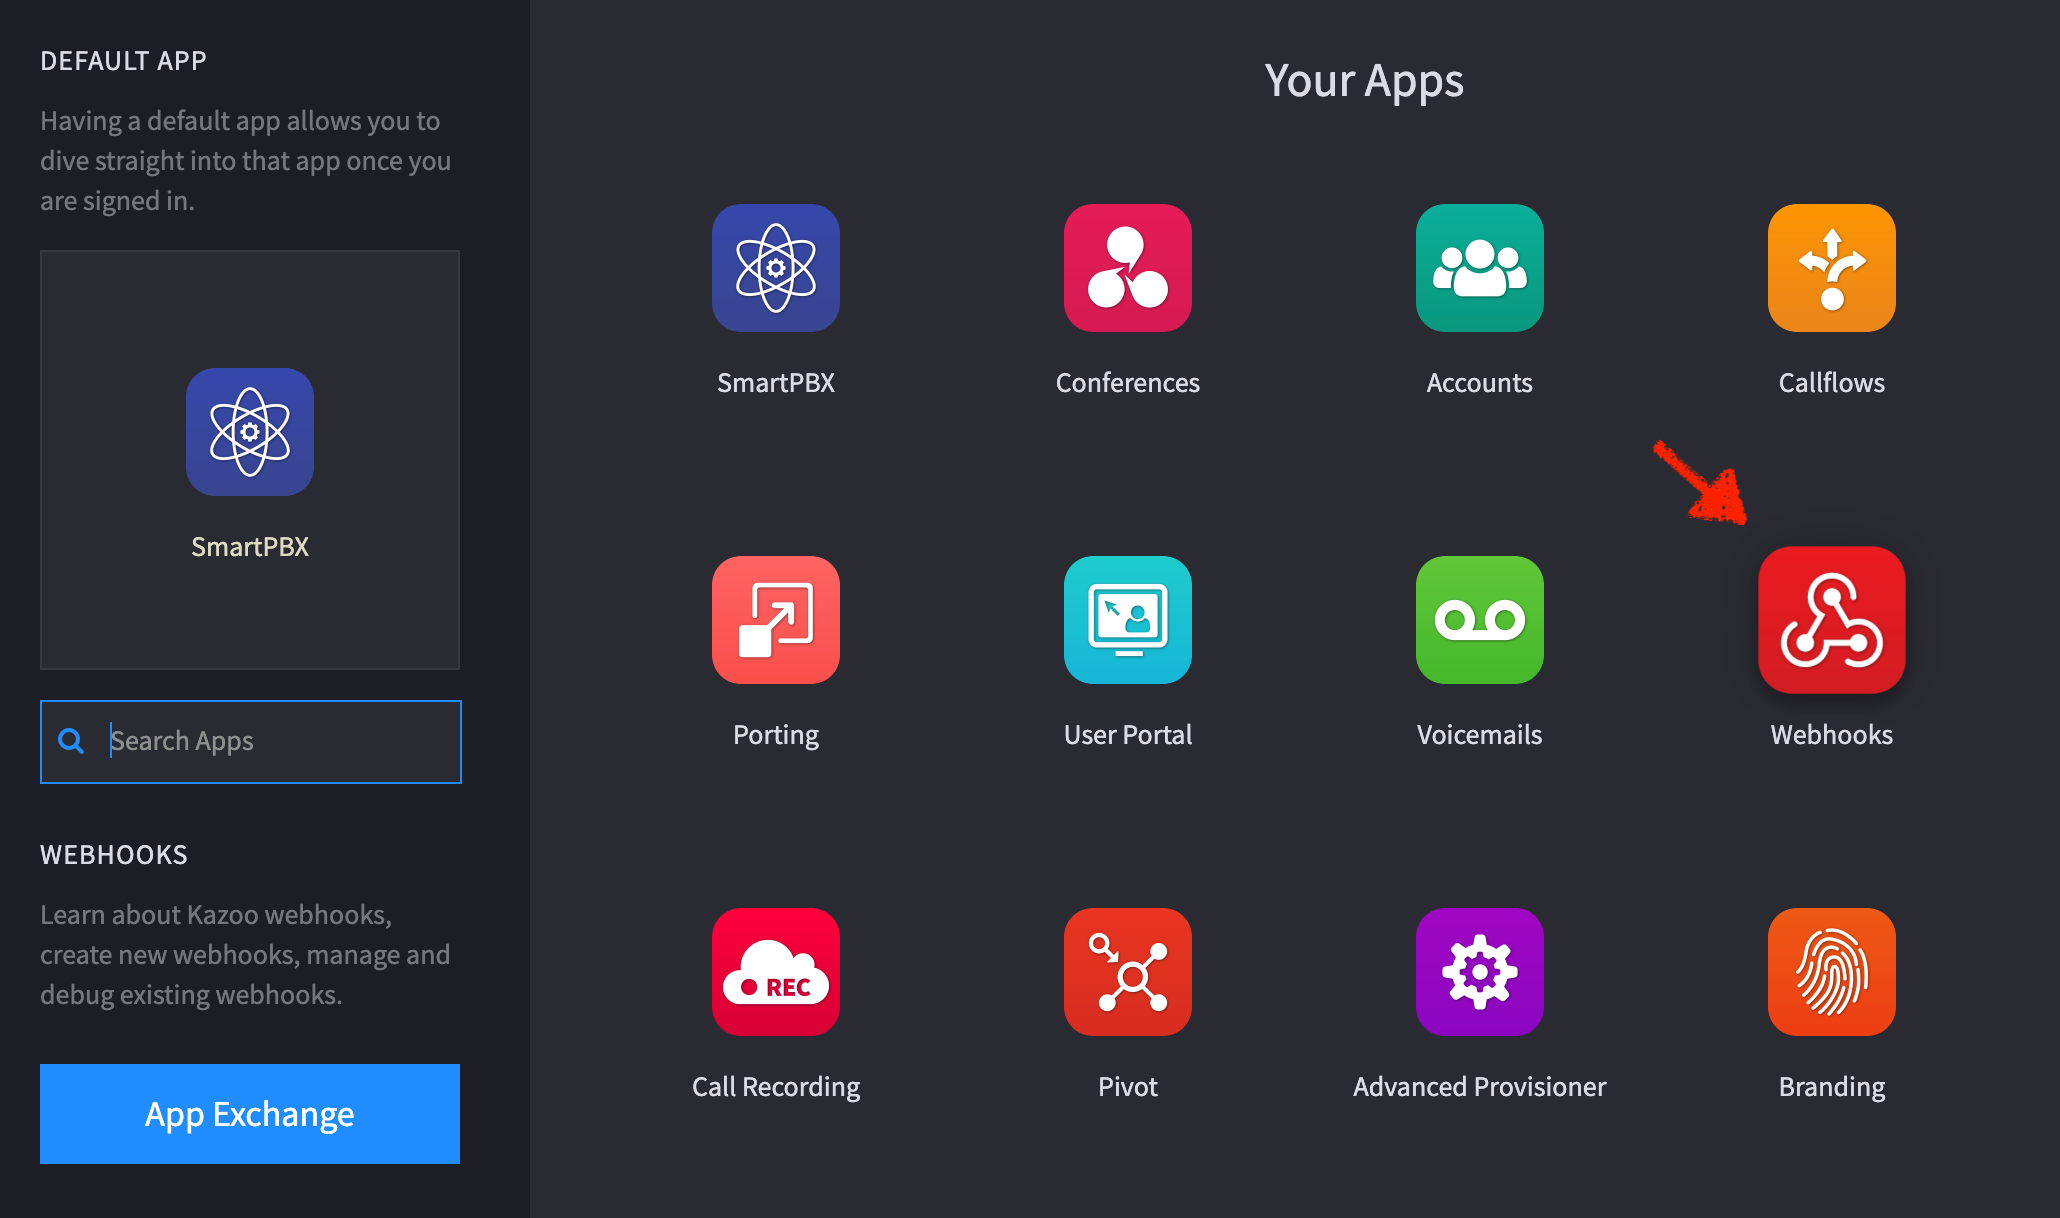
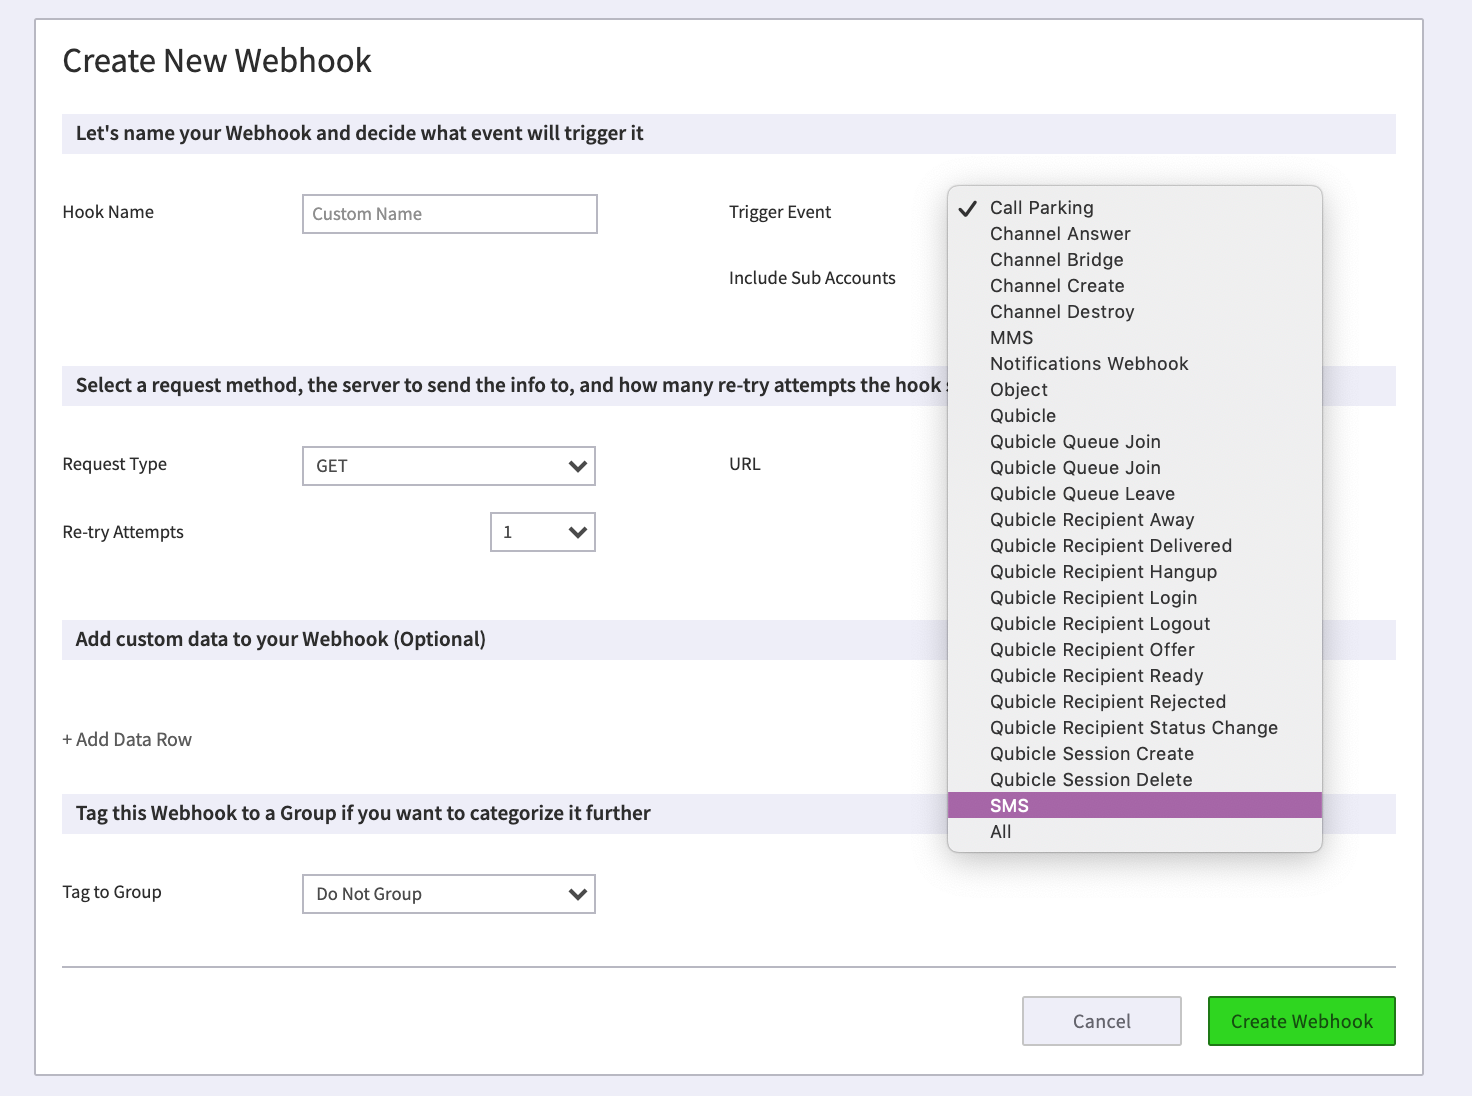
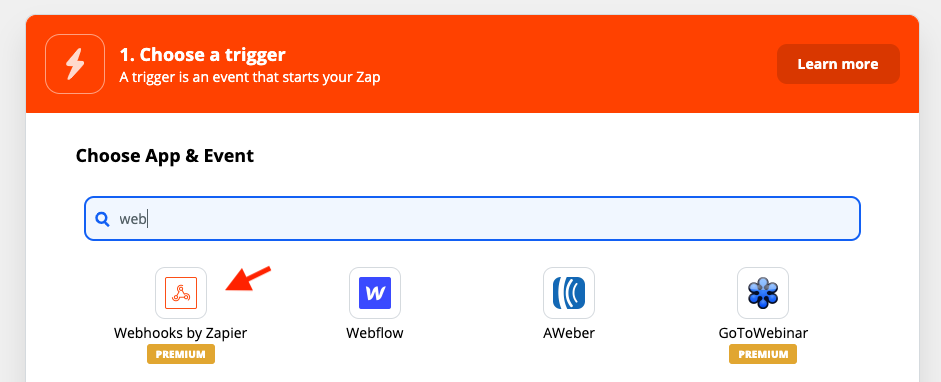
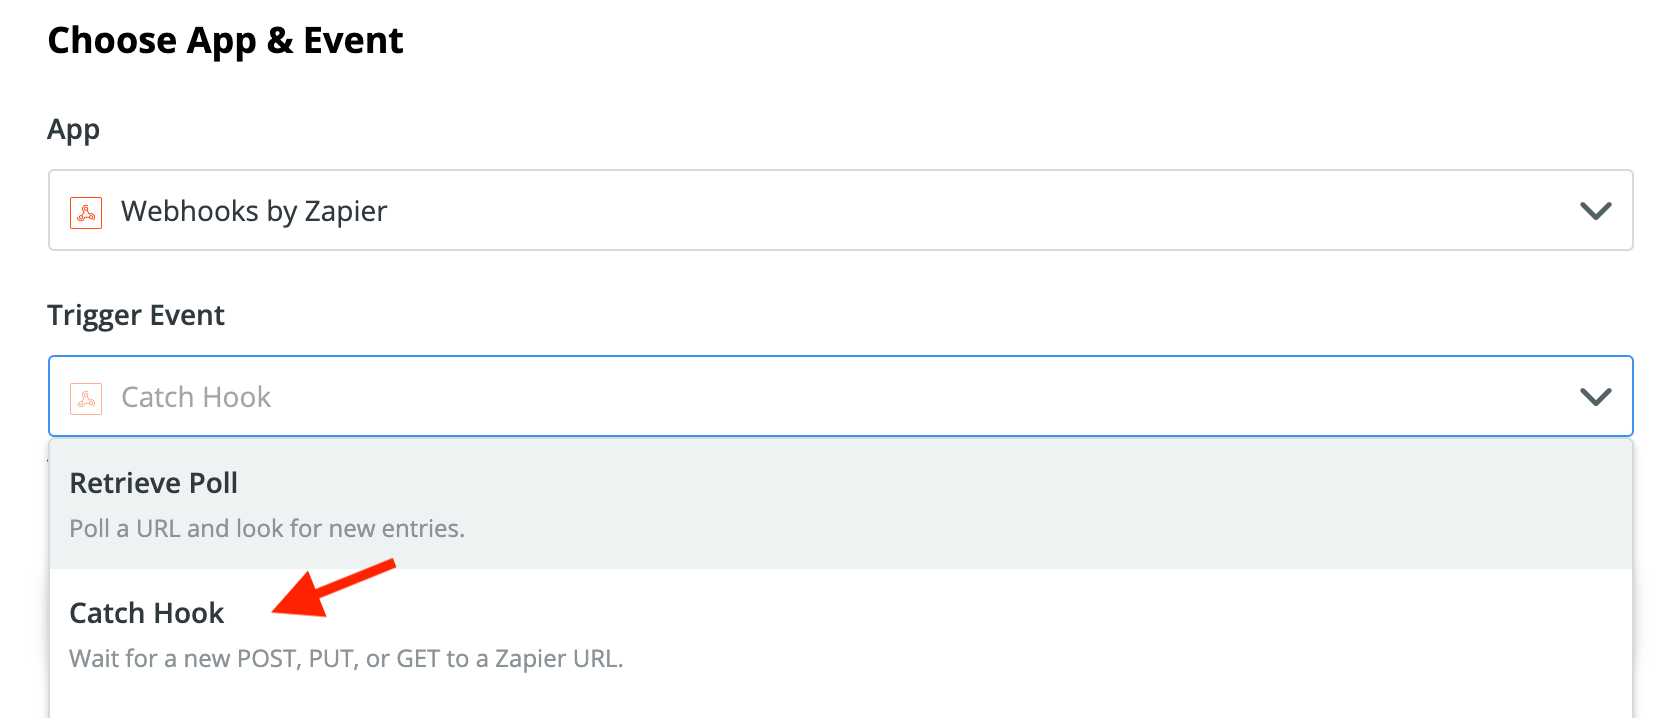
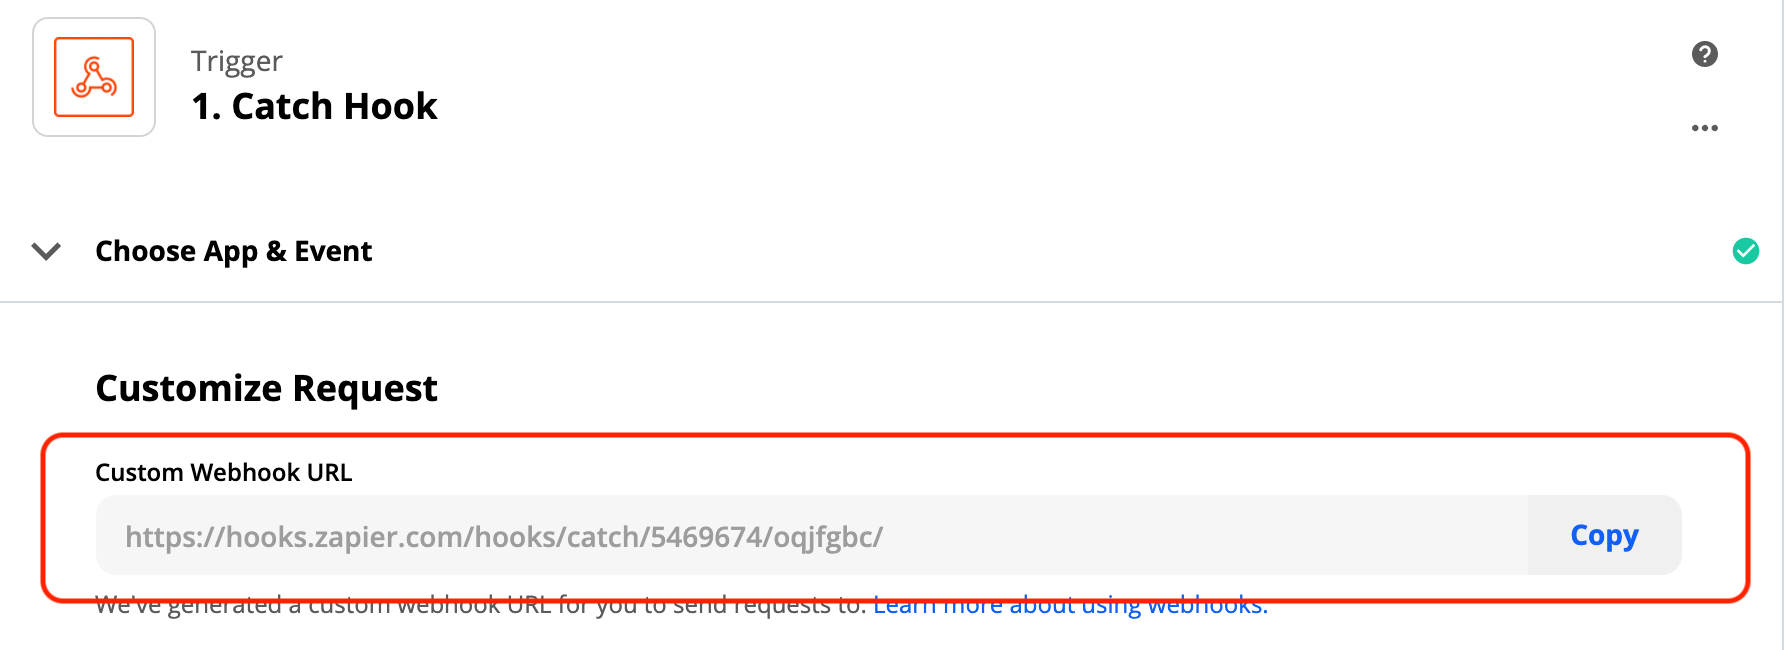
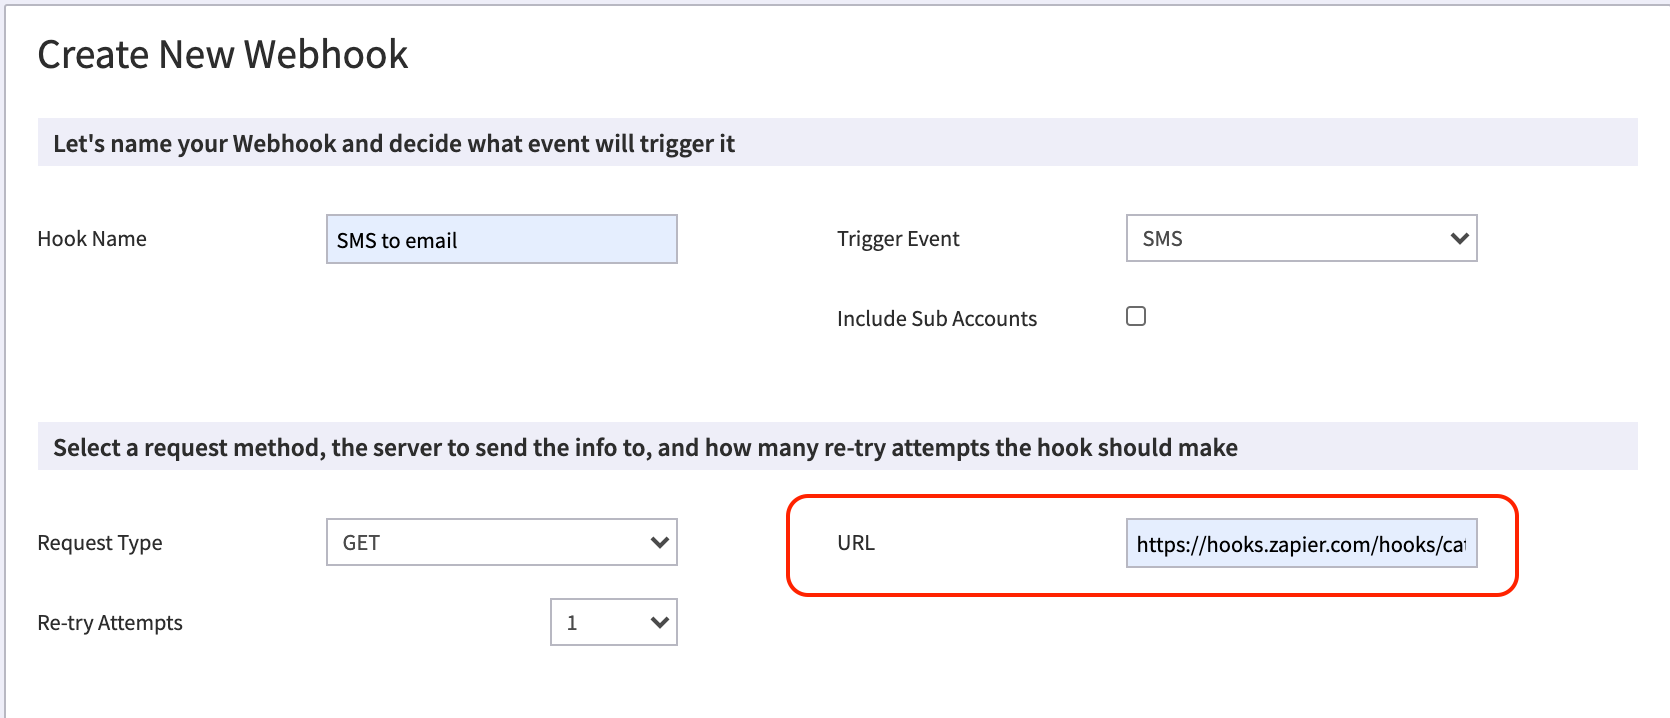
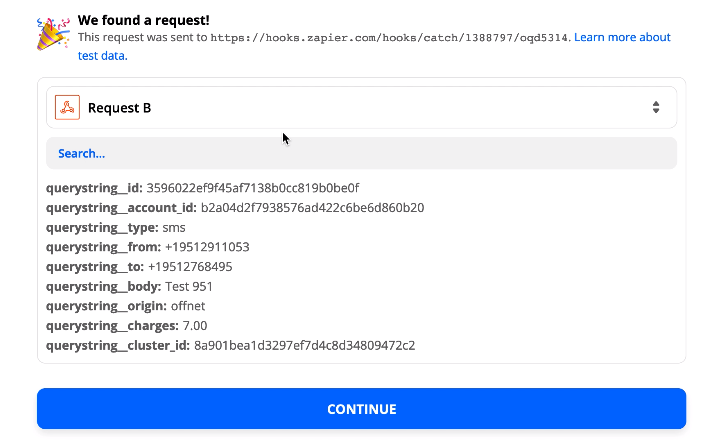
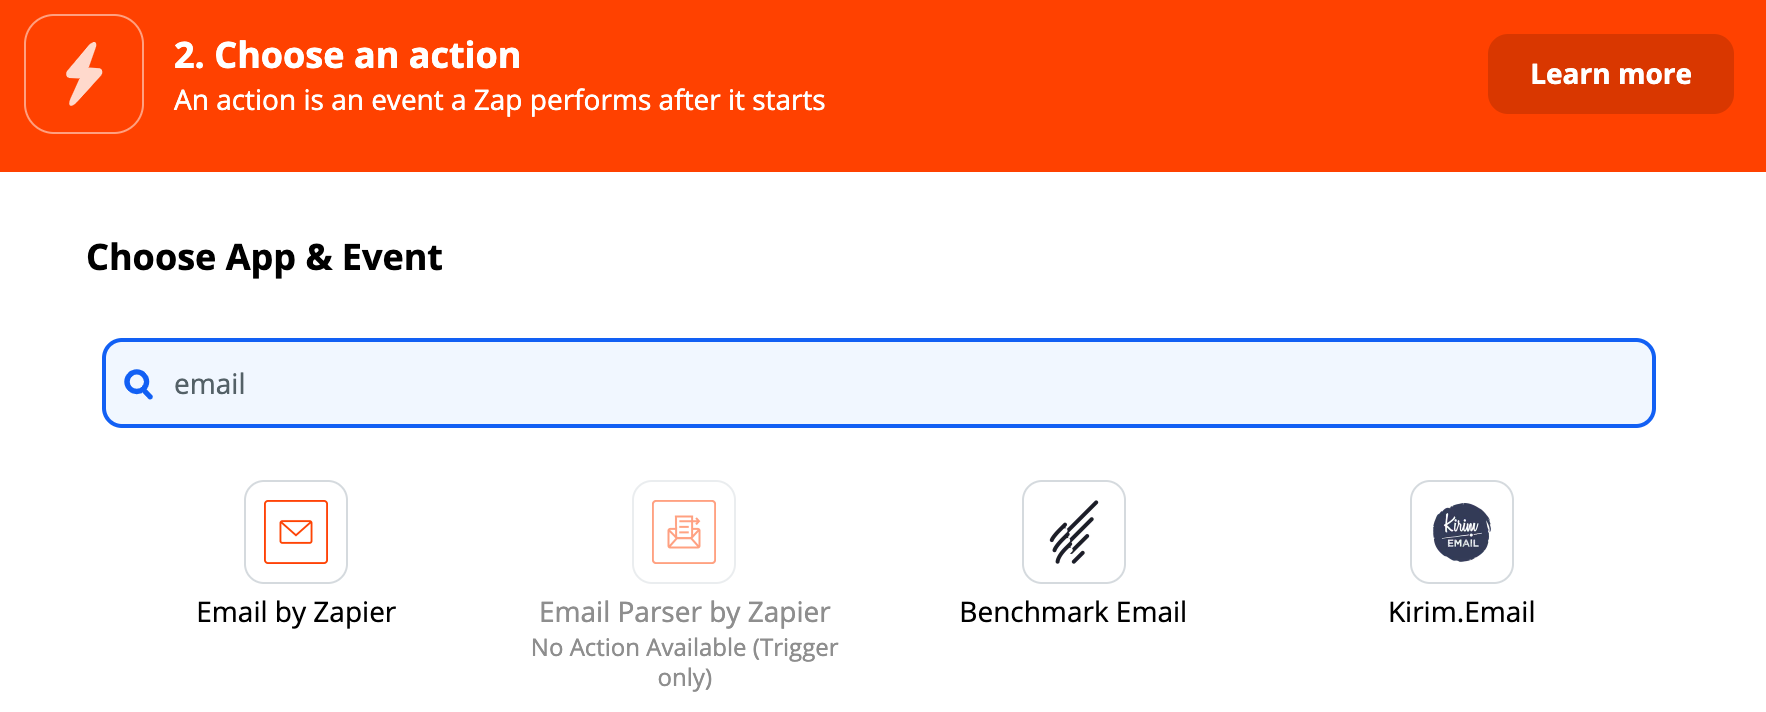
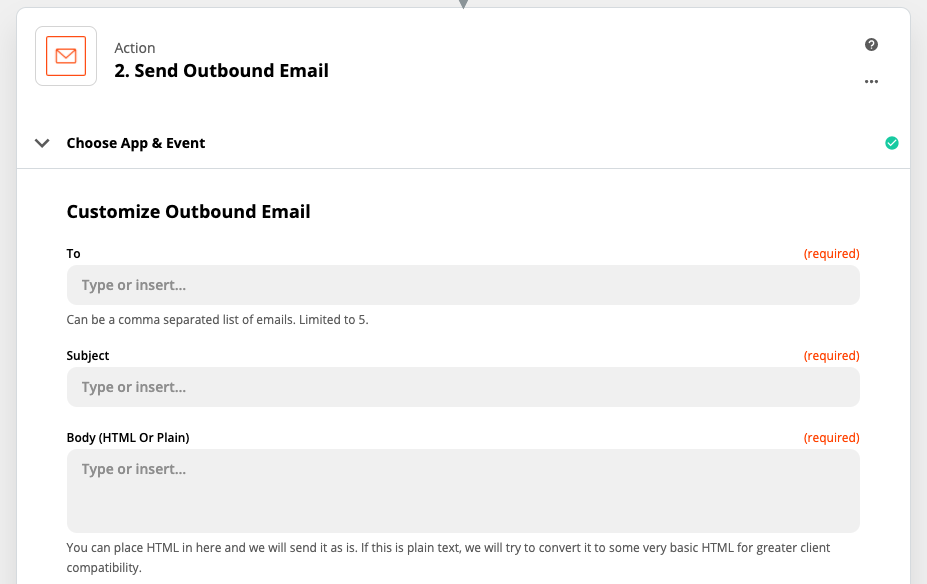
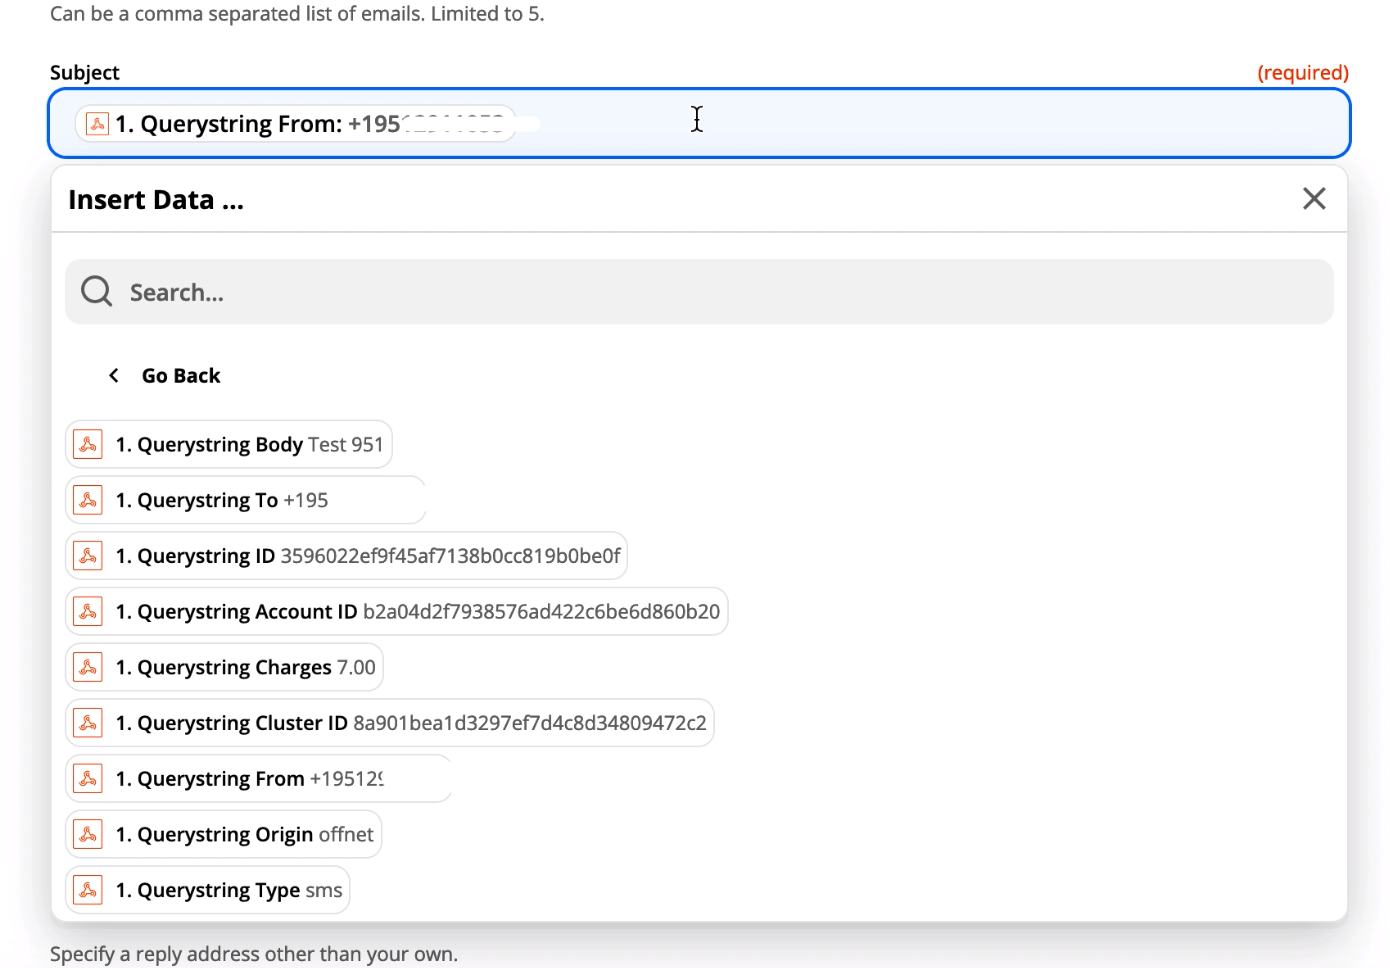
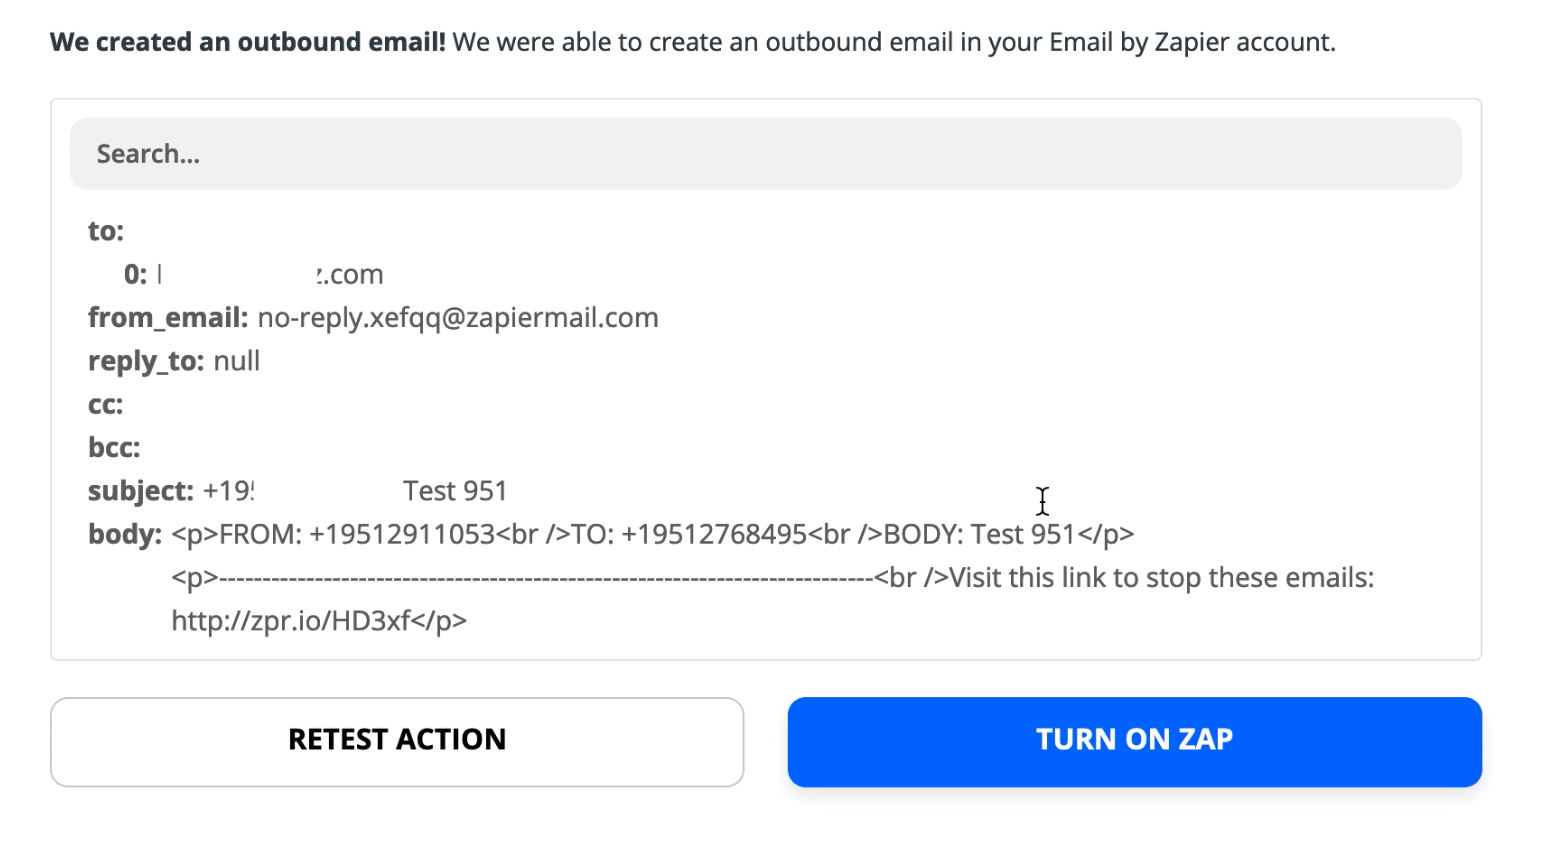
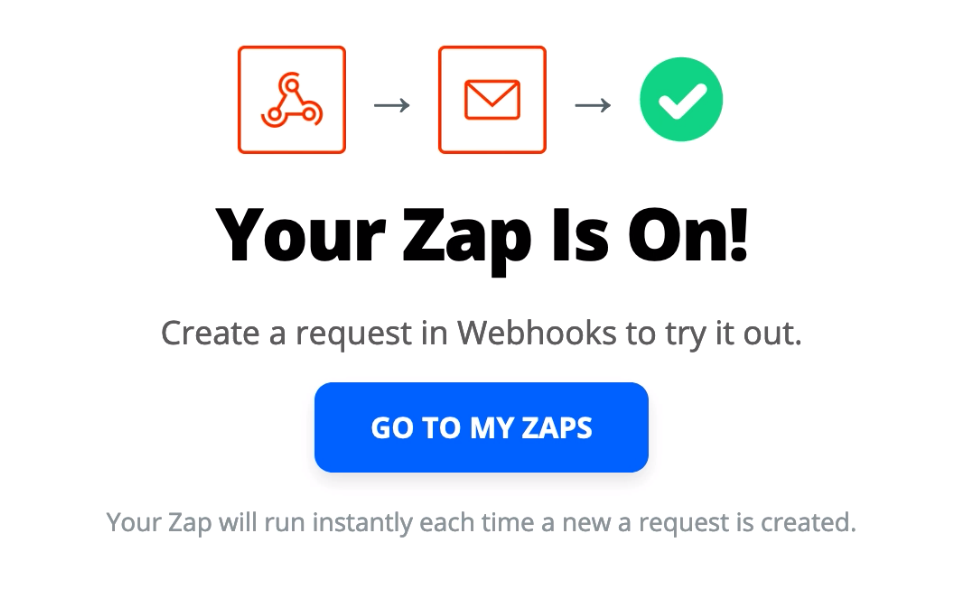
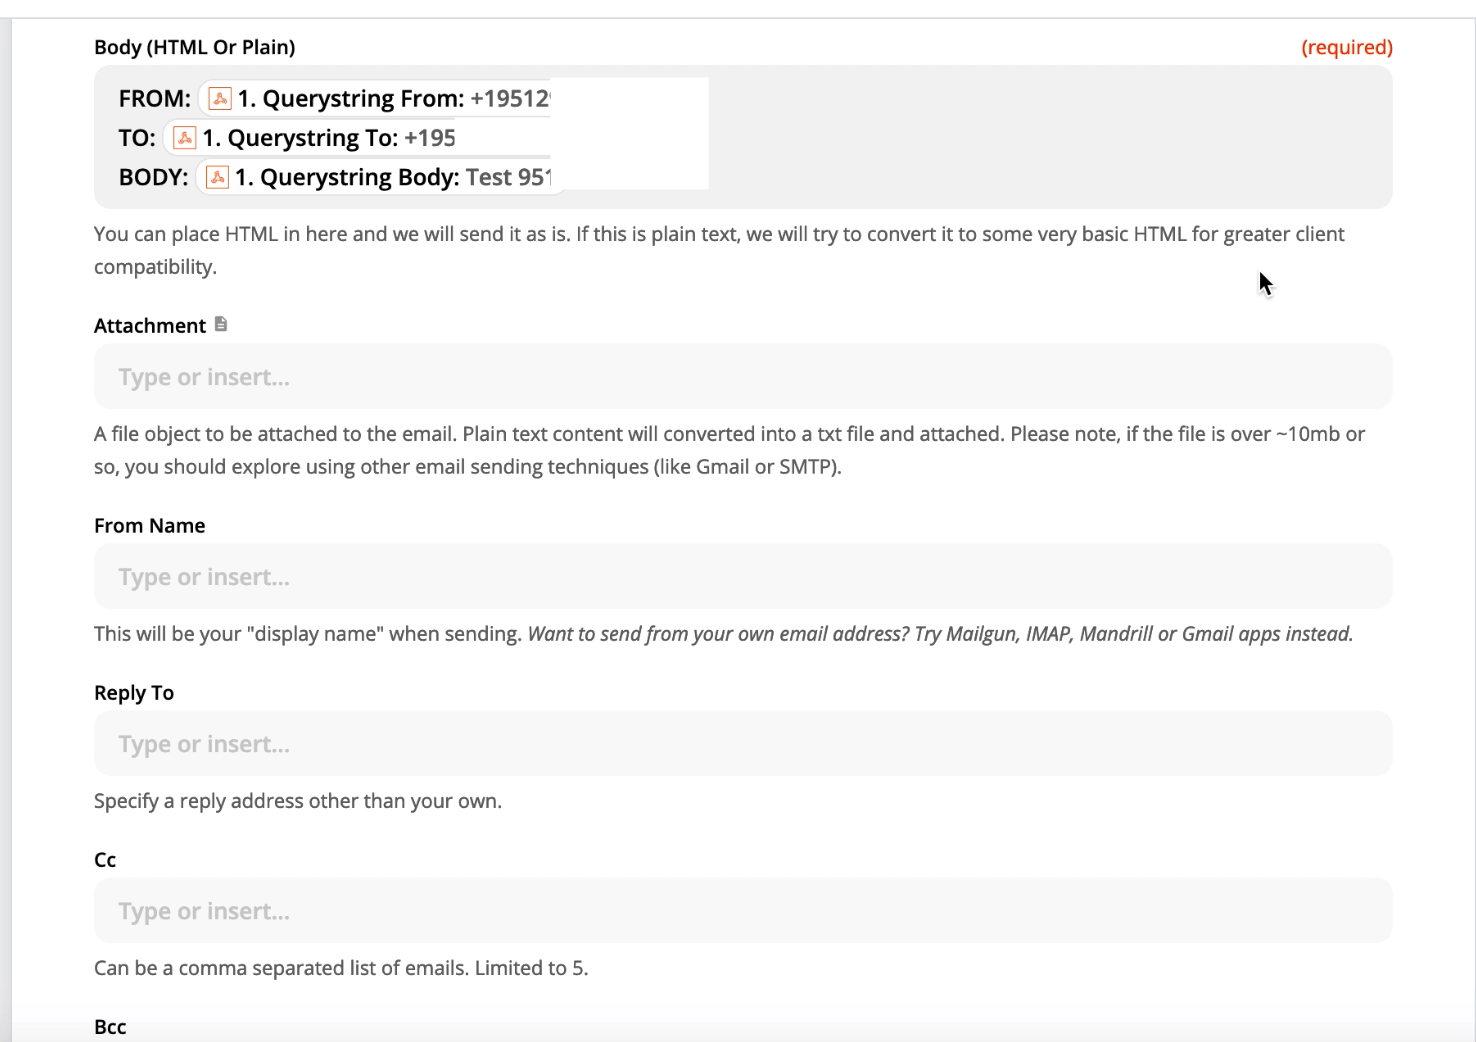
What is this? While KAZOO does not yet support SMS messages directly to your account, there is a solution that coverts incoming SMS messages to a user’s email. This is available using zaps, an application connection tool developed by Zapier, and KAZOO’s Webhooks application. NOTES: This process is using Zapier tools that were available in late 2020. The Zapier “zaps” and user interface steps may change without our knowledge. This outlines steps to convert incoming texts only to an email in your account. Outgoing text to email is a more involved process with multiple Zap configurations. Before you start Make sure your numbers have SMS enabled. Go to SmartPBX and select the Numbers tab Find your number and look for the SMS icon. If not displaying select settings gear, drop down SMS and enable NOTE: Enabling SMS will incur additional charges to your account. Make sure you confirm with your administrator this is approved. Set up a Zapier Account Go to www.zapier.com and create a Zapier account Keep your credentials handy! Add a Webhook for Zapier to connect with Open the Webhooks Application from your KAZOO dashboard, . If it is not displayed under your Apps, you may need to enable it from the App Exchange. Ask an adMinistrator to help with this. If this is your first Webhook, your screen will look like this. Select New Webhook. Assign a Name and a Trigger Add a Hook name you will recognize. Select SMS as your Trigger Event. Enter GET as your request type. The next step is to set up your zaplet in Zapier. Log in to your Zapier account In a new window Select “Make a Zap” Choose Webhooks by Zapier as your trigger. Select “Catch Hook” as your Trigger Event Click on ContinueThis will generate a Custom Webhook URL to paste into the KAZOO Webhooks application. Select Copy to copy the URL Return to the KAZOO Webhooks window and paste the URL into the field shown below. Select the green Create Webhook button at the bottom of the page. The Webhooks app should then display your webhook in its list, and should also show it toggled on. NOTE: The icons to the right of the toggle allow you to Edit the settings View your webhook request log - a list of attempts on the webhook. (this is useful for debugging). Delete your webhook Return to Zapier to Test your Webhook Once you have your URL saved in the KAZOO webhooks side, return to the Zapier window and select Continue Send a text message to your newly configured KAZOO SMA number Look for a confirmation in Zapier something like below Next, define an ACTION that you want Zapier to take once it has found the hook. You can choose any of the actions Zapier provides; for this email example however, choose email, and select “Send an Outbound email.” Here you can enter the email you want to send it to, and also a variety of other default fields. In each field add a data source from the drop down menu that was captured during your test. If you skipped that test, you will not see options If your test worked properly you can add any field, or more than one field if you separate them by a colon. Below is an example showing the from: , to: and subject: field applied And an example showing fields filled in: Once you have filled in all the fields you want, select Test & Continue at the bottom of the page.You should see a sample email generated based on your entries. If all looks correct, select Turn on ZAP. Make a final test from a phone to SMS phone numberNOTE: Make sure your JUNK mail filter will recognize your “From:” entry in your zaplet!If you don’t see an email in your inbox, check your Junk mail filter. View full File
- 5 replies
-
- sms to email
- zapier
-
(and 1 more)
Tagged with:


