


User Story
- Once an account has been set up, an administrator wants to make some edits to the global account settings.
- Once an account has been set up, users want to personalize their experience with local time, date, language, and other settings.
Before You Start The first step to setting up your account is to use the Account Manager Wizard application. This is often done by your administrator. A user guide for that process is HERE.
Before reviewing and making edits, confirm with your administrator these global settings have been set to match the account strategy. This includes strategies for:
- Custom branding and DNS paths if desired.
- Settings for localizing the UI and system prompts to an alternate language if desired.
Your Control Center Dashboard

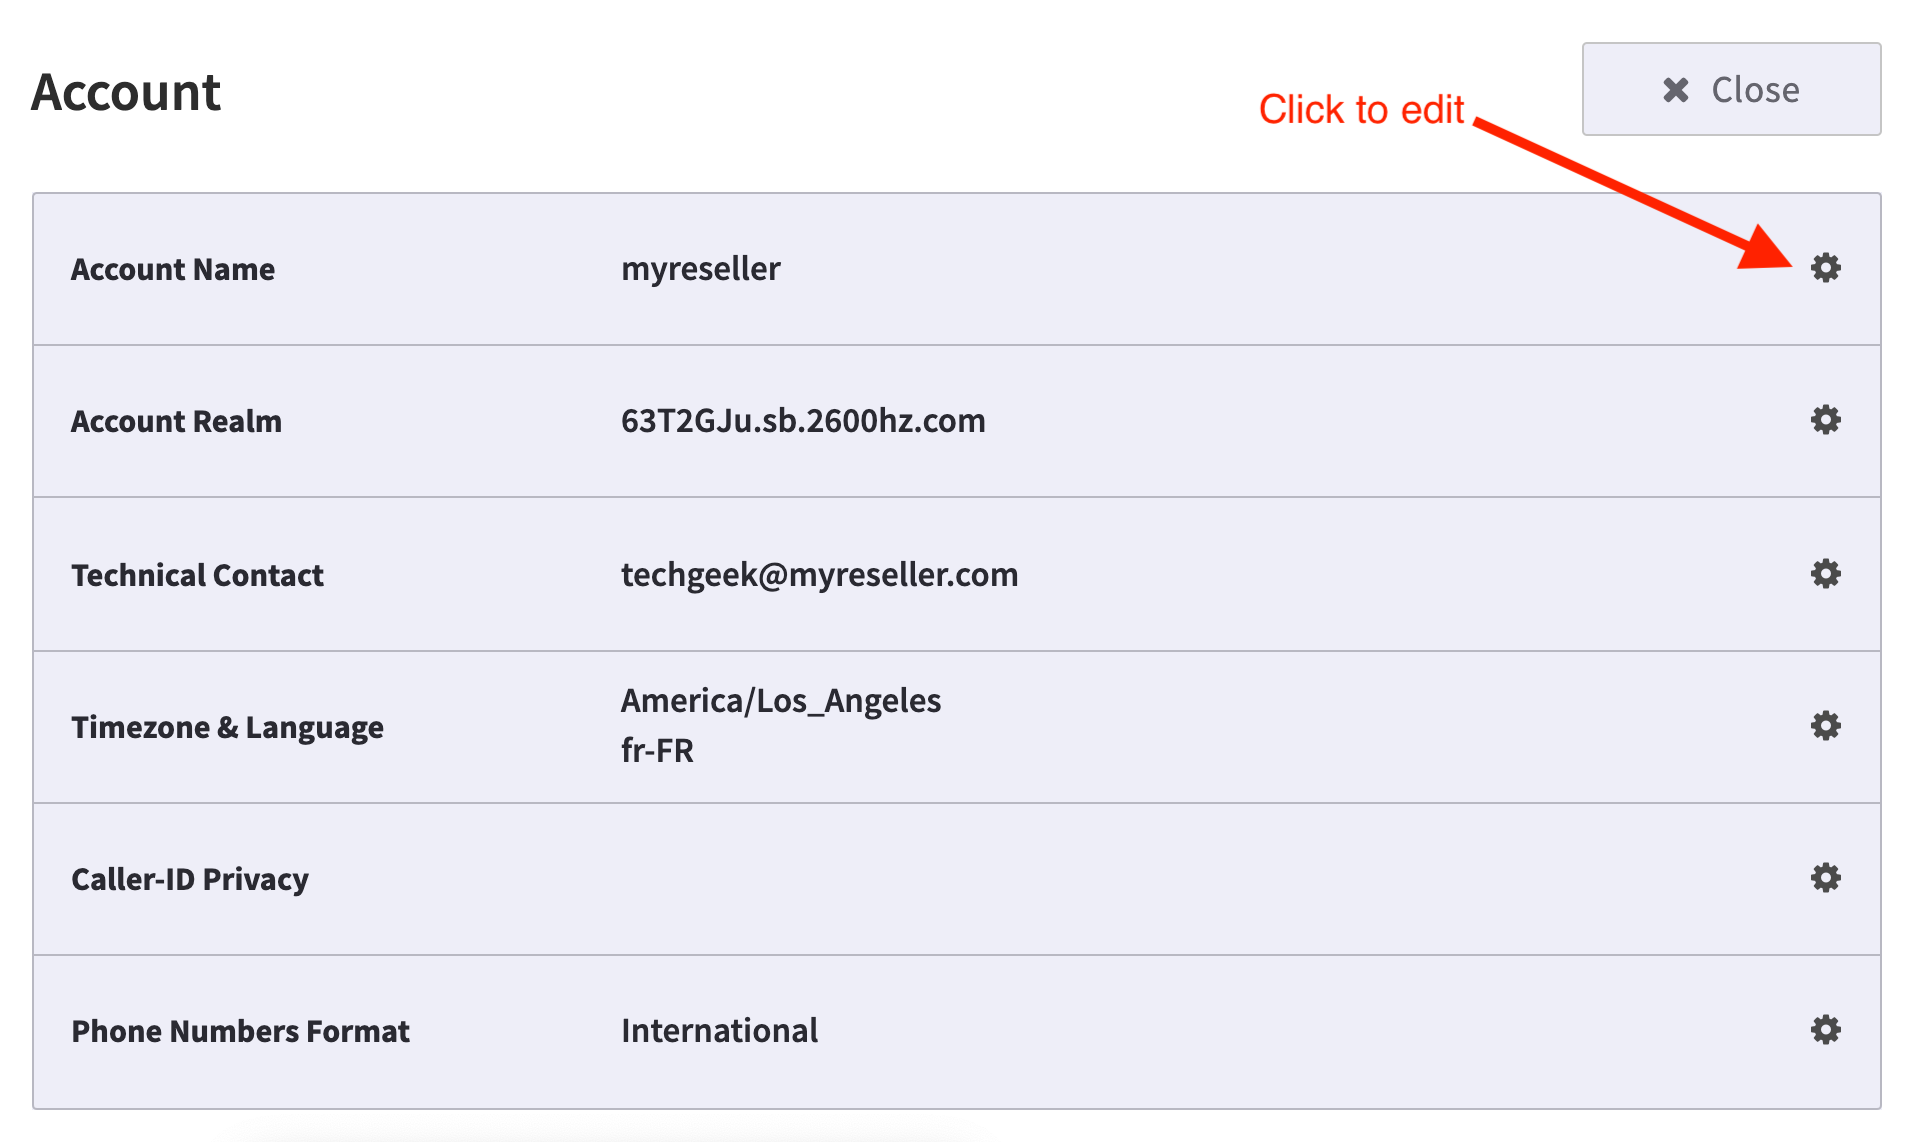
Once your account is created and you are given a green flag to review and edit your own settings, log in and select the Account Name at the top right of your window.
You will see the screen below:
Settings
If you are an administrator you will have access to editing both the User settings and the Account settings from this screen.
User Settings:
Are your user preferences for your personal interface with applications such as SmartPBX and Callflows, etc. By default you will inherit the Account (Global) settings; here you can customize it to match your location and personal preferences. This is helpful if you are in a different timezone from your home account, and/or your native language is different than the home account language.’
Account Settings:
These settings define some of the defaults for your global account.
NOTE: If you are an administrator and “masquerading” in an account you will not see the User Settings option in your menu.

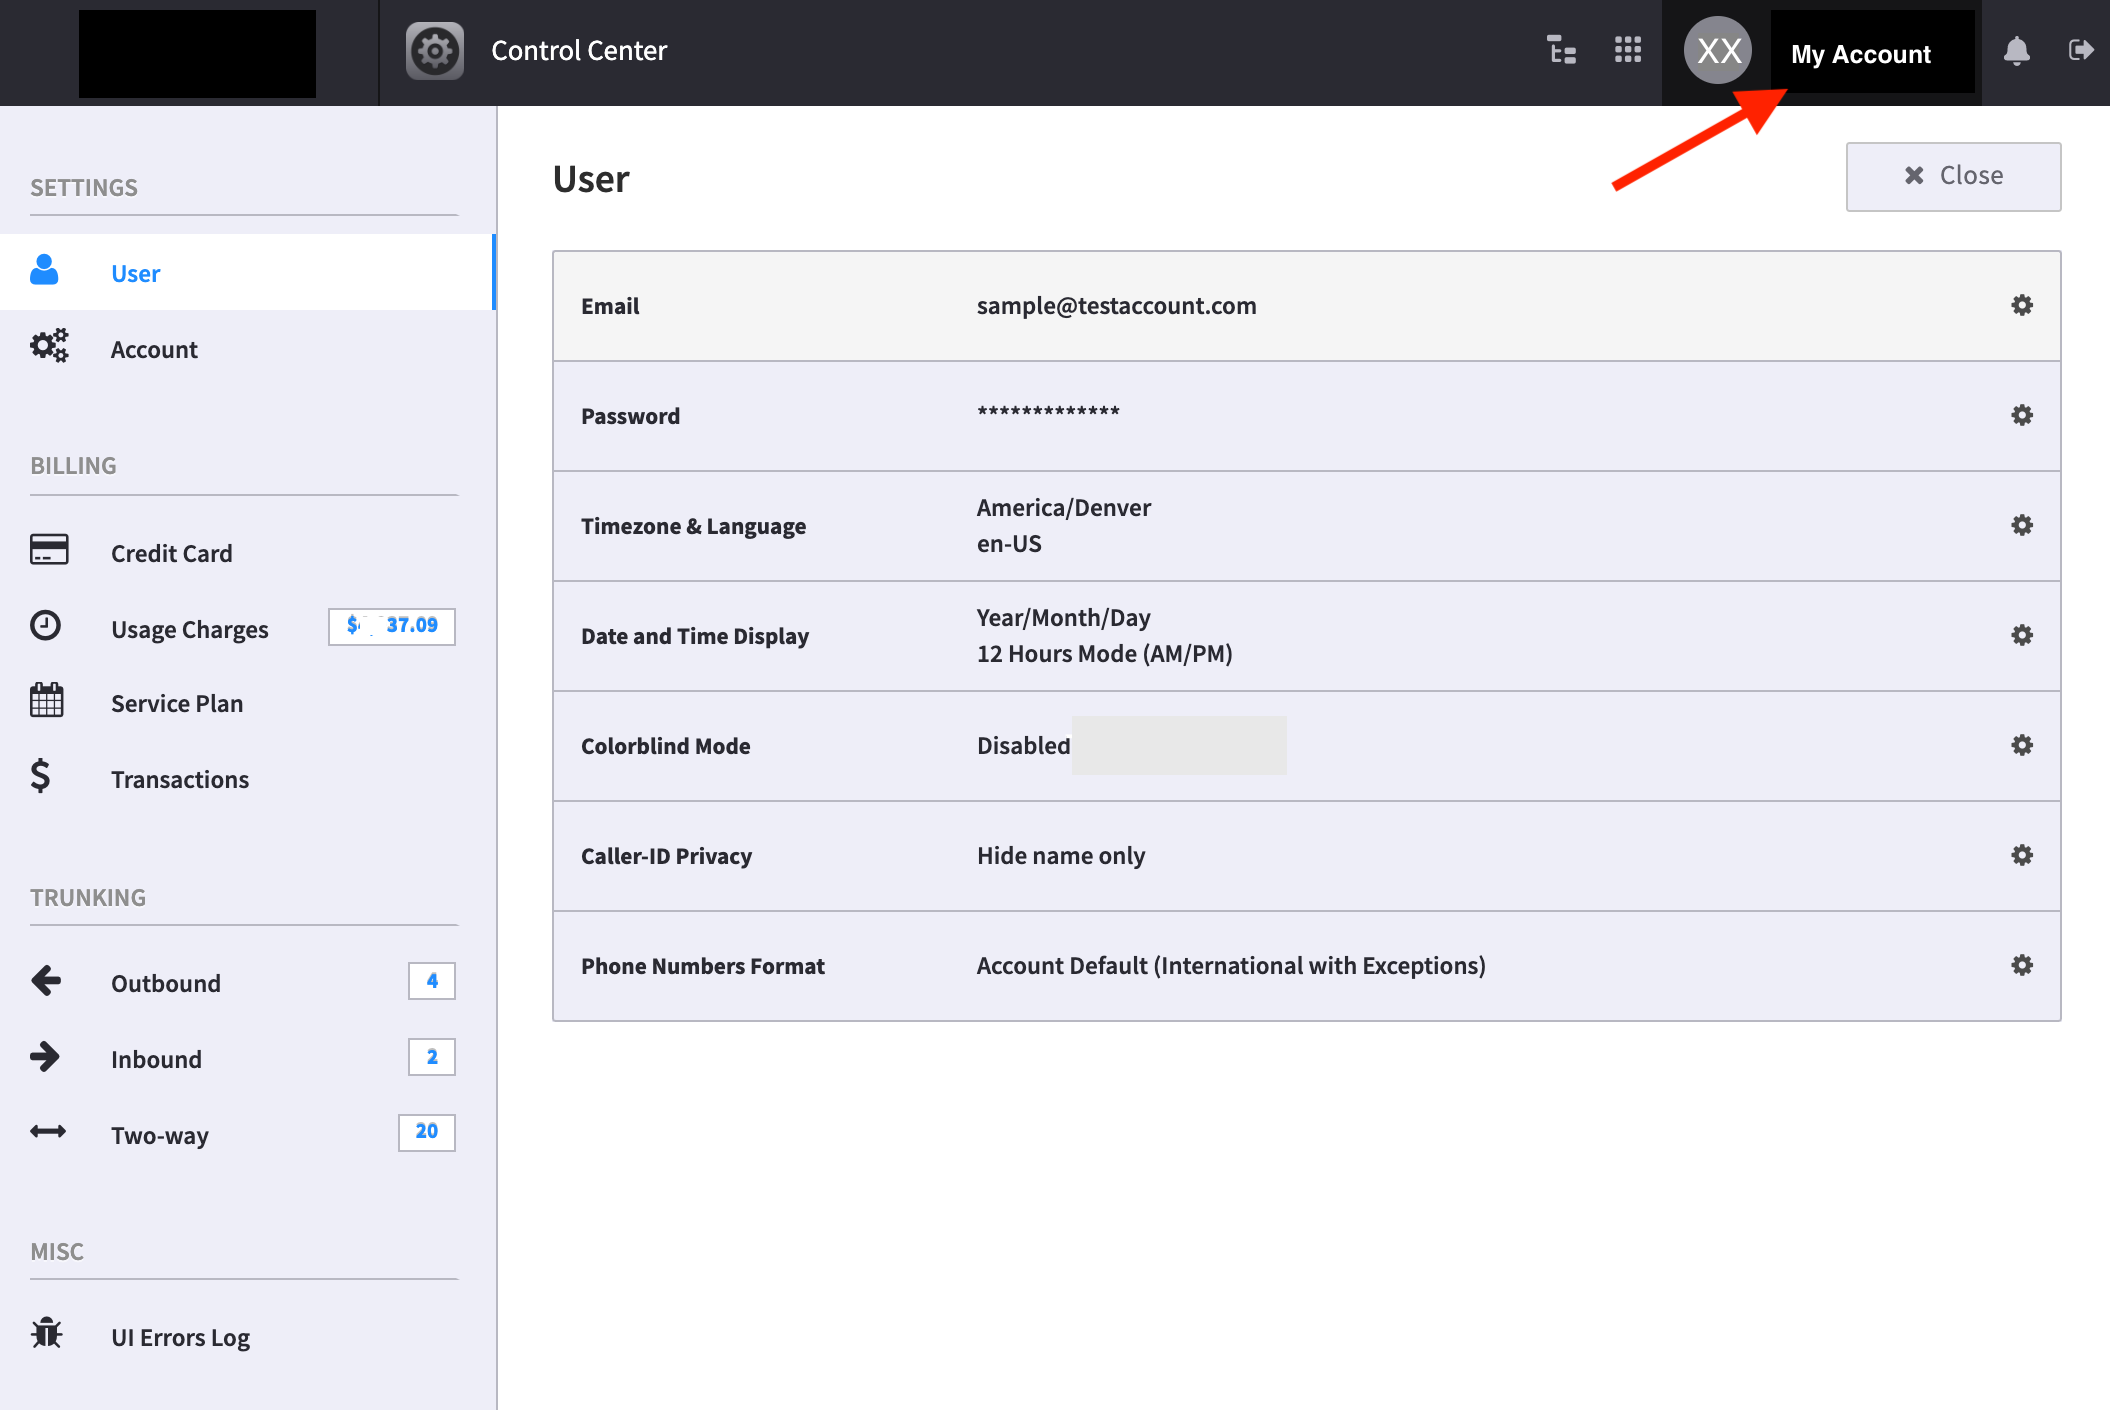
The User preferences allows each account user to customize the interface for their personal dashboard. To edit/update these values, select the gear to the right of the setting.
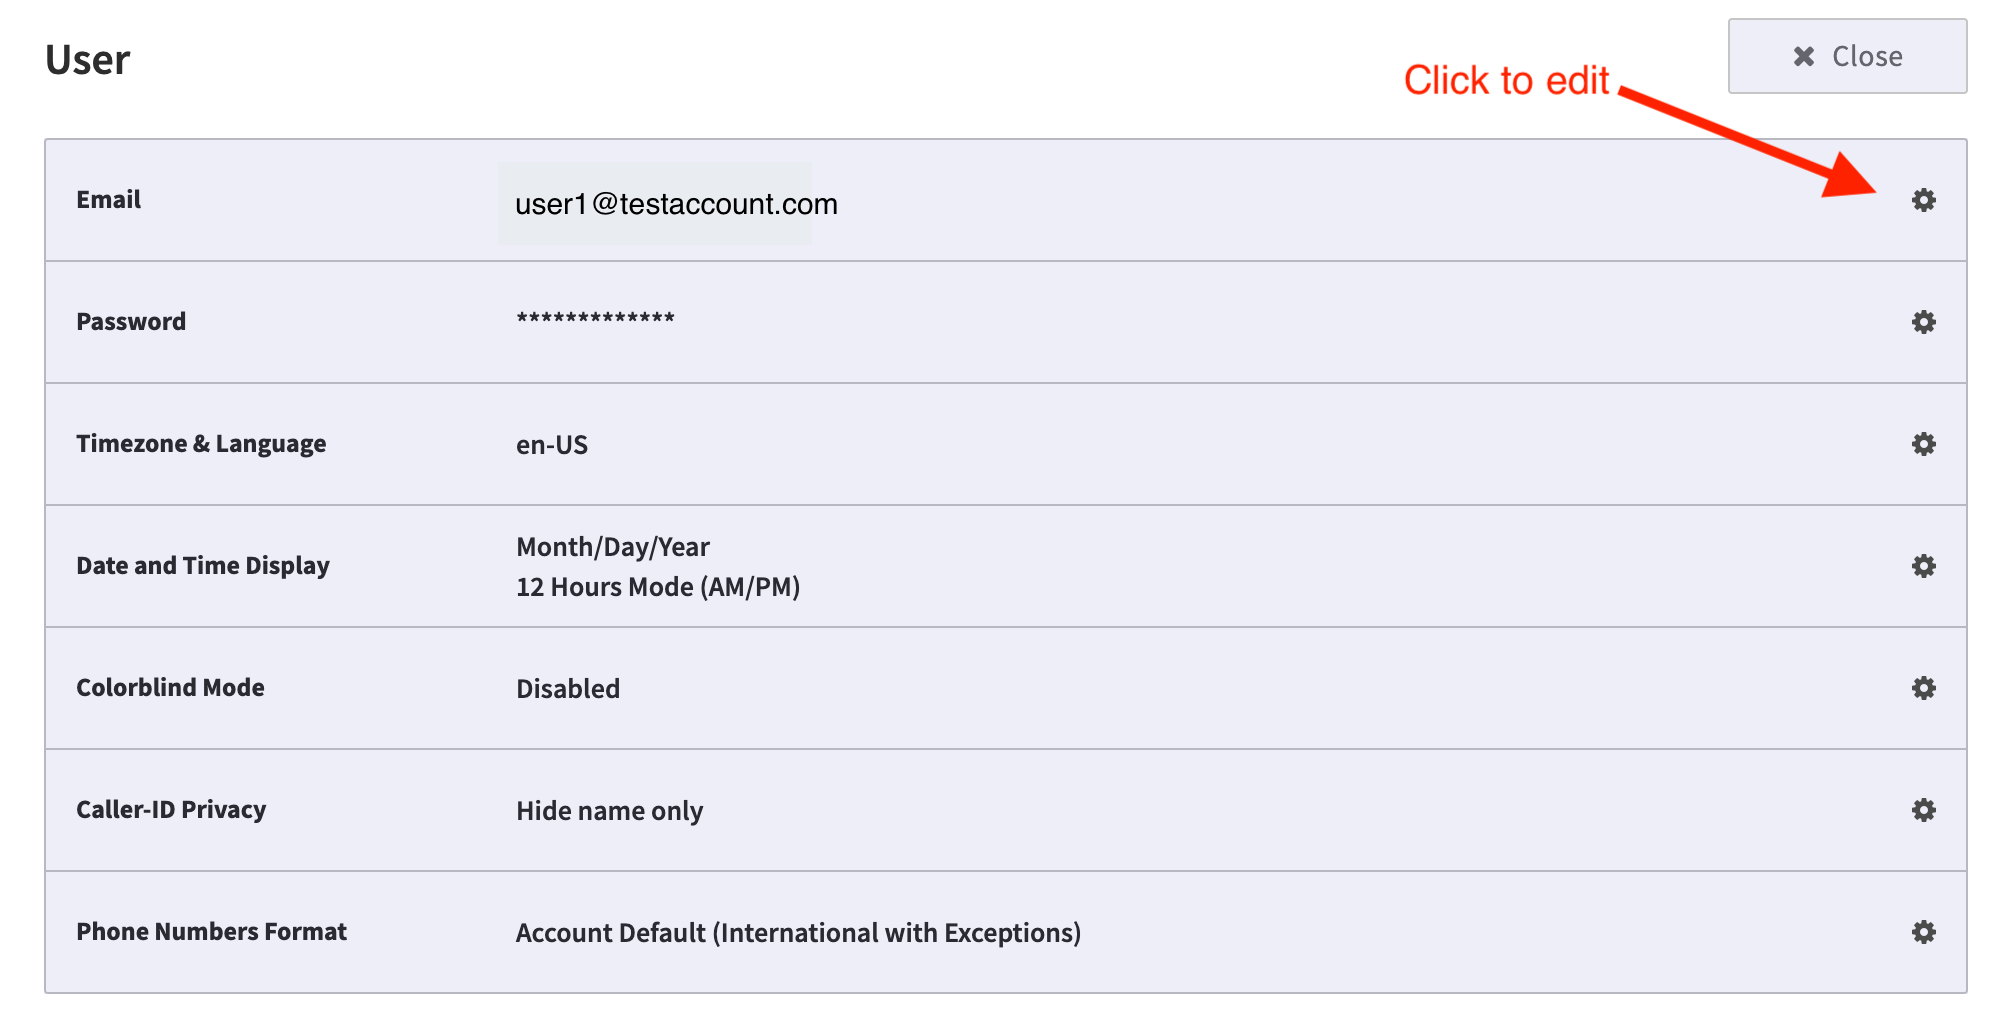
email
This is the email you will use to log in.
NOTE:
Making a change to the email address in this section, will also modify the users section in SmartPBX. It will enable the "Send emails to an alternate address" option. It will not change the email address since that is their login name.
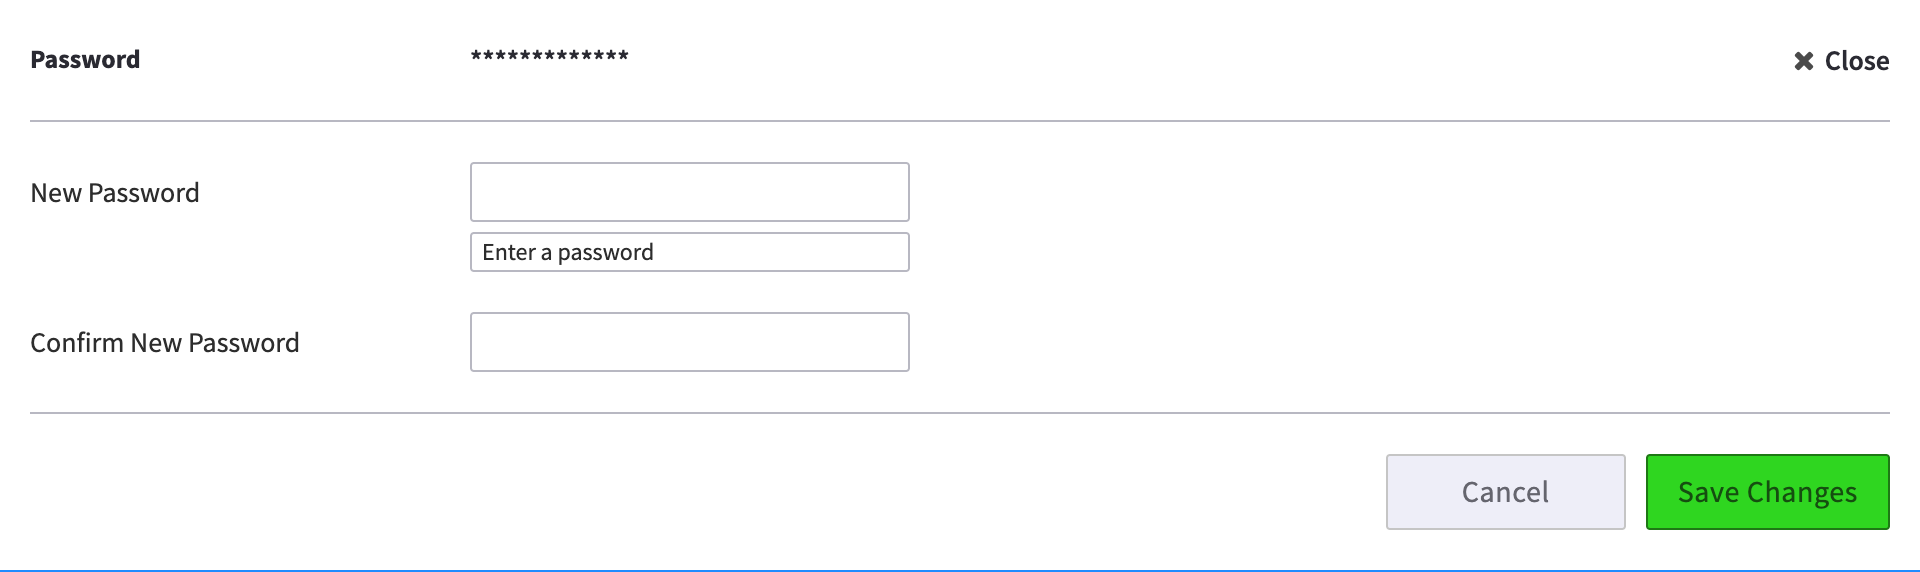
Password
This is where to manage your password for logging in.
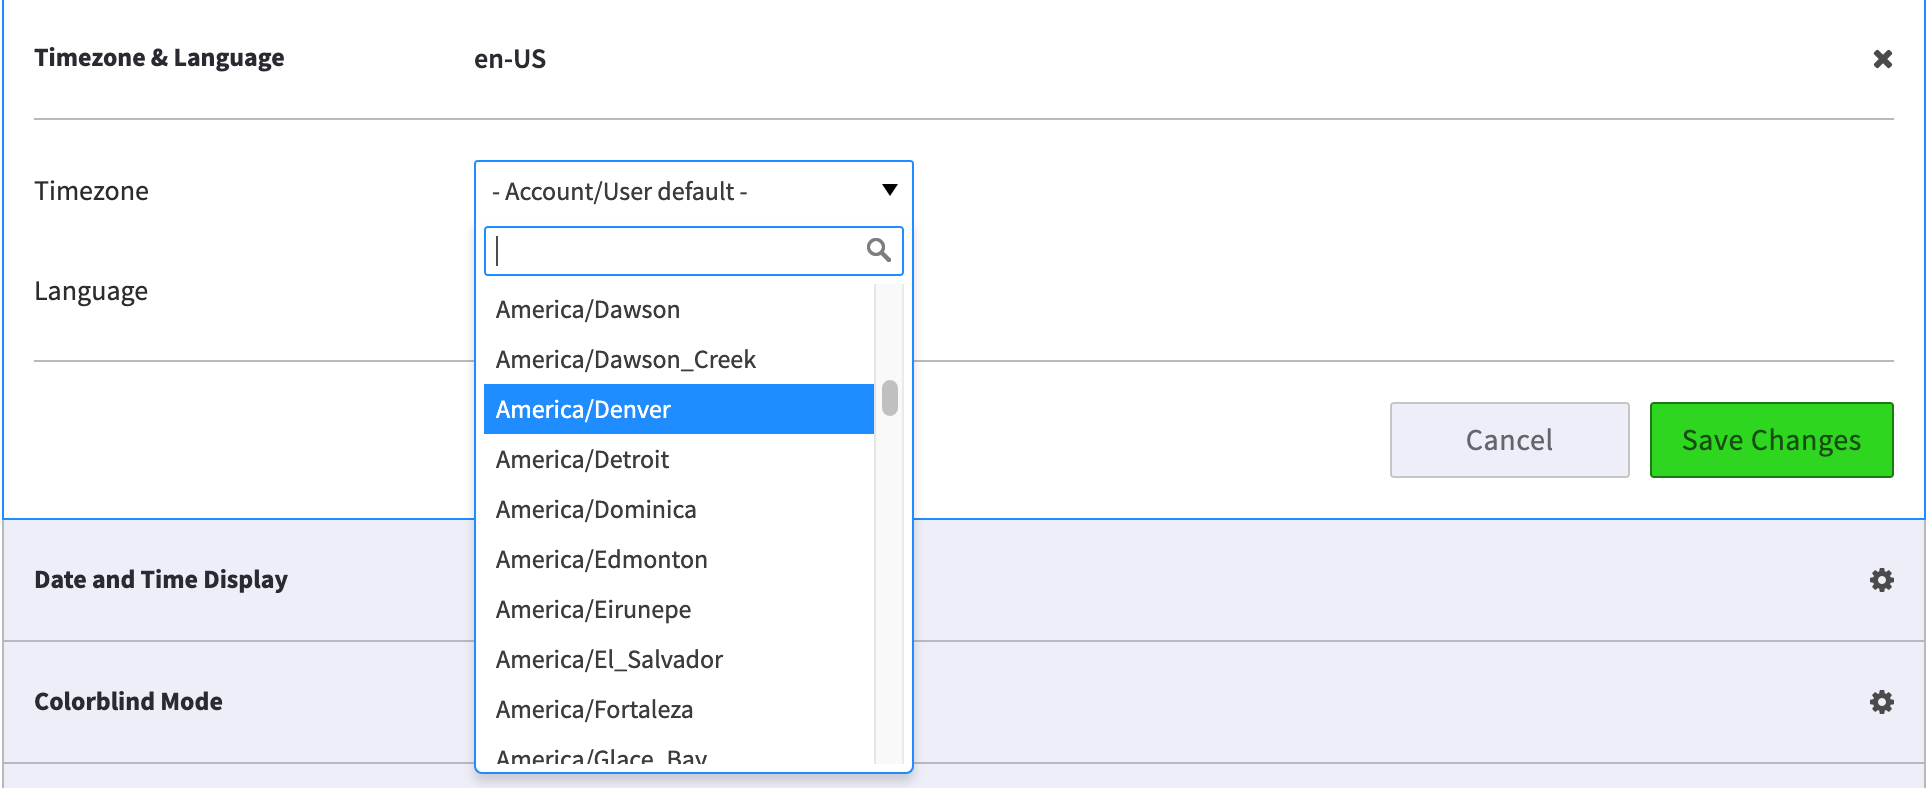
Timezone & Language
Here you can enter the timezone and language you wish to use for this user. This is helpful if your native language is different from your home office native language.
Notes:
- If you update the Timezone setting, it will stamp your voicemails and incoming call data using your new value.
- If you update the Language here, it will display your new language as the UI in SmartPBX and a few other applications. It will not affect the system prompts and voicemail messaging system.
- If you change your language setting, you may need to log out and back in to see the results.
- Some settings can be changed here, and also in the SmartPBX app (for example your CallerID setting). As the database is the same, the last change you make will be the one that is used.
Date and Time Display
This setting will update your date and time display in the SmartPBX application. You can also elect to display hours in 12 or 24 (system default) mode.
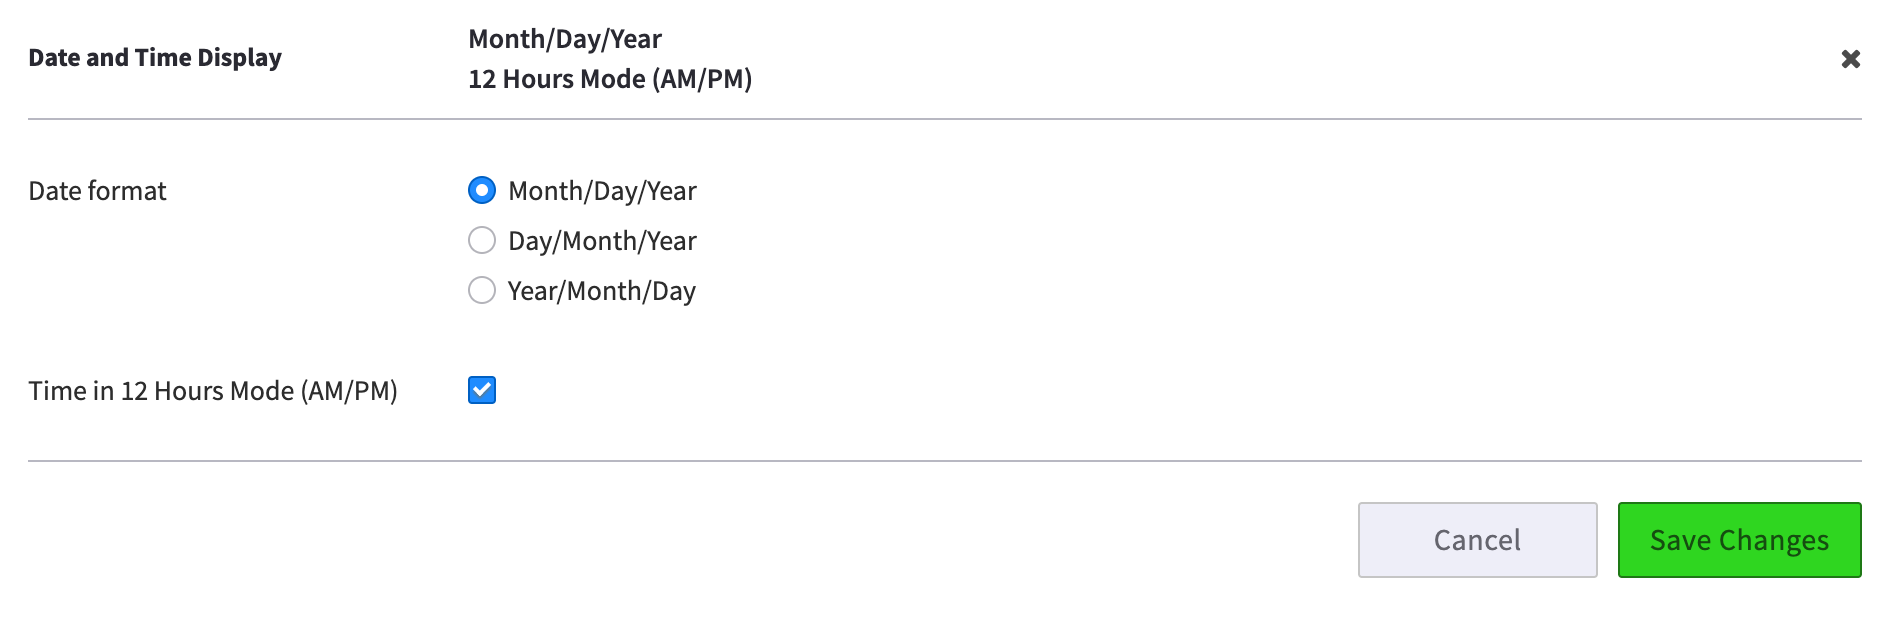
NOTE: A known limitation of this that is scheduled to be resolved is that the voicemail time stamp does not yet consider this setting, and defaults to the Month/Day/Year format.
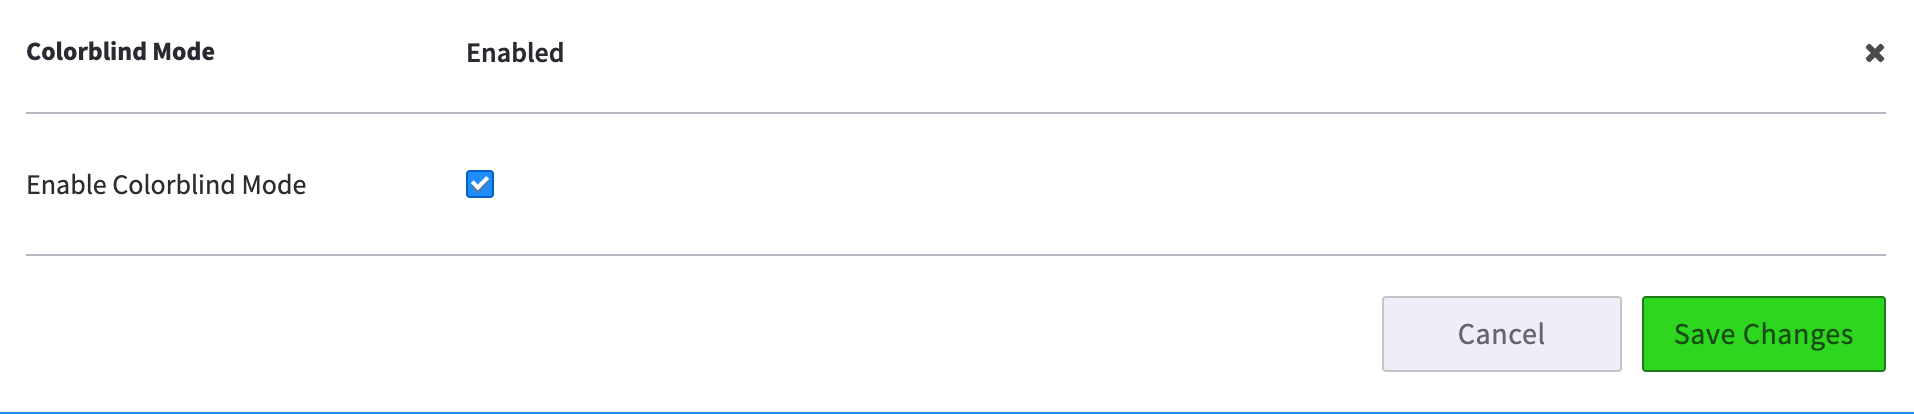
Colorblind Mode
Setting this on will update the color palette to colors more friendly for most colorblind users. For example, the arrows representing inbound and outbound calls in the call history page are changed from orange and blue to black and white.
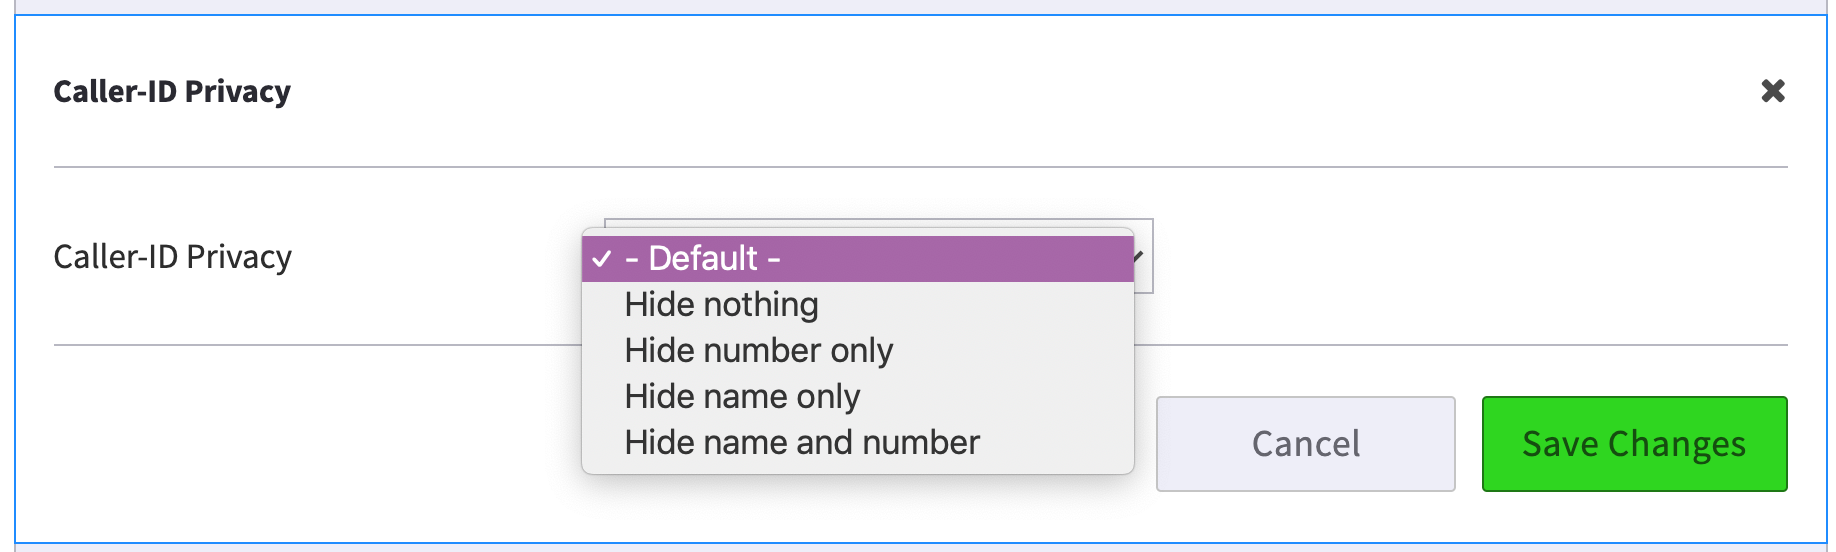
Caller-ID Privacy
This setting defines how you want your outgoing calls to be identified in Caller ID.
NOTE:
- If you select “Hide name and Number” your calls may be rejected by a receiving PBX or caller filtration software system.
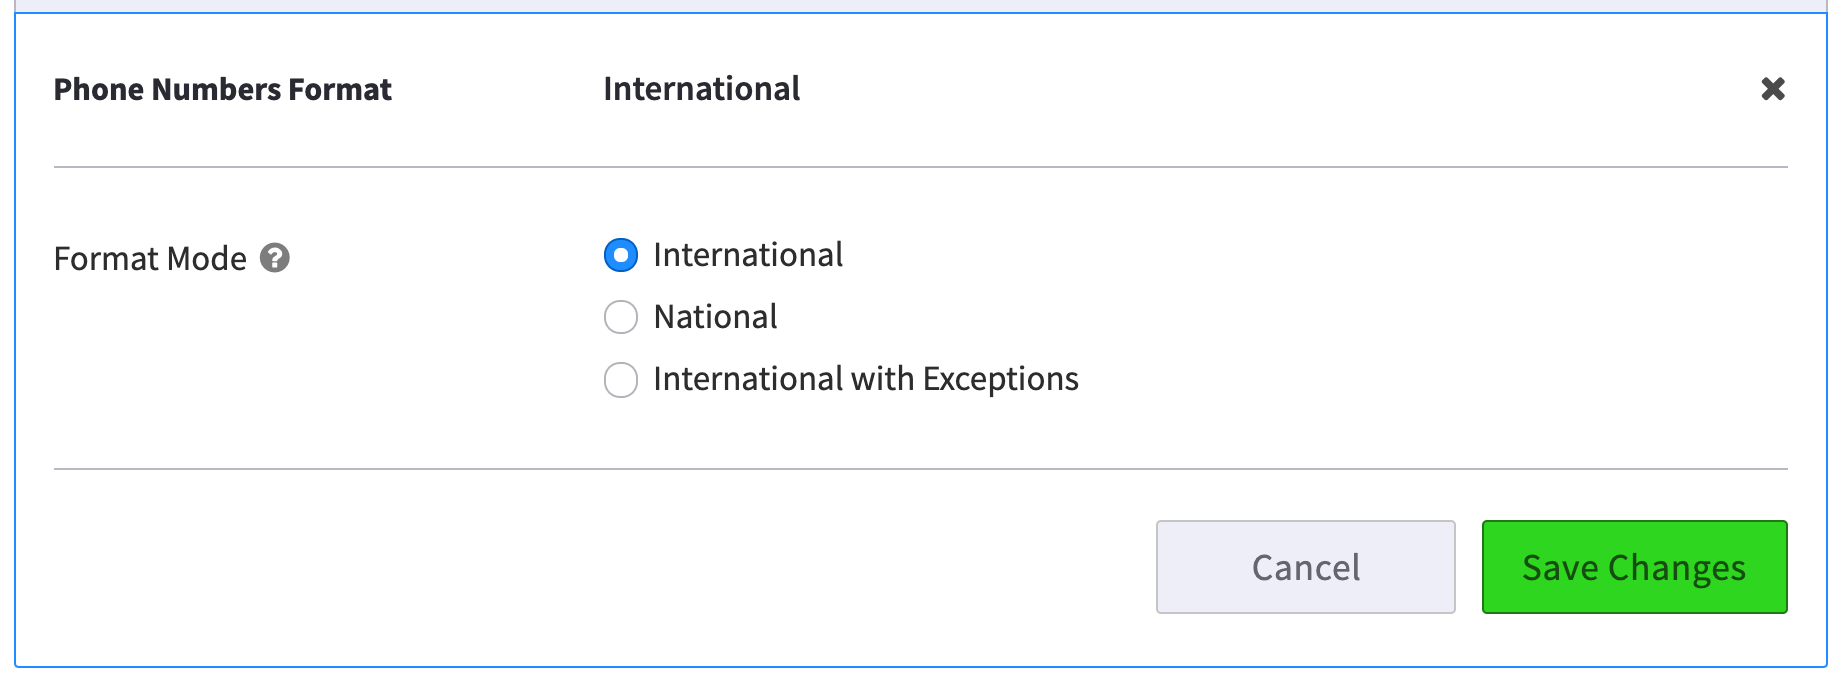
Phone Numbers Format
This setting identifies the format you want to see phone numbers in. By default, all phone numbers are displayed in their international standard (+1 415 222 1234 for a US number for instance), but you can also choose to display numbers in their national format (e.g. 415 888-2222 for a US number).
Finally you can choose to display all numbers in their international format, and then select countries that you wish to display in their national formats. This would mean for example, a US number could display without the country code, and all other international numbers would keep their country codes.
National mode will show only the local format. If you anticipate international calls this is not recommended.
NOTE
-
If your host account is transitioning to a localized language system wide, it’s recommended you keep this setting at the Account Default.

The account settings are available only if you are an account administrator. These settings are interpreted by additional components of the system including blacklisting numbers, office hours messaging in callflows, and localizing the software to an alternate language.
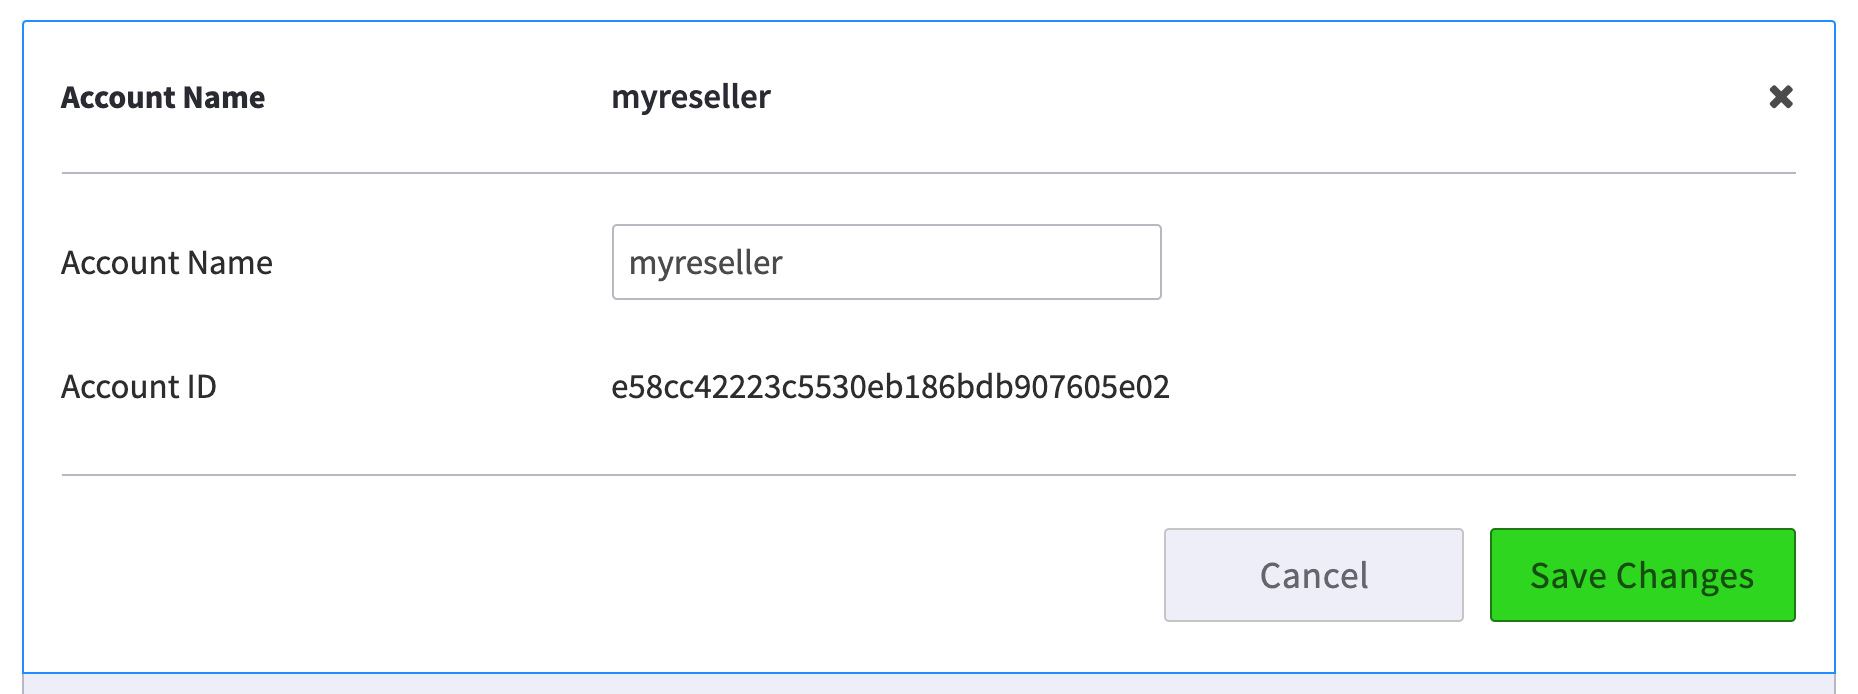
Account Name
This is the name the account was originally created as. This is the “human friendly” version of the account.
Account ID
This value is read-only and is what the system uses internally as a unique identifier . It can be referenced and copied into a support ticket for account debugging if necessary.
Account Realm
The account realm is an important component for the internal workings of your system. It is important this setting is defined and kept static once it is defined. By default, the realm is auto-generated by the Create Account Wizard. As it is an auto-generated name it is not typically a recognizable string of characters; most accounts will rename the first portion of the string using the company or department name to more easily distinguish among multiple accounts.
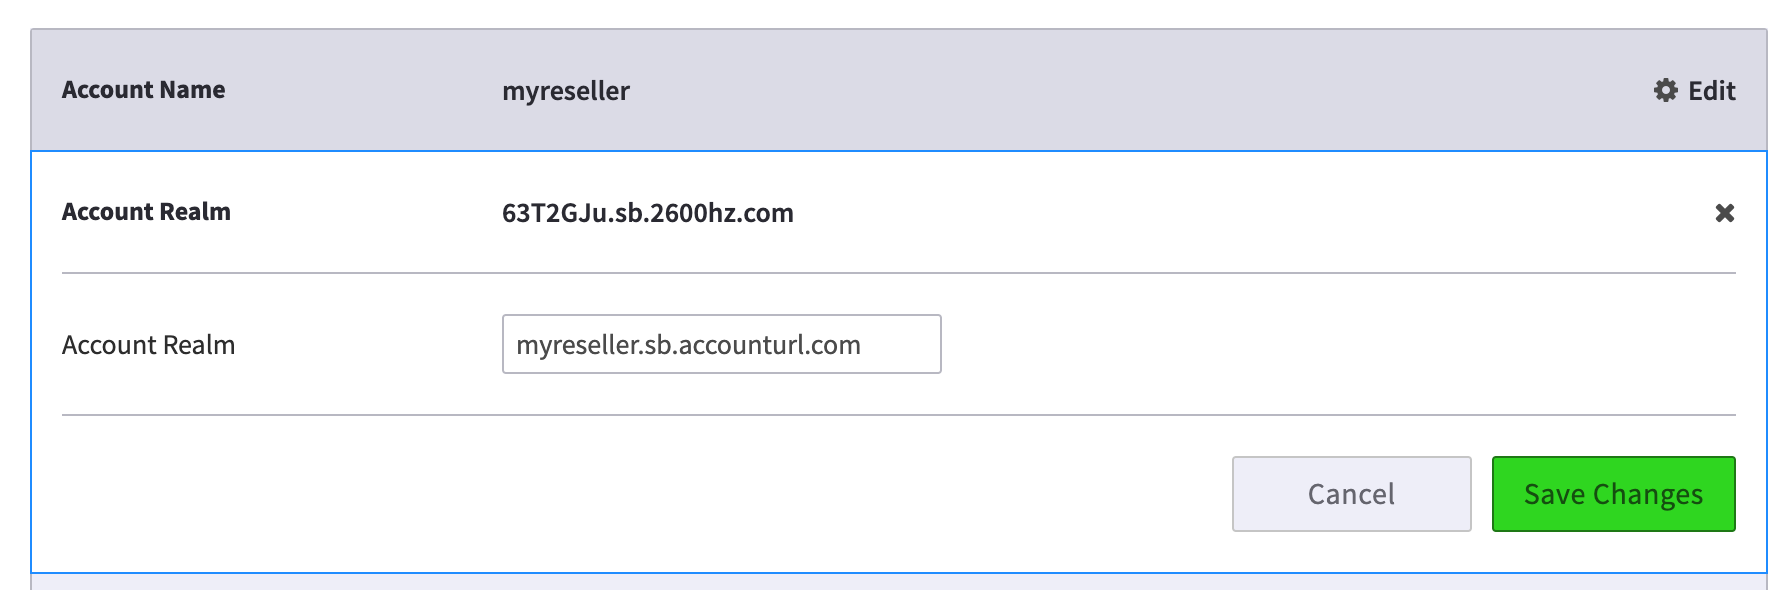
NOTE: We recommend you define this during your Account Wizard setup process, and if you are white-labeling the solution set, it’s best to have this already defined before you access these pages. It is not recommended you change it here, as it can cause service disruptions.
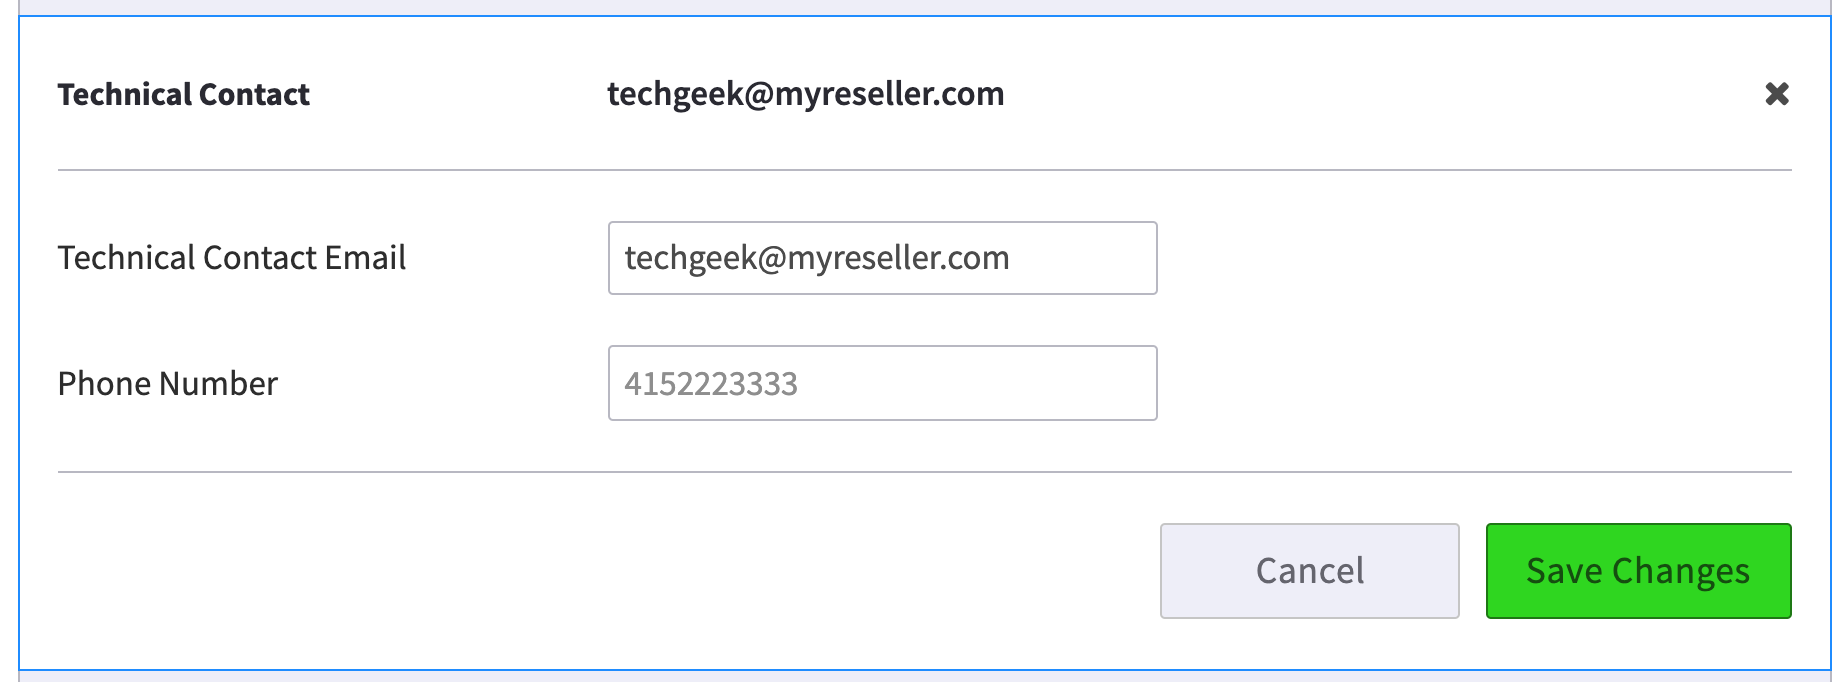
Technical Contact
Enter the contact person who should be the first line of support for your account. This may already be included as part of your original installation.
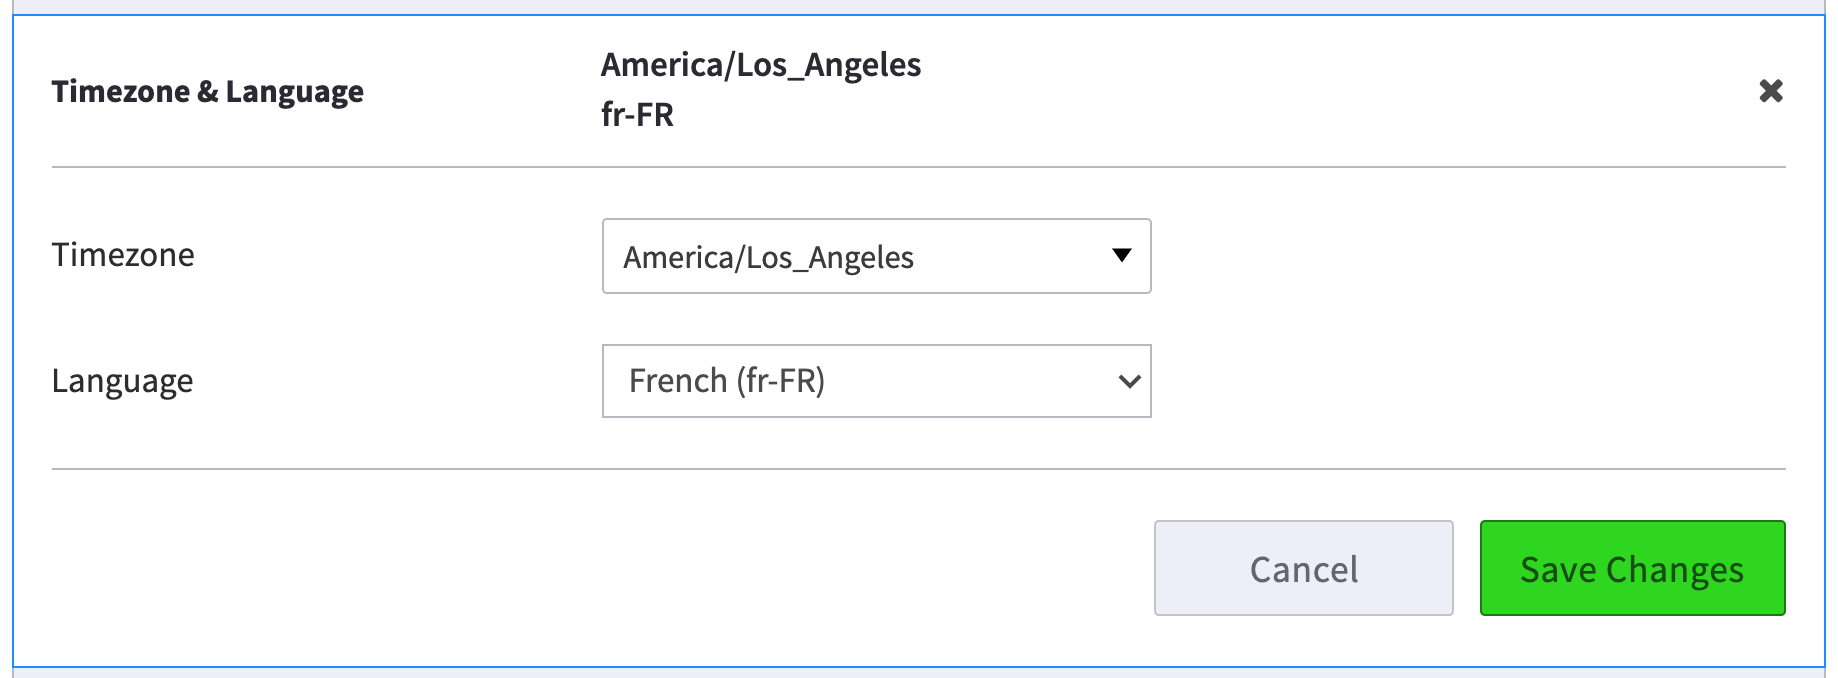
Timezone & Language
This is where the default Timezone and Language for the system is defined.
Notes
-
The User Interface language displayed within the SmartPBX application can be overwritten by each user and customized to reflect a native language if it is different from the company’s home account language.
-
The Timezone setting defines a “home default” time zone that will be used to stamp incoming calls, track office hours and holiday settings, and help direct callflow variables as needed.
- The language defined here is a component to a larger network of settings involved in localizing the system’s voice prompts and redirection english language commands in the back end as well as changing its User Interface prompts. If your system is integrating an alternate default language that includes all prompts, please request access to our localization documents.
Billing
Credit Card on File
You MUST enter a credit card and maintain a balance for your main account.

Once this is entered, it will be used to:
- Purchase new numbers
-
Add credit under the Usage Charges screen for discrete charges including
- Monthly charges
- Added billing for some applications
- Added billing for SMS texts, depending on your service plan
- Manual override charges for call restrictions as defined in the Accounts setup.
NOTES:
-
Only the top level account needs to have credit card information associated to it.
-
When an account is first created and set up. A service plan will be added. Billing starts at that date (proration). When the customer enters their card, there will be a charge then. They will also then be at the beginning of each month.
-
The credit card is charged at billing cycles. When an account is first set up, after the service plan has been added, the account will be charged for the remainder of the month (proration).
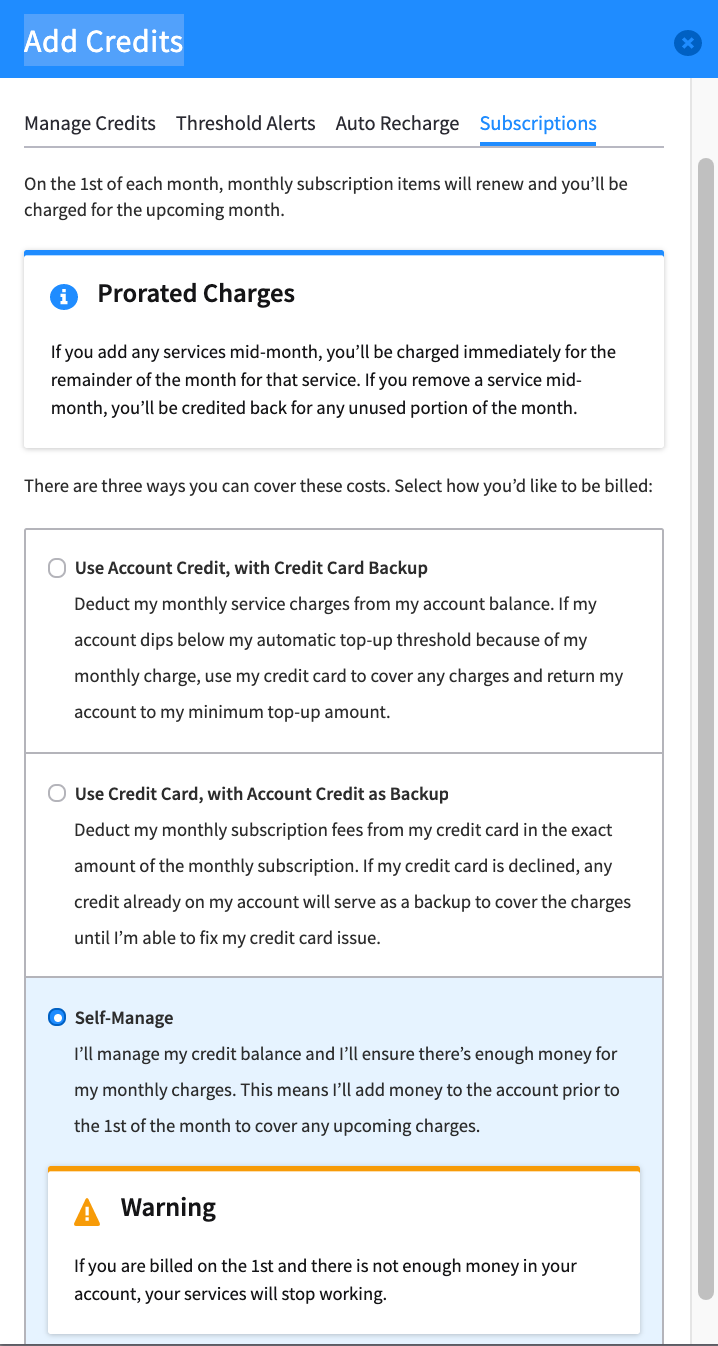
- Under the Usage Charges / Subscriptions tab you can set when and how you want to set up payments for your monthly bill -- as an automatic billing via this charge card, charged against your account credit, or by manually going to check your balances. The latter, called “Self Manage” is set as the default.
Billing Contact
Enter contact information for billing questions. This is used if there is someone specific that we need to speak with regarding billing.
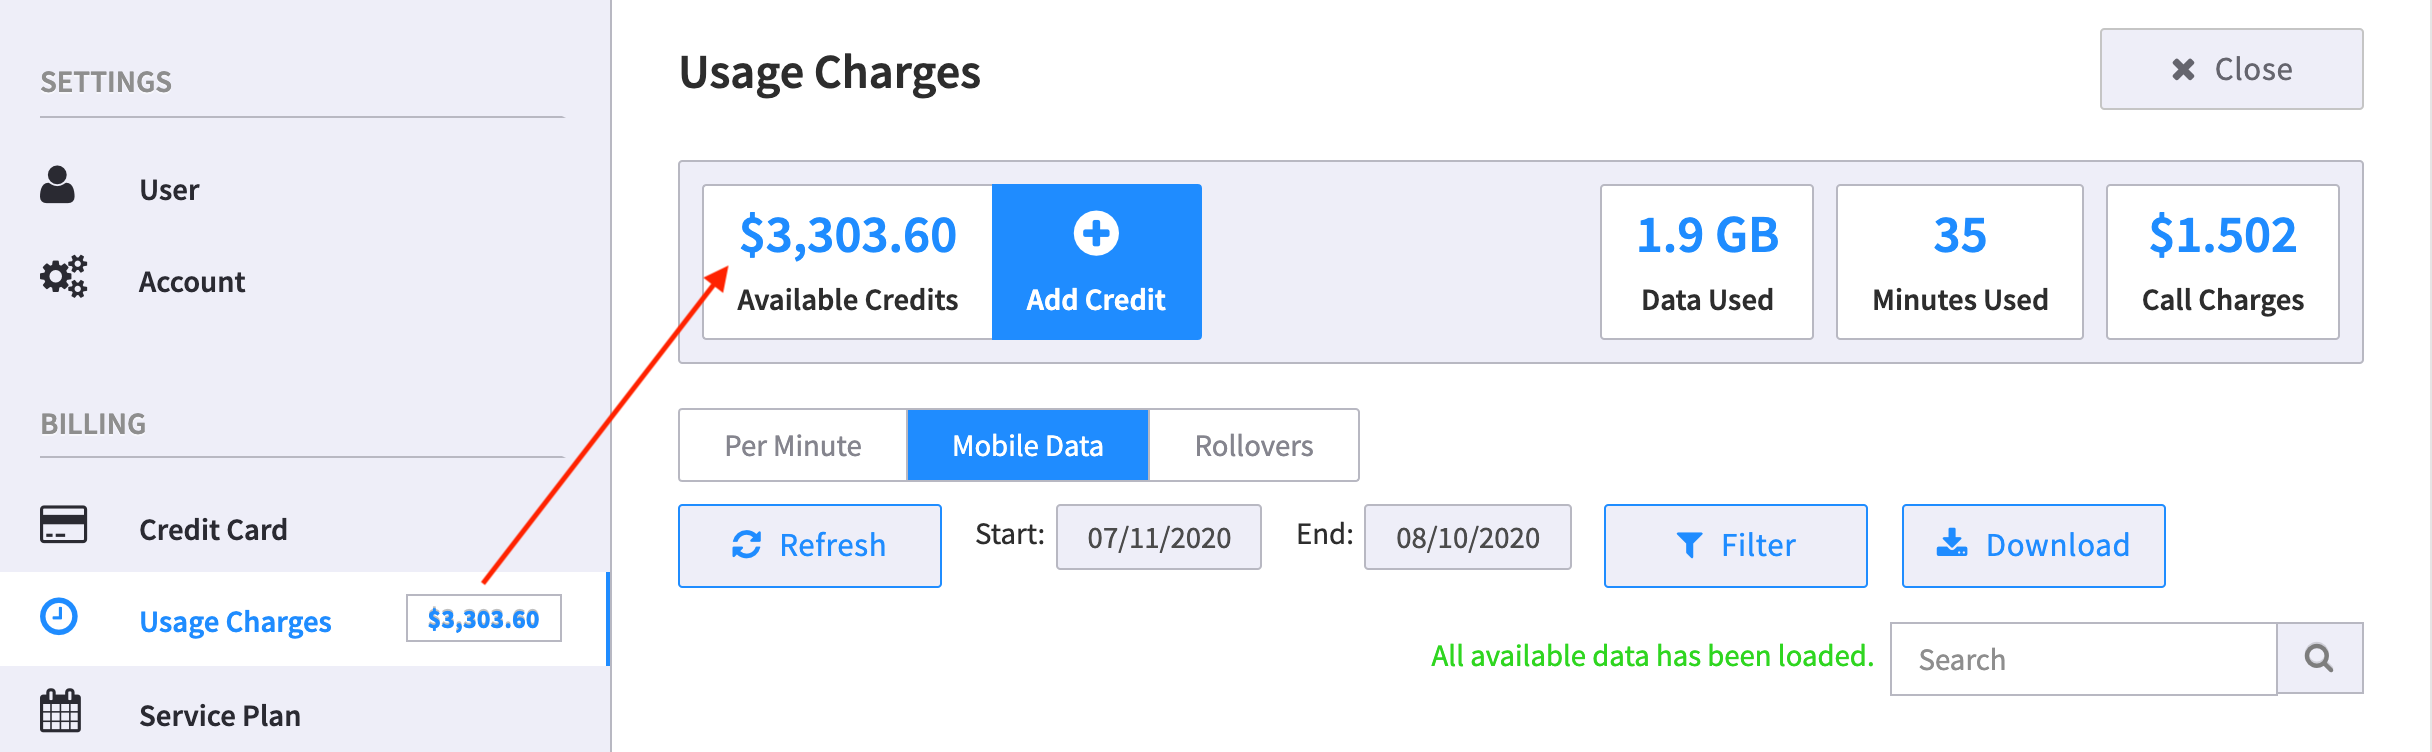
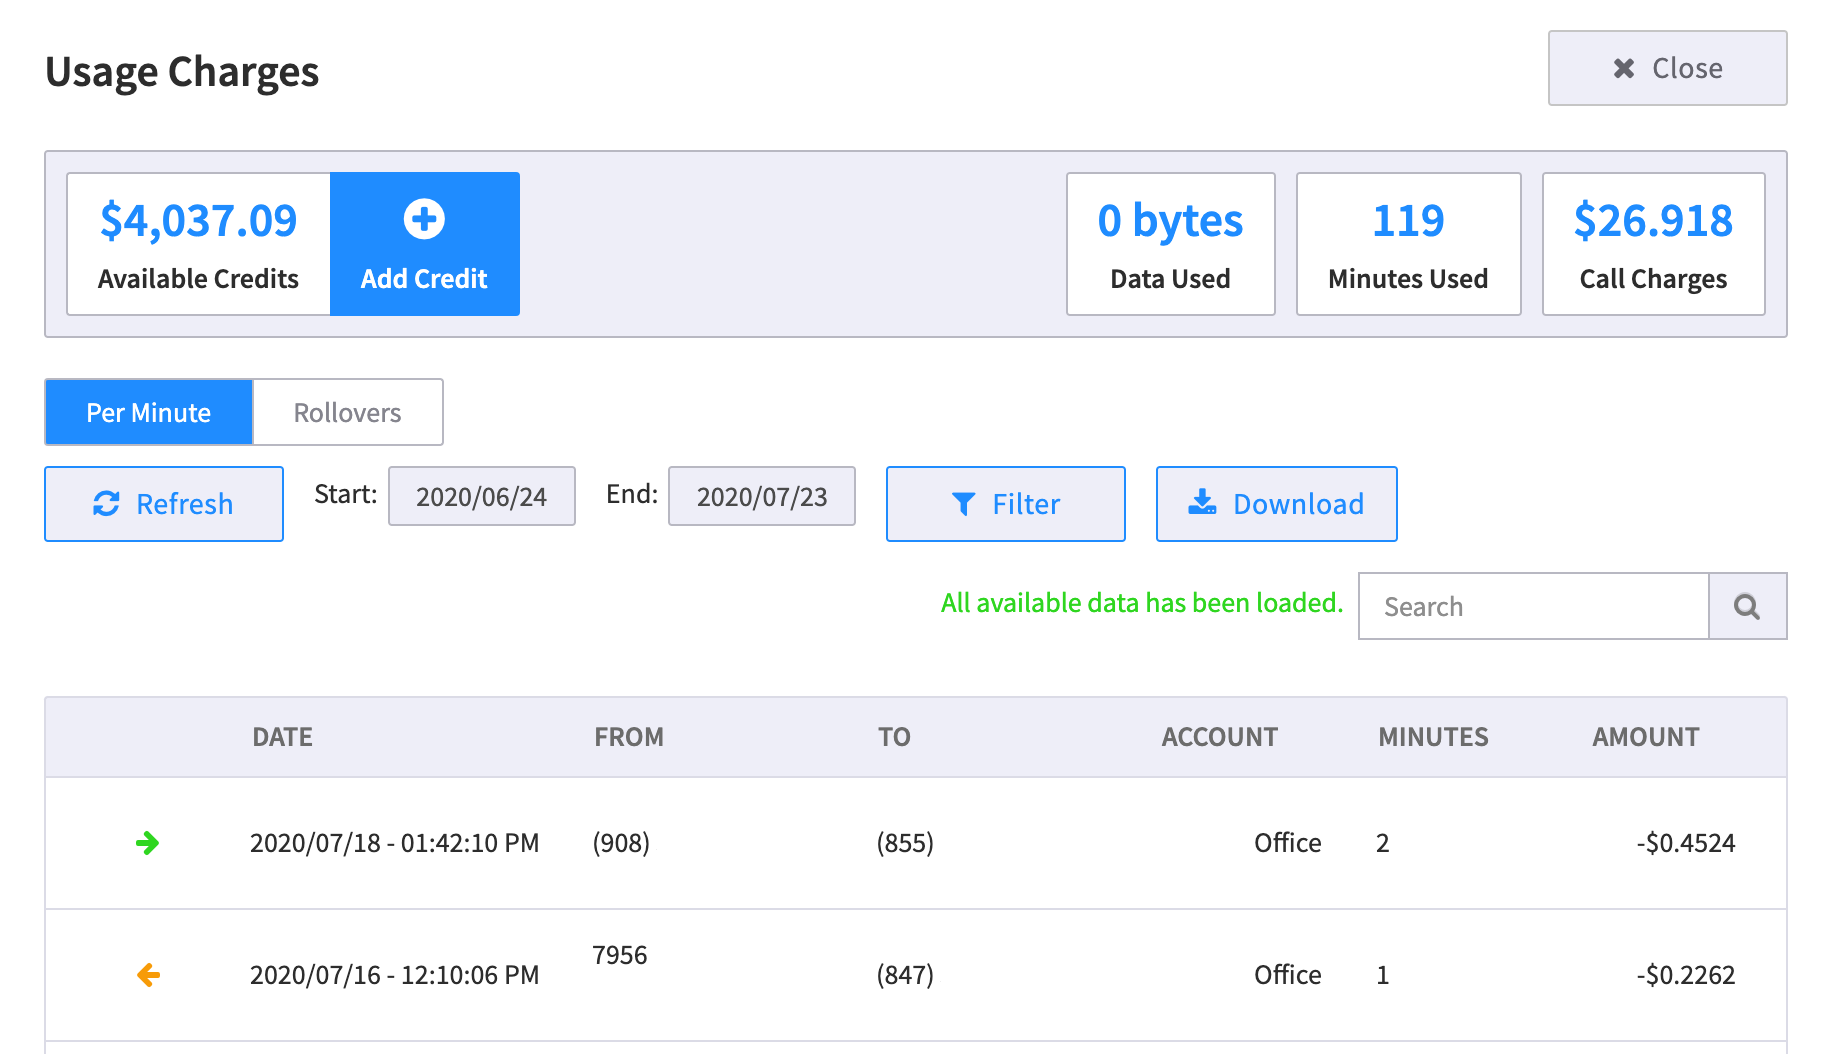
Usage Charges
This is where you can monitor your account usage, manage credits, enable threshold alerts, enable Auto Recharge, and if a Reseller, manage subscription payment.
Manage Credit for Main and Sub Accounts
-
Available Credits
Make sure you check to see if you are in the Master Account or your sub-account when you add credit.- The master account credit is the value that will be used to bill you.
-
The sub-account credit is what we call “fake money.” This is a dollar value directed at the sub account, but will be billed through the main account. All charges appear on the master account. SO if they are using per minute only, it will deduct from the sub account, and from the master account.
The fake money from the sub account is used as a way to limit and prevent fraud while it passes the actual charges onto the master account. While it appears that there are two charges only one is being deducted actually money
NOTES:
-
It is critical you maintain a positive credit balance as there are functions that require accessing this in order to work. This includes:
-
Per-minute, inbound toll-free or international calls when using trunks or not.
- If no credit is available and they have no trunks, calls will fail.
- Only toll-free outbound would work.
- Depending on the amount of trunks and call volume it can fairly quick to spot or it can take days to realize this.
-
When using trunks, if toll-free international per-minute calls, and inbound toll-free.
-
Per-minute, inbound toll-free or international calls when using trunks or not.
-
Add Credits
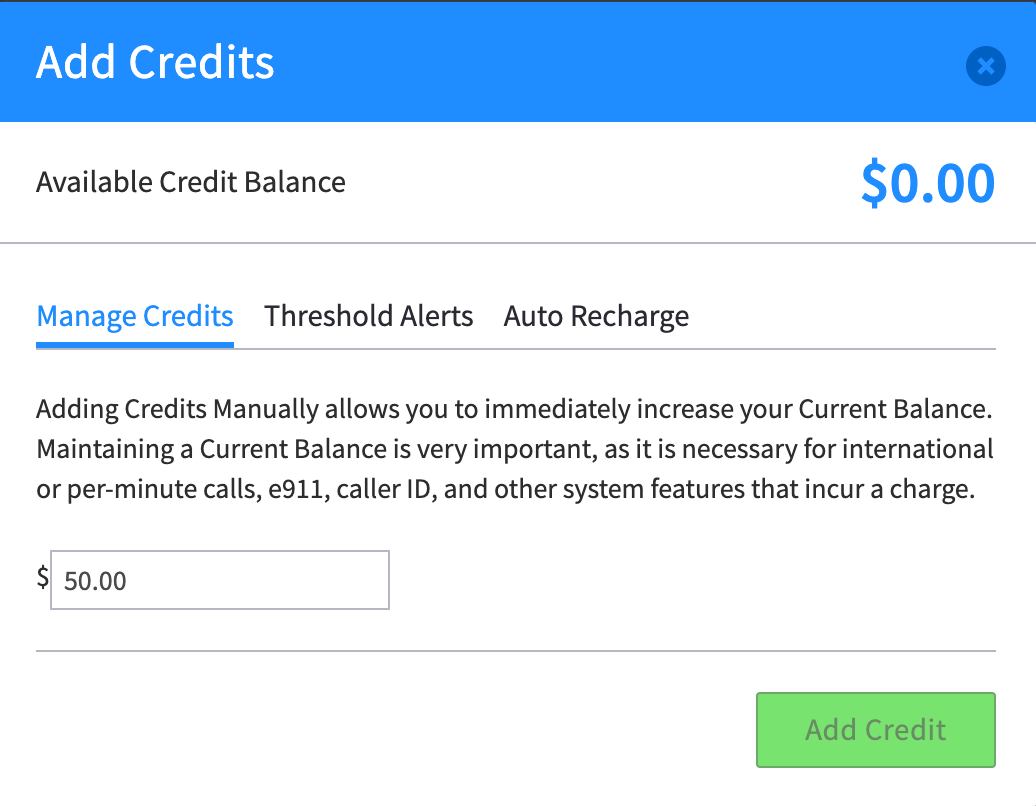
When you select Add Credits you will see a new dialog box with several tabs inside.-
Manage Credits
This provides an option to manually add credits to your Current Balance (shown as “available credit” in your master account).
-
Manage Credits
-
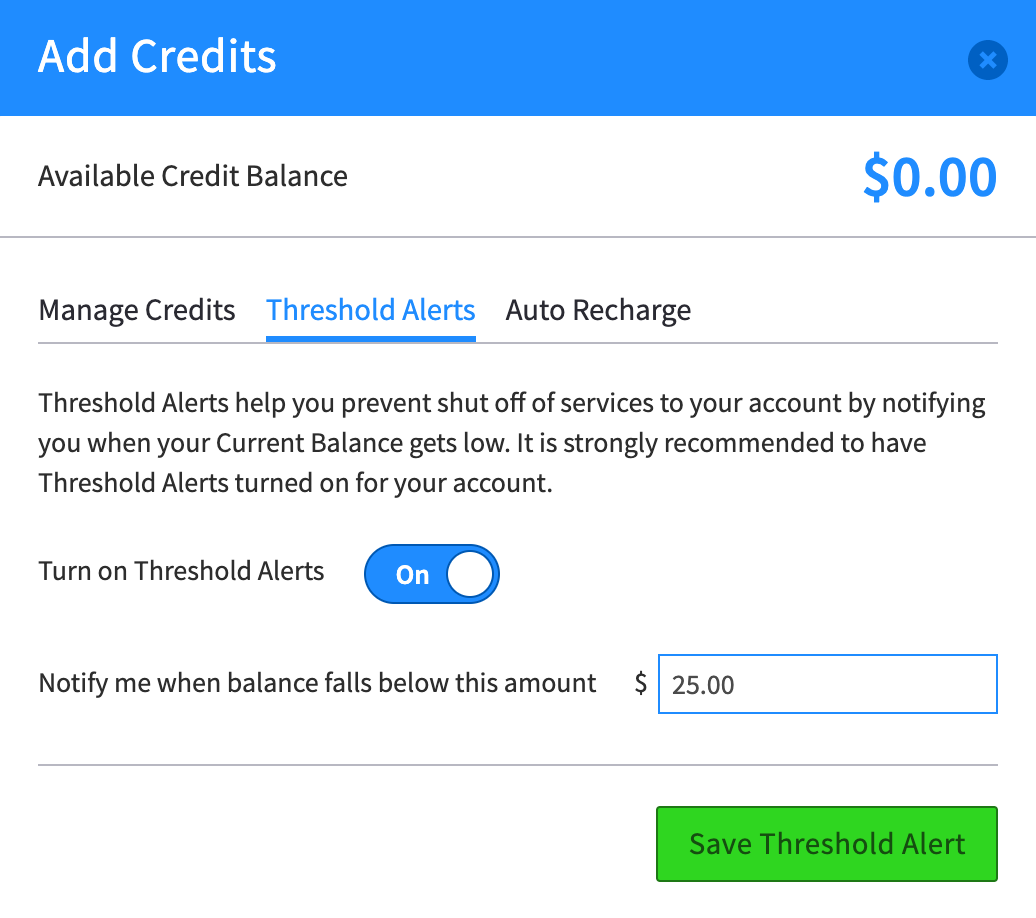
Threshold Alerts
This sets a minimum account balance threshold. When the Current Balance falls below this, you will receive an email alert.
Set this value based on how many customers you have and how many calls you anticipate will be billed per month. A common setting to start is $20-25.00.
-
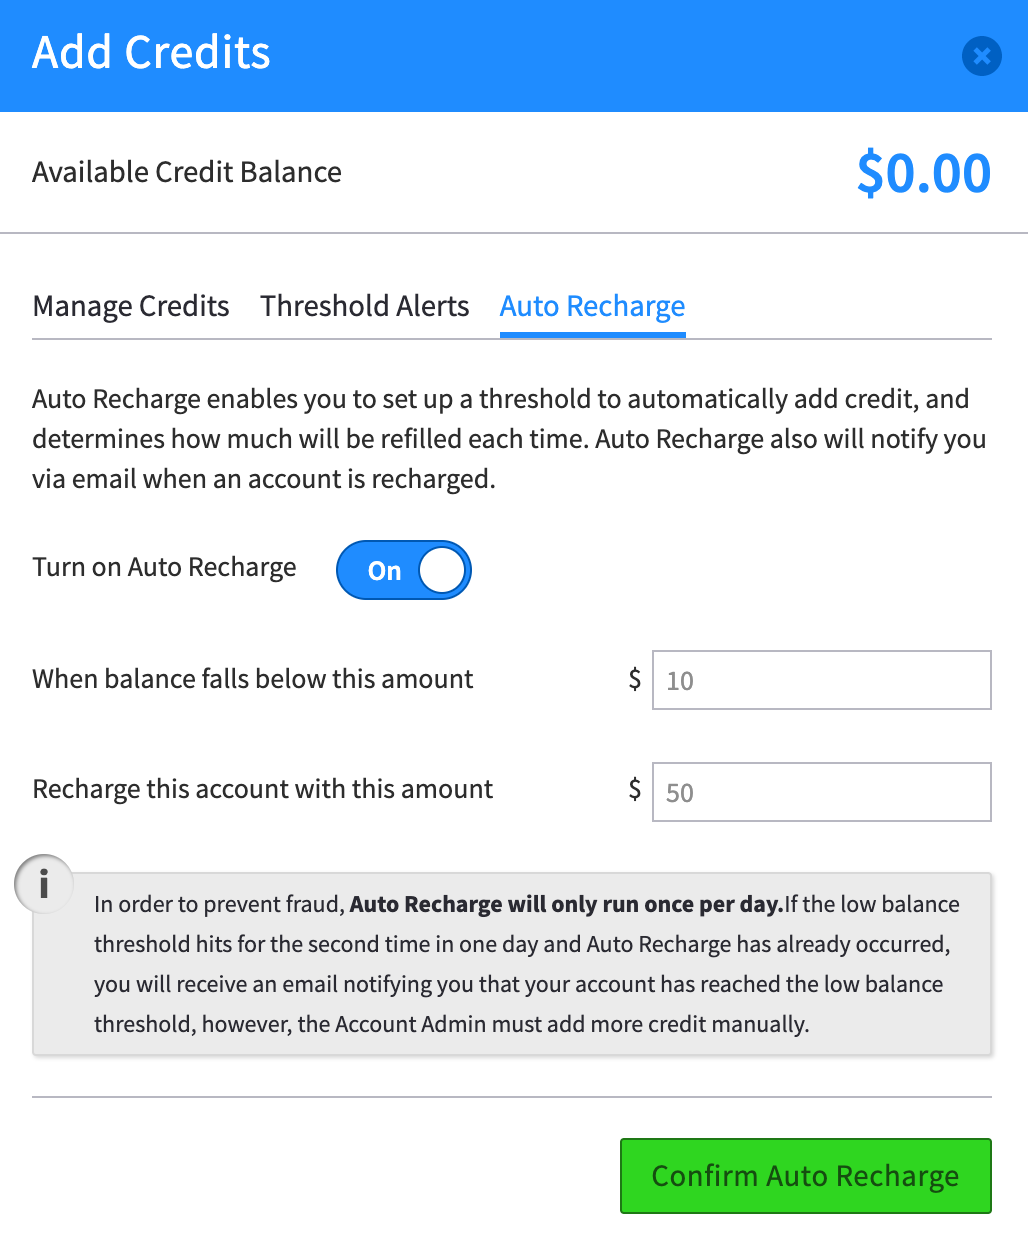
Auto Recharge
Set this to ensure that your calls are not canceled due to a run-out balance. Enter the threshold amount and the amount of credit you want to add.
-
NOTE: It is important to set the recharge amount so it will cover at least a day, as the charge event occurs once a day only and it would require a manual update.

-
NOTE: It is important to set the recharge amount so it will cover at least a day, as the charge event occurs once a day only and it would require a manual update.
-
Display Filters
Below your Credit Balance summary there are filters to view your charges.
-
Per Minute
This tab displays the per minute charges incurred based on your settings in SmartPBX for call charges.
-
Mobile Data
If you have enabled SMS text messaging and/or mobile phone devices to your account, this tab will display the data (in Megabytes) that you’ve used for the month.
-
Rollovers
This reflects any credits or balances carried forward from the previous month. The value is calculated after monthly charges are applied.
-
Start and End fields
If you want to filter based on a time window, enter the start and end dates.
-
Filter
When you select the filter button you can sort the list by clicking on the field you want to sort. This is how to view different accounts’ billing summaries.
-
Download
Select the download option to save a .csv file to your desktop. This can be imported into a 3rd party billing system or simply to a spreadsheet for your own reporting process.
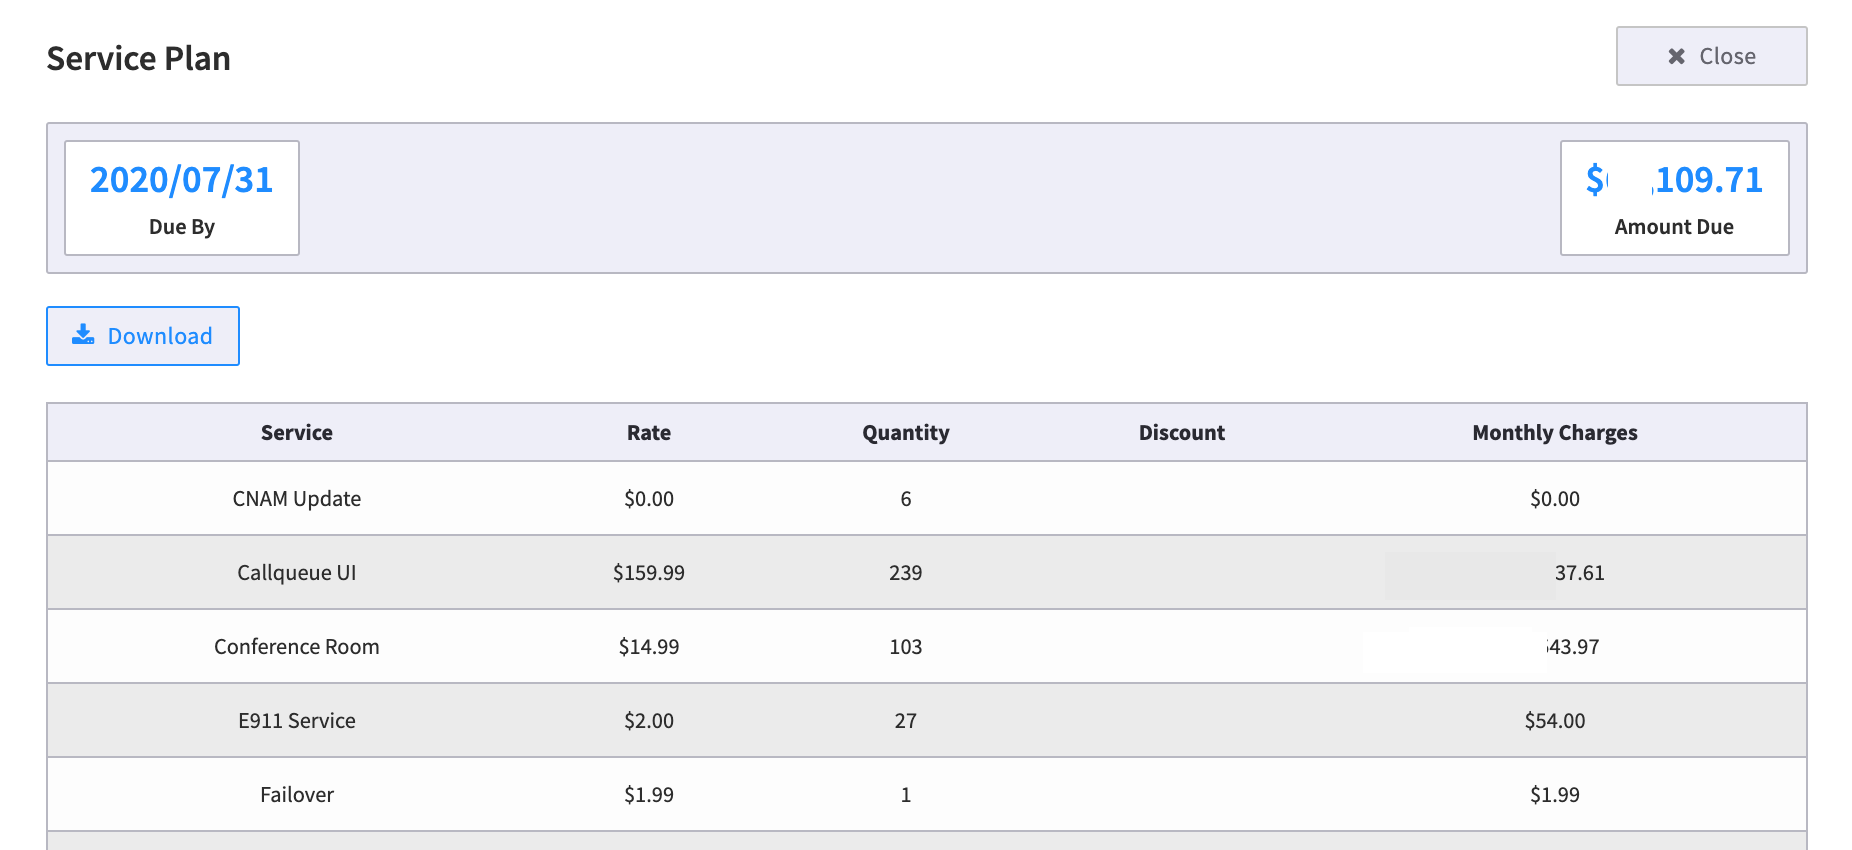
Service Plan
This displays a breakdown of the Account’s service plan and amount due at the end of each month. The download button allows you to download the data into a .csv file.
Transactions
The transaction summary lists the charges that have been made to the card listed. This can be filtered by date.

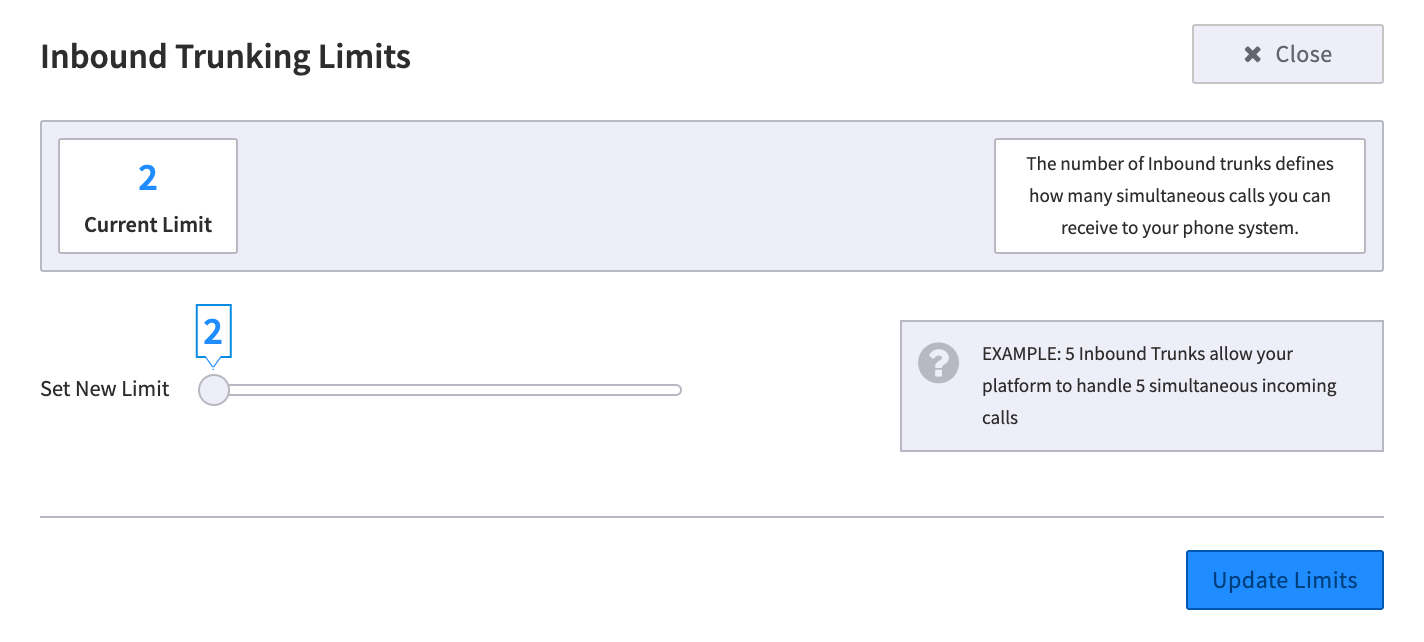
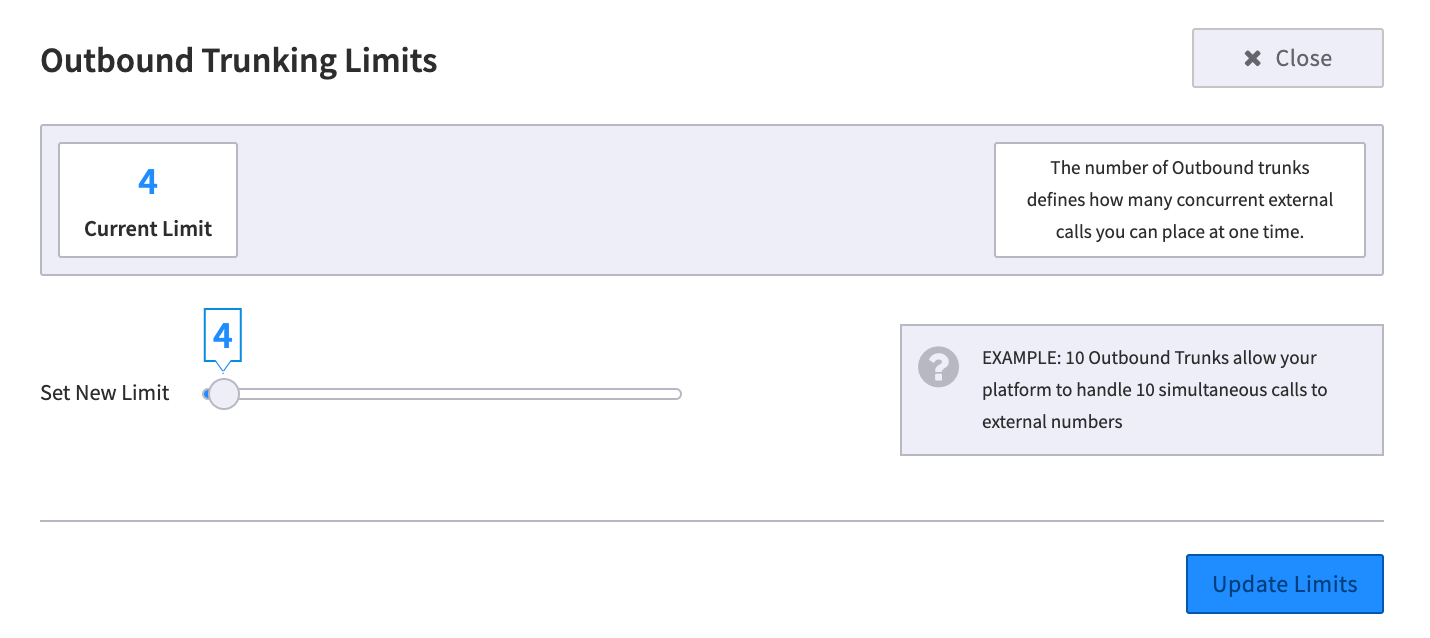
Trunking
Inbound and Outbound
This dialog box provides access to reset trunking limits originally set in the Accounts Setup. A trunk is akin to a physical phone line. Only one call can be active for each trunk. Inbound Trunks can only handle calls inbound from a carrier, Outbound Trunks can only handle calls outbound to a carrier, and Two-way Trunks can handle calls to or from a carrier just like a physical phone line.
- If you are not familiar with trunking limits and how they affect your call center service and your billing structure, please contact an administrator.
-
Ask your sales representative to share the trunking price matrix.
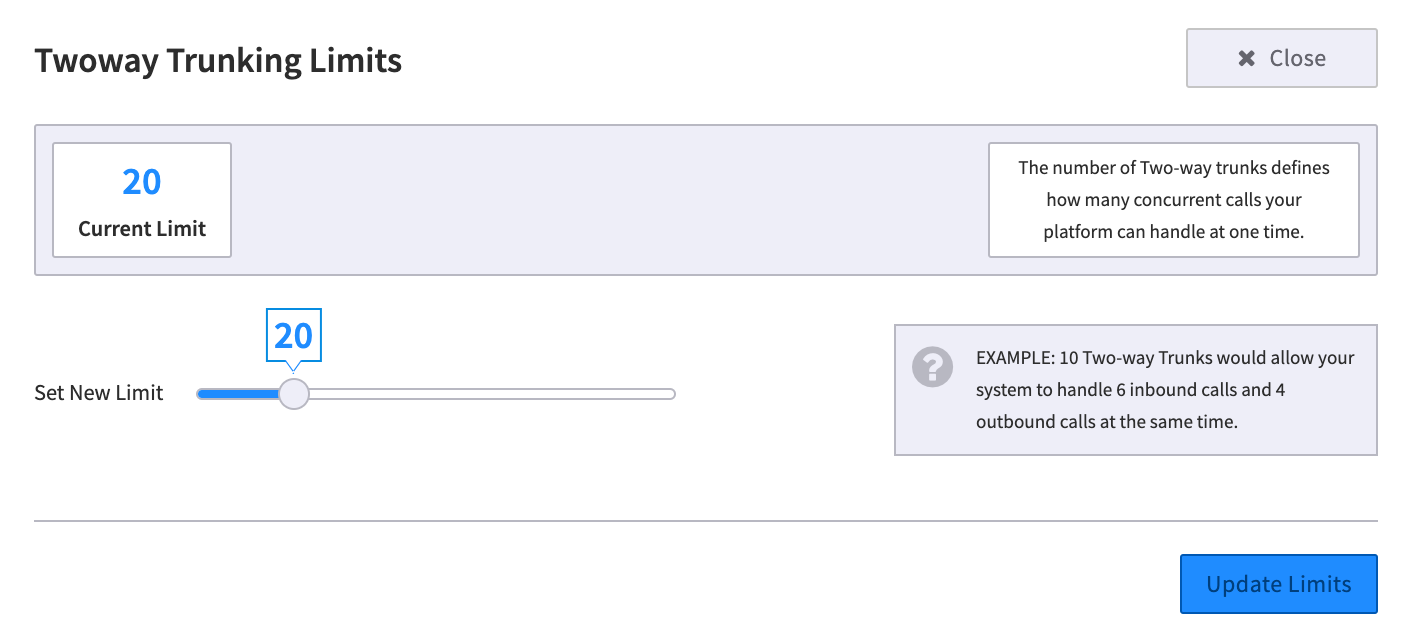
Two-way Trunks
Two-way trunks provides added flexibility; they can be dynamically assigned as inbound or outbound. The value entered is the total amount of trunks available, for example a value of 5 could assigned at any time as 4 inbound and 1 outbound, or 2 inbound and 3 outbound.
Misc
UI Errors Log
This will display if the error log option was selected in the Accounts Setup. These logs are useful if you have a question for support regarding an error message.
#####
Frequently Asked Questions
If I change my Caller ID information in SmartPBX, does that change the setting here also?
Yes. You can access this setting from either application. As the database is the same, whichever step you save last is the setting that will be active.
I updated my timezone to a different one than the default, but my voicemail stamp is using the default time zone.
This is a known issue and will be resolved in the next release.
I changed my language setting to German, but one of my applications is still showing English titles, etc.
The language porting effort is an ongoing project, and new additions and modules are being created both by 2600hz and many partners. If you are looking for a translation not shown when you enter your language, or your language does not appear as an option, there are some options to consider:
- Reach out to the community forums to see if any other resellers/partners have already translated an app you are using
- Review the Language Pack Editor app and consider entering your translation efforts here.
- Reach out to your 2500Hz contact and ask if there’s any efforts around translations you can contribute to and/or invest in.
How do I create a sub-account?
If you want to create a sub-account, for different field offices for example, first highlight the main account from the home page listing and then select “Add Account”.
Can I change the Trunk Limits value any time if I discover what I enter is not appropriate?
Yes, once your account is created, you can manage your trunking settings from the account’s Control Center page. Note this will affect your billing.
When I set / change trunking limits, how does this affect my billing?
There is an overview of our pricing structure here; however please reach out to your sales representative to confirm any changes in billing related to increased trunk limits.
I've set my account to enable International calls but I still cannot place outgoing international calls.
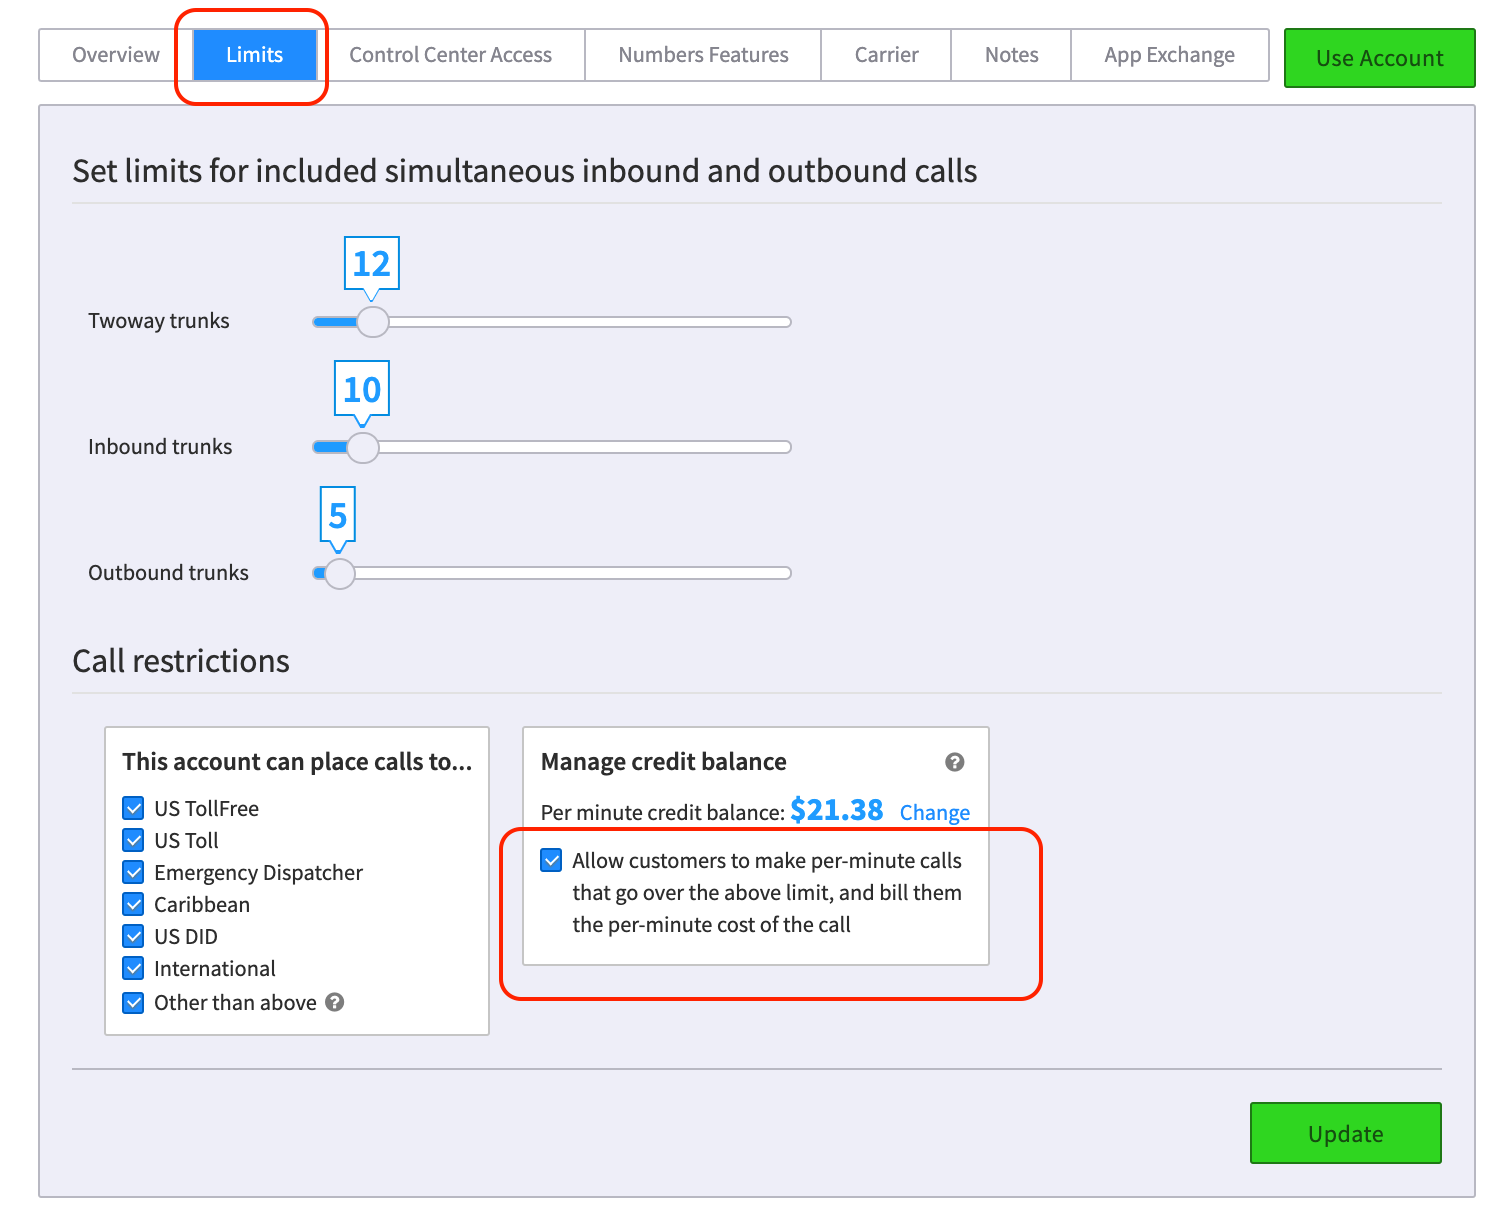
International calls to some countries can quickly get expensive and overrun your credit balance. To assure you recognize this, we require an additional permission to bill you the cost of the call overrun on a per call basis. In order for international calls to be connected, your account must
- In the Accounts application, under the Limits tab, enable international calls at the account level and the user level.
-
Make sure in the Limits tab, under the Manage credit balance window you must also check the "Allow customers to make per-minute calls that go over the limit, and bill them the per-minute cost of the call" checkbox. Make sure to click on the green Update button when you select this.
-
If you still experience calls not connecting, check with your Carrier. They may have upper per-minute price limits set that are below certain countries' pricing.
What does "Real Money" v. "Fake Money" in the Hosted Accounts mean?
The distinction of types of money was created to support sub-accounts in a Hosted environment. In short, all "Real money" is managed at the top-level account, and sub-accounts are allocated "fake money" values that provide a "bank account" for calls that are not covered by the account settings (e.g. adding new phone numbers and devices, trunking overages, international calls, and in some cases 911 calls).
Hosted customers must maintain balances of credits in their main parent accounts for the purposes of covering these costs. All value flows from parent account to sub accounts for the purposes of managing costs. The sub accounts, however, have the distinction of only being allotted “fake” or representational values from the parent account.
This isn’t actual value in the sense that the number seen in the accounting information of a given sub account are currency units, but rather that they represent a store of value as a portion of the credit value stored in the main account.
This has several purposes:
-
It limits sub account activities to a virtual stored currency limit can prevent situations of runaway cost overrun from things like fraud or system errors.
- Monthly accounting can be more easily tracked for each individual sub account with clear records showing when value was allotted and when costs were incurred against that per sub account. This is summarized in the Usage Charges section of the Control Center. You can generate a report showing each sub-account's charges and import that into a spreadsheet for your own billing process.
Related Articles

|
SmartPBX User Guide |
|
|

|
|
Accounts Manager Wizard User Guide |
|
|
API Reference Docs
Recommended Comments
There are no comments to display.