


2600HZ STEP GUIDE – PORTING
 When porting a number, you are using the portal to deal directly with the carriers. The process is noted below. Please pay attention to the notes, as these can be important in completing a successful port and can all be the cause of rejections from the carriers.
Checklist for Porting – What you’ll need
- Completed / recently updated Branding Configuration app. in KAZOO
- A list of numbers you want to port – 800 numbers should be a separate list
- A .pdf copy of your recent bill dated within 15-20 days (required by the carrier)
- A .pdf copy of your LOA (Letter of Authorization) for your current carrier, MUST be within 30 days of your request (preferably 15 days of your request to allow for delays).
-
Syntax to use for Company Name, especially if you have distributed offices.
(for example, ABC Company - Philadelphia, ABC Company - Denver)
Overview of Steps
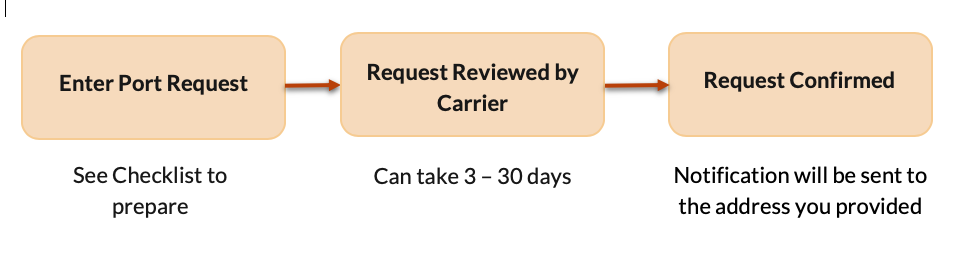
Getting Started: Entering your Request to port Phone Numbers
When porting a number, you are using the portal to deal directly with the carriers. The process is noted below. Please pay attention to the notes, as these can be important in completing a successful port and can all be the cause of rejections from the carriers.
- Review / Complete the Porting Checklist above
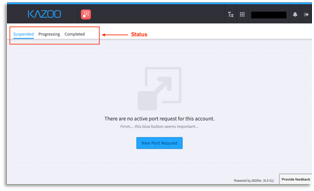
- Launch the Porting Manager Application
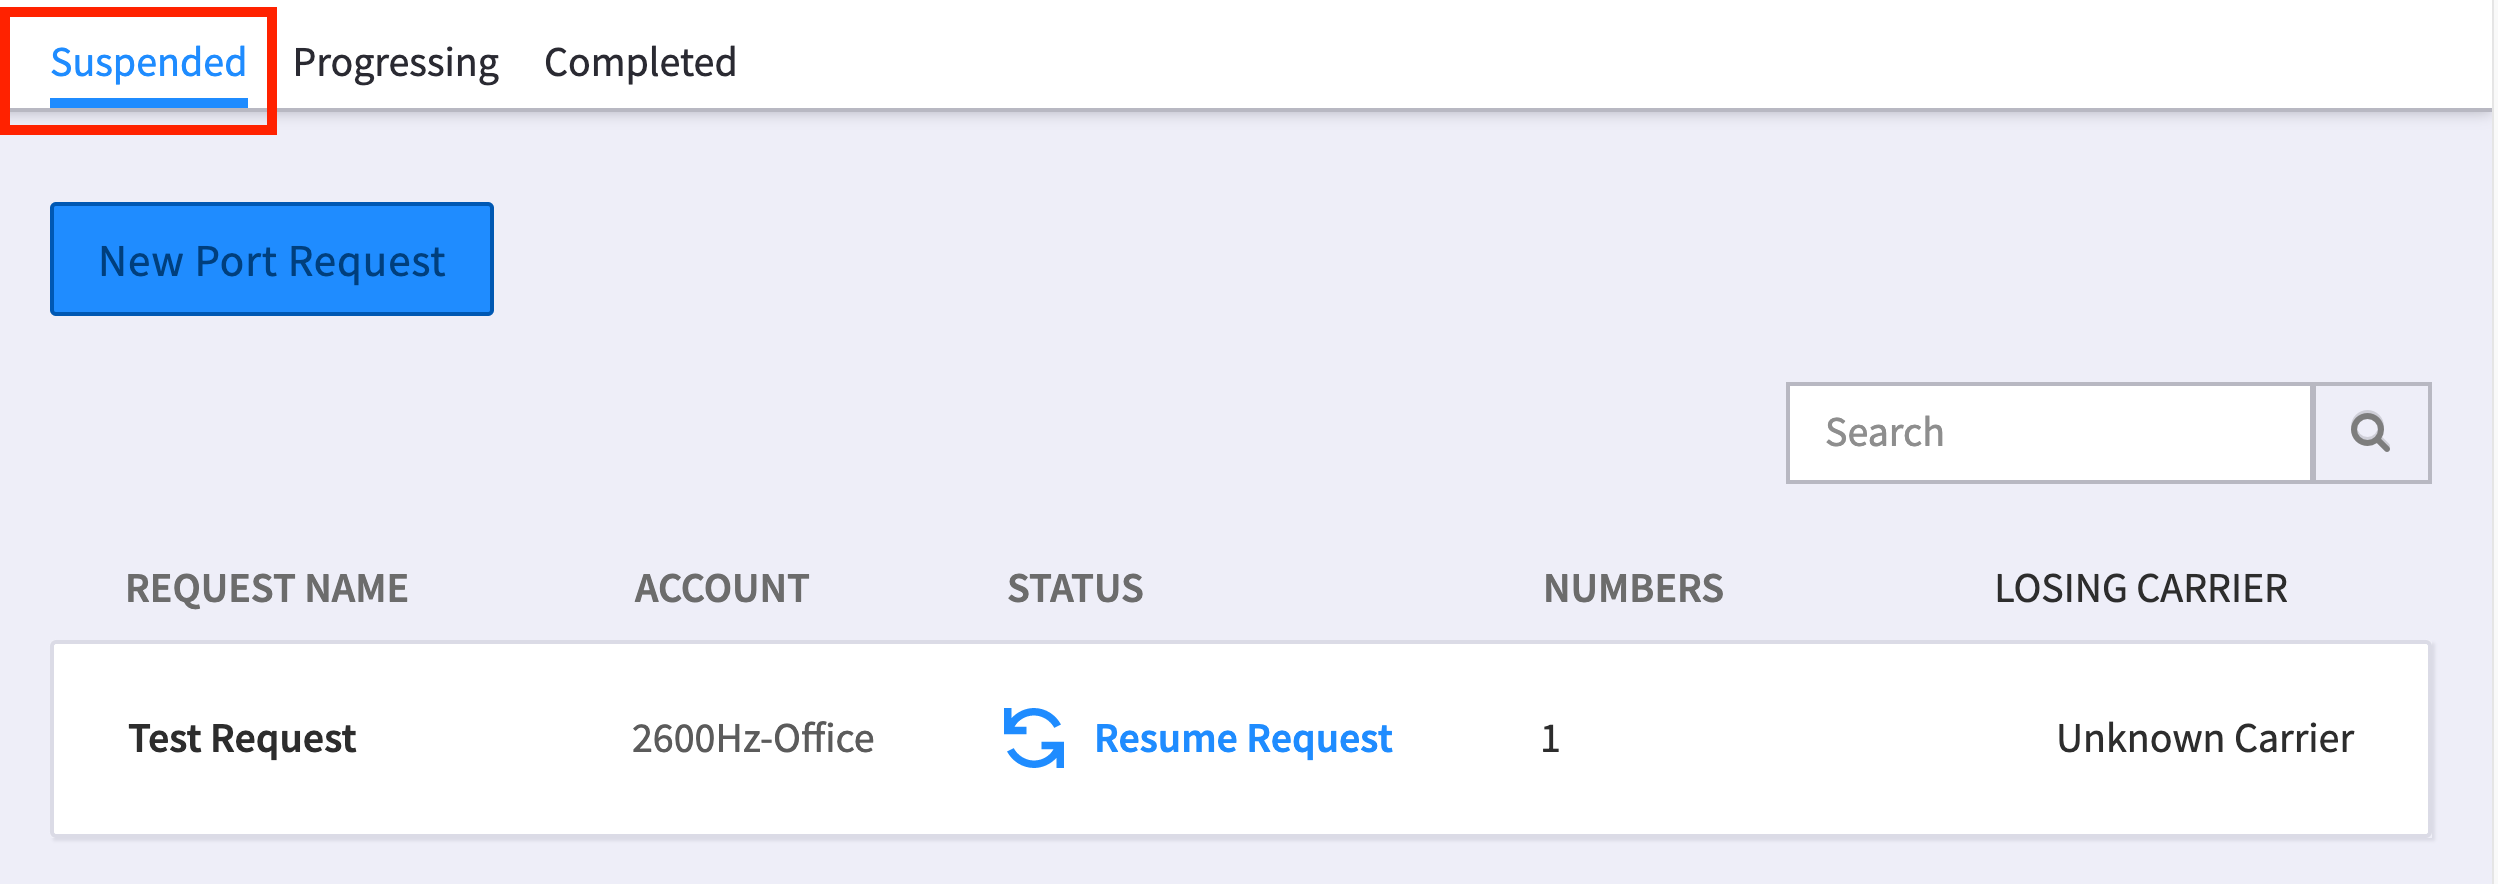
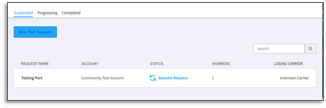
At the top, you will see 3 tabs to navigate for checking the status of your ports
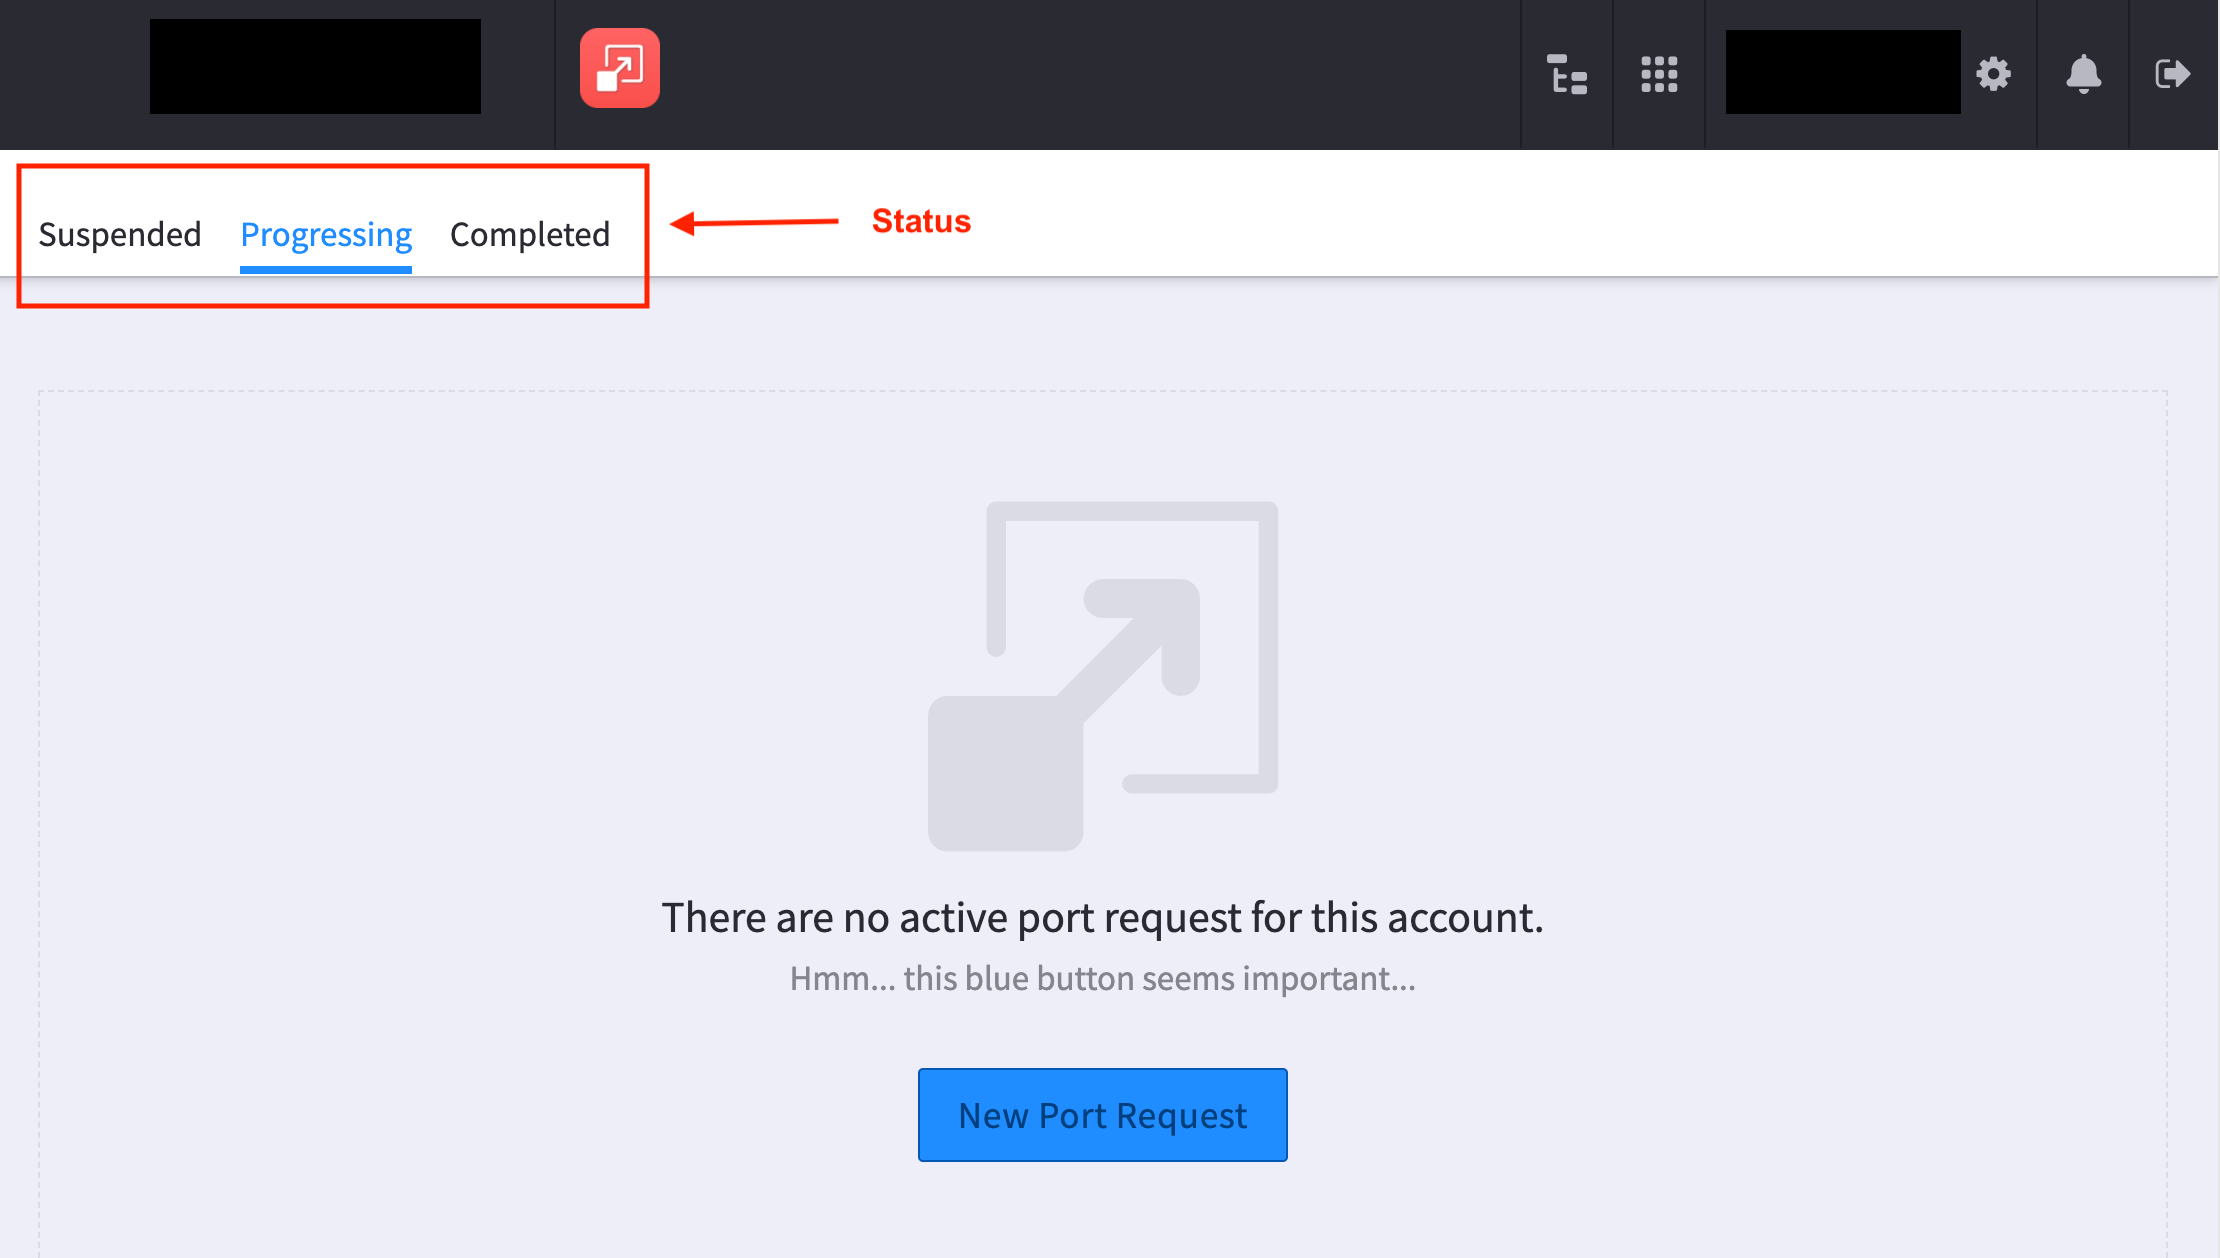
- Suspended – Saved (to continue later) or rejected ports
- Progressing – In progress with the Carrier
-
Completed -- Canceled or successful ports
3. Request New Port. 
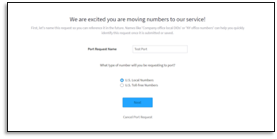
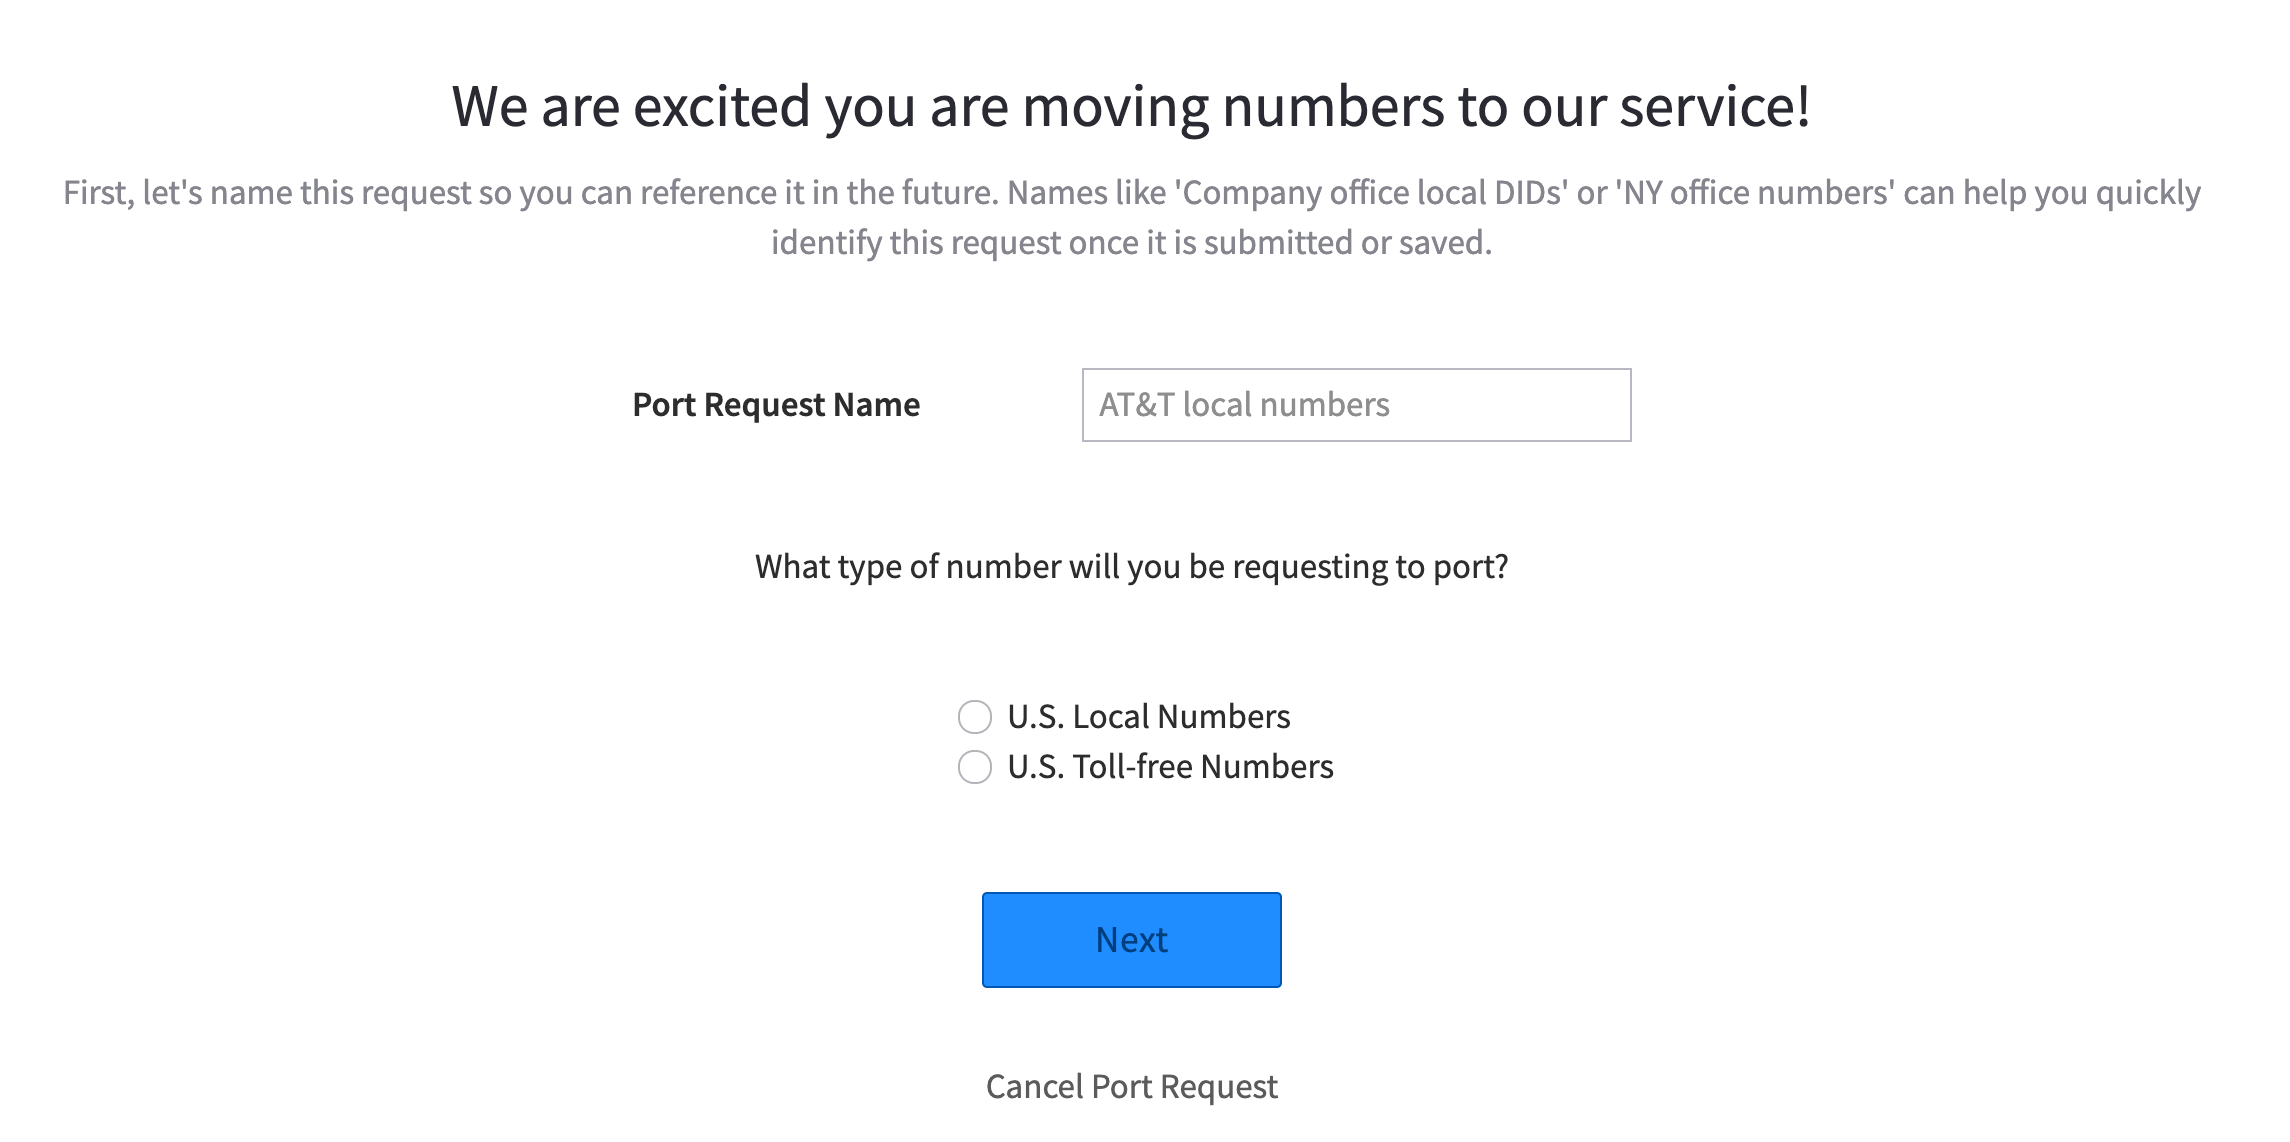
4. Enter Name of the port request
Next you will be asked to name the port request. This might be the name of your customer, or some other reference to the port that will be a reference point for you (or 2600Hz if you need assistance). You will also need to designate whether this port will be all local number or all toll-free numbers.
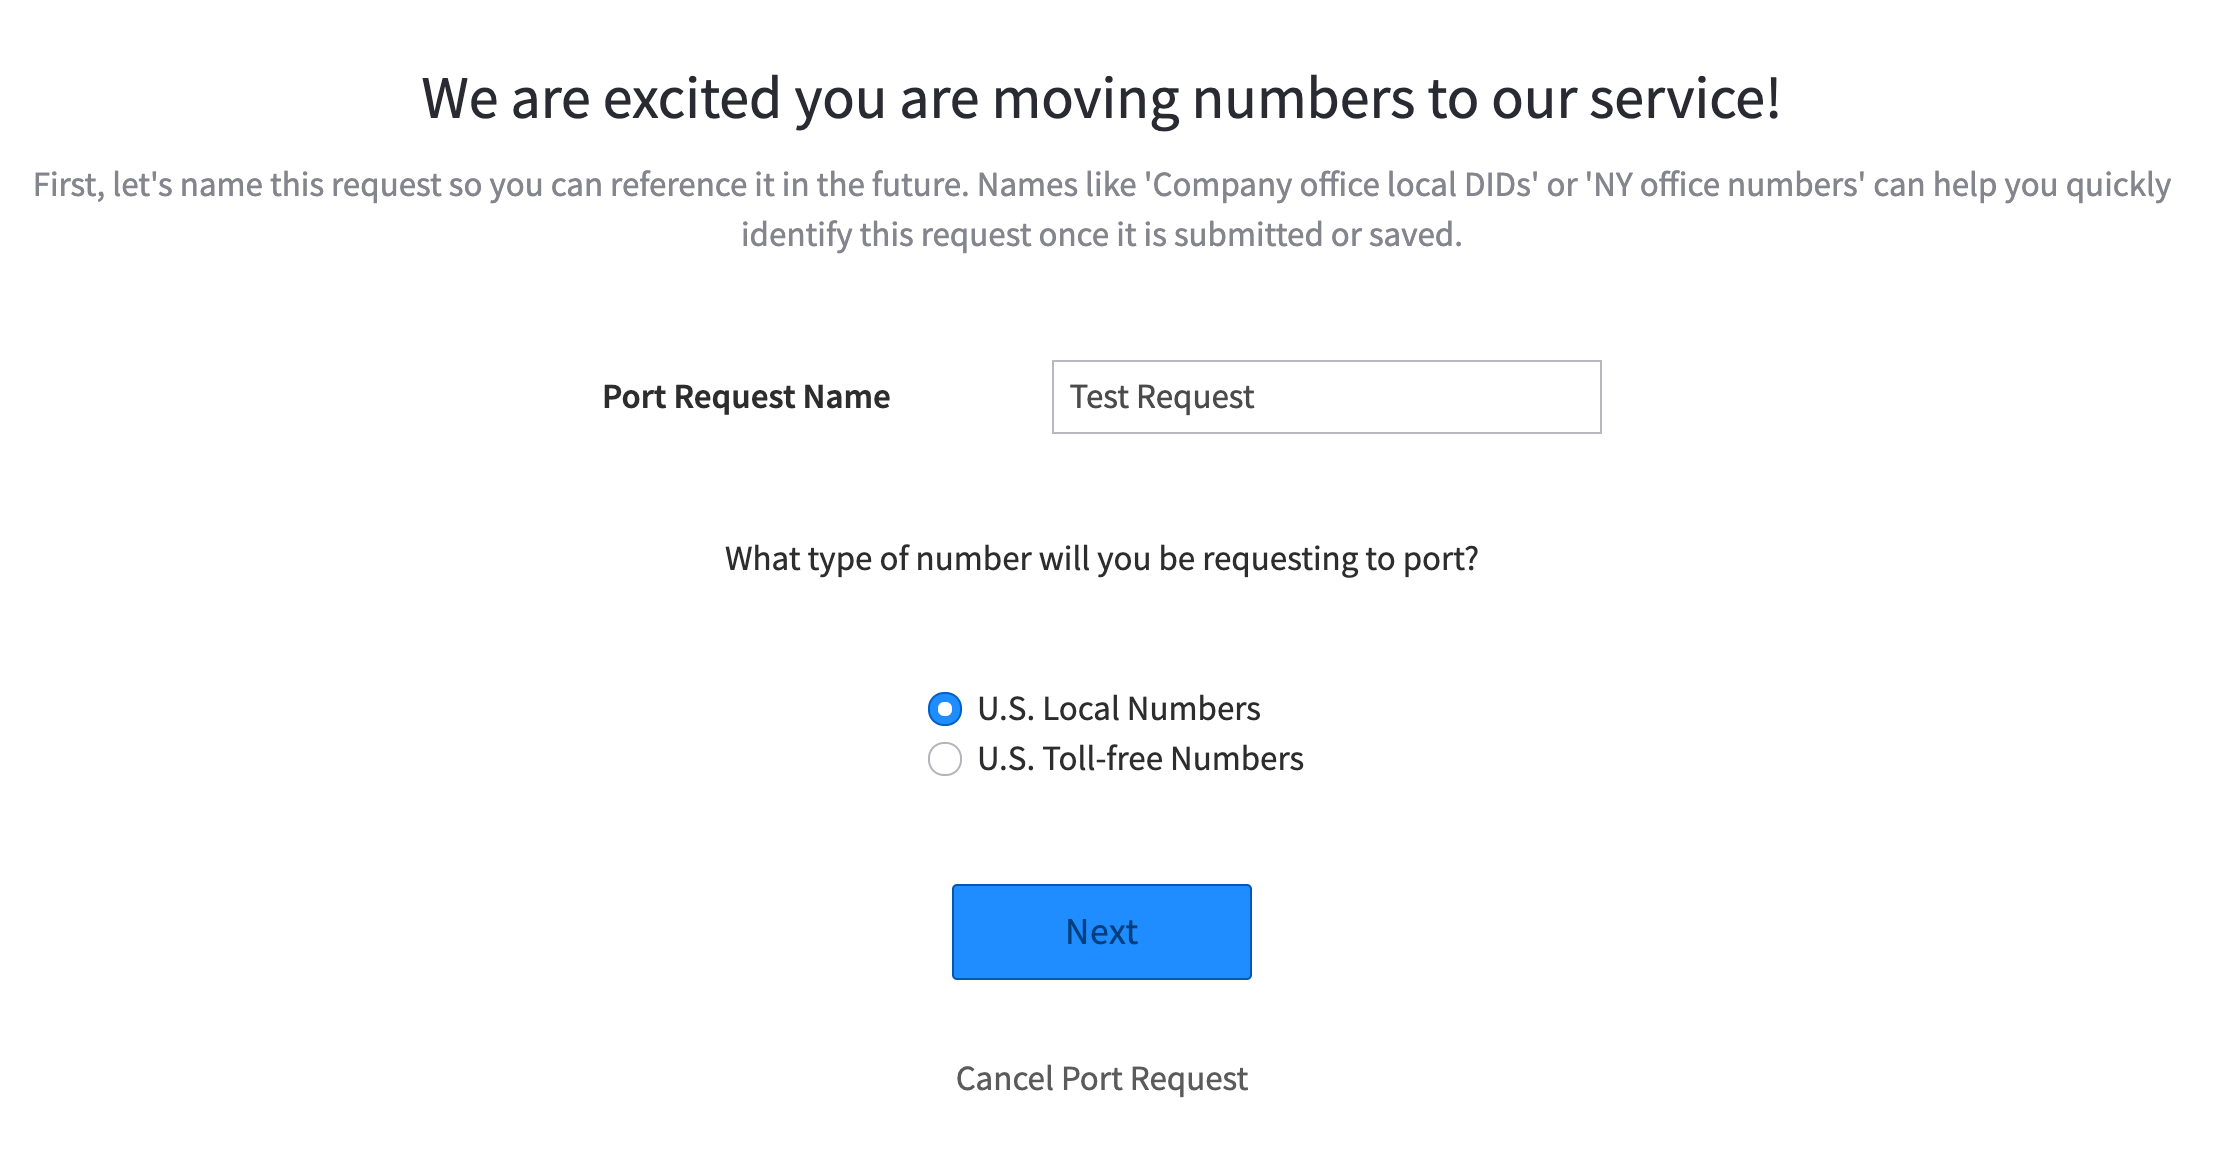
NOTE: Local and toll-free numbers CAN NOT appear on the same port request – separate requests must be completed.
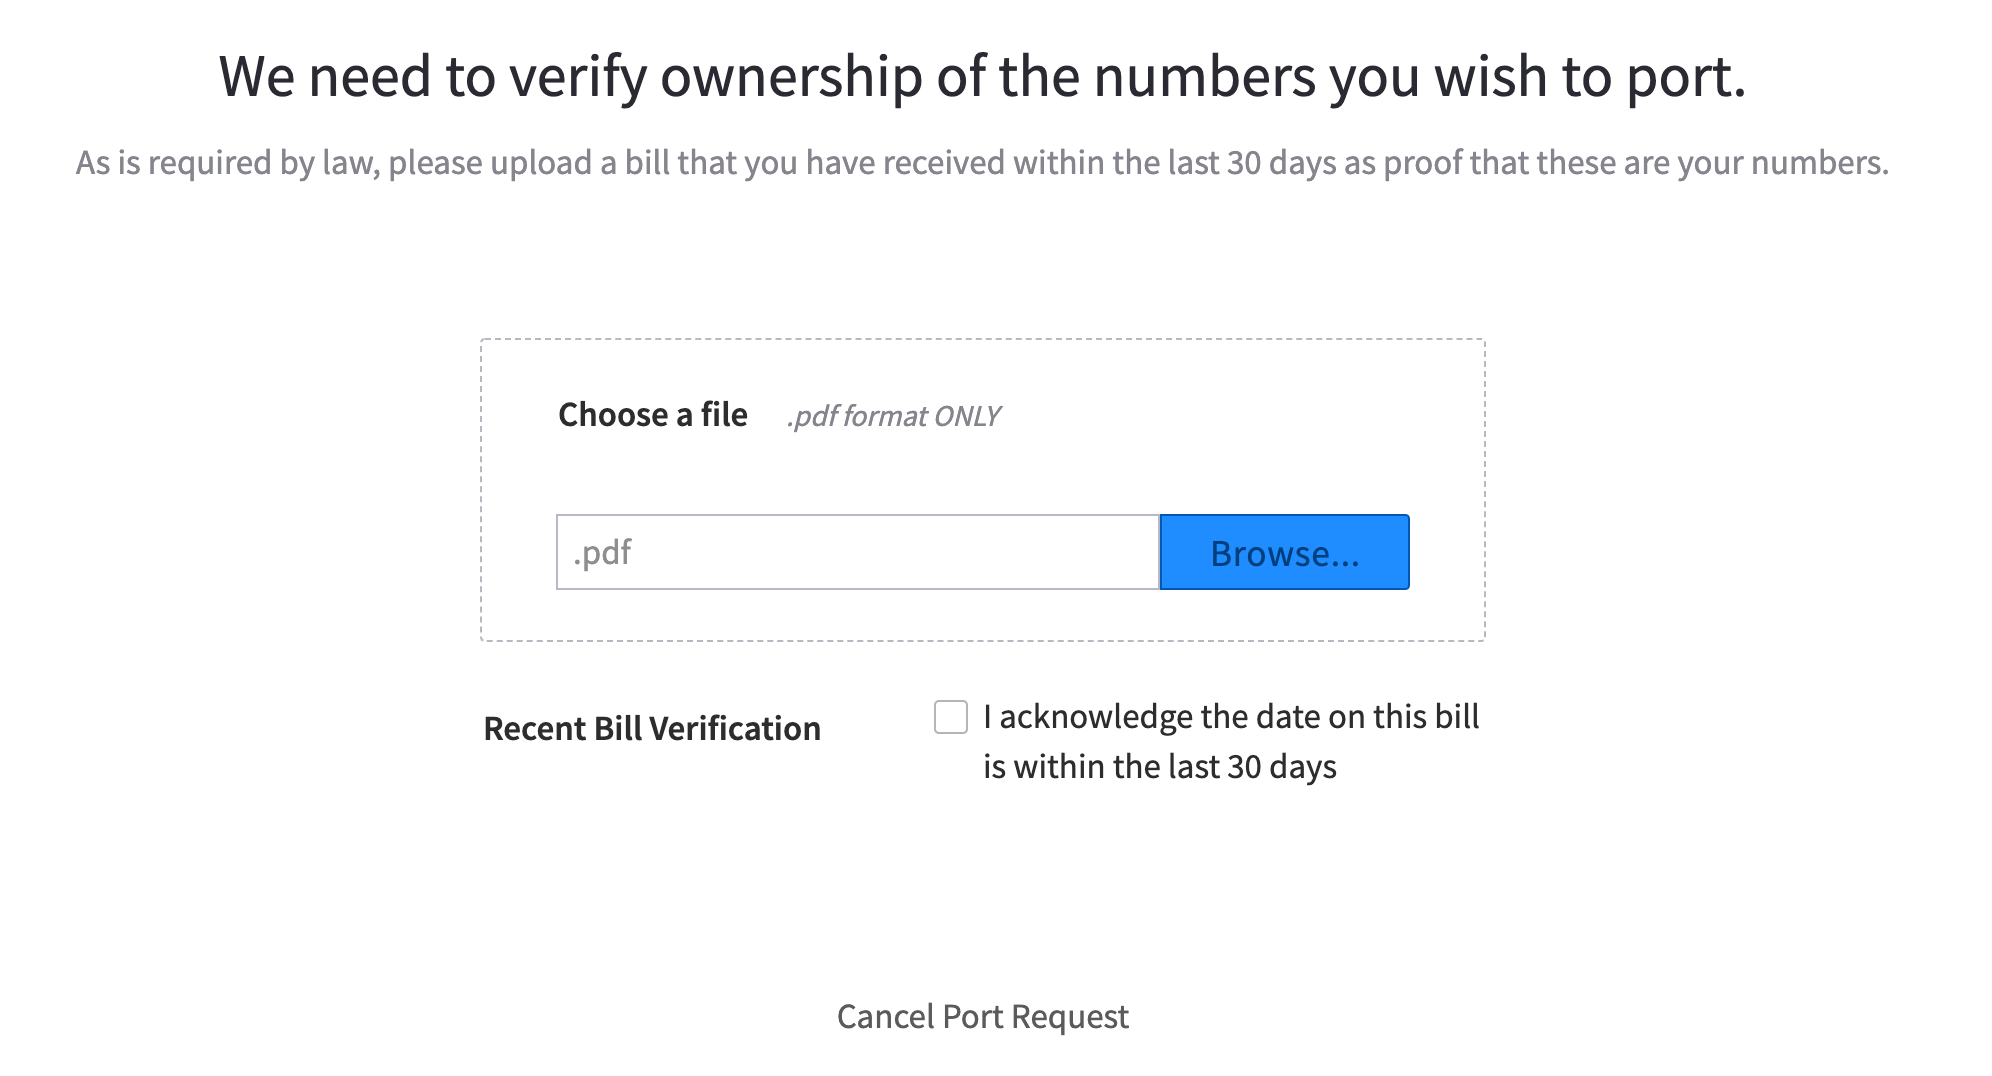
5. Attach current bill showing ownership
You will be required to provide a bill that the number is attached to in order to prove ownership. Attach the bill, and click the box to verify that the date is within 30 days.
NOTE:
- The bill must be dated within 30 days preceding the port request, at the time the carriers process. Submitting a bill dated 28 or 29 days prior, may cause a rejection – please allow time for processing.
-
The bill also must be in PDF format and cannot exceed 5mb.
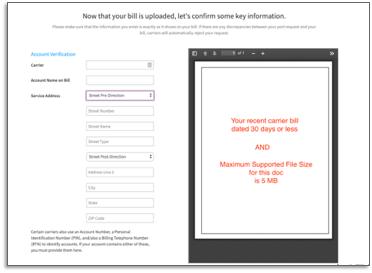
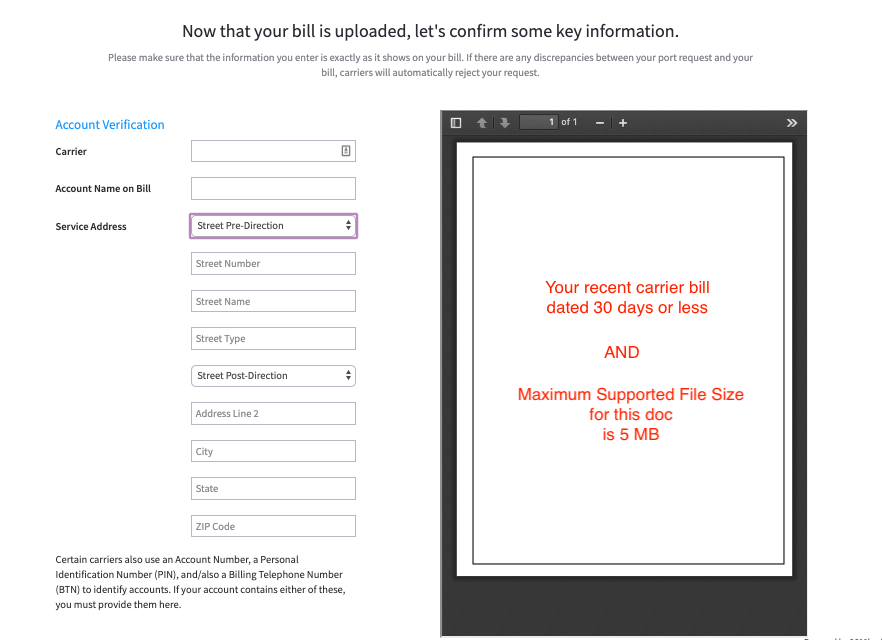
6. Enter Account Information
Once you click the verification box, additional fields will appear below, as well as a visual of the attached bill. The fields include the losing carrier (this should be the bill from that carrier), the Account name EXACTLY as it appears on the bill, and the Service Address.
Account Names cannot exceed 25 characters which includes spaces. This is our carrier’s max limit. If the account name exceeds 25 characters, input the 1st 25 and after they submit, add a comment to the order indicating the full account name in case it rejects. These types of rejections require our carrier to make manual changes to the order on their end. 2600Hz
will contact the carrier asking them to make the changes.
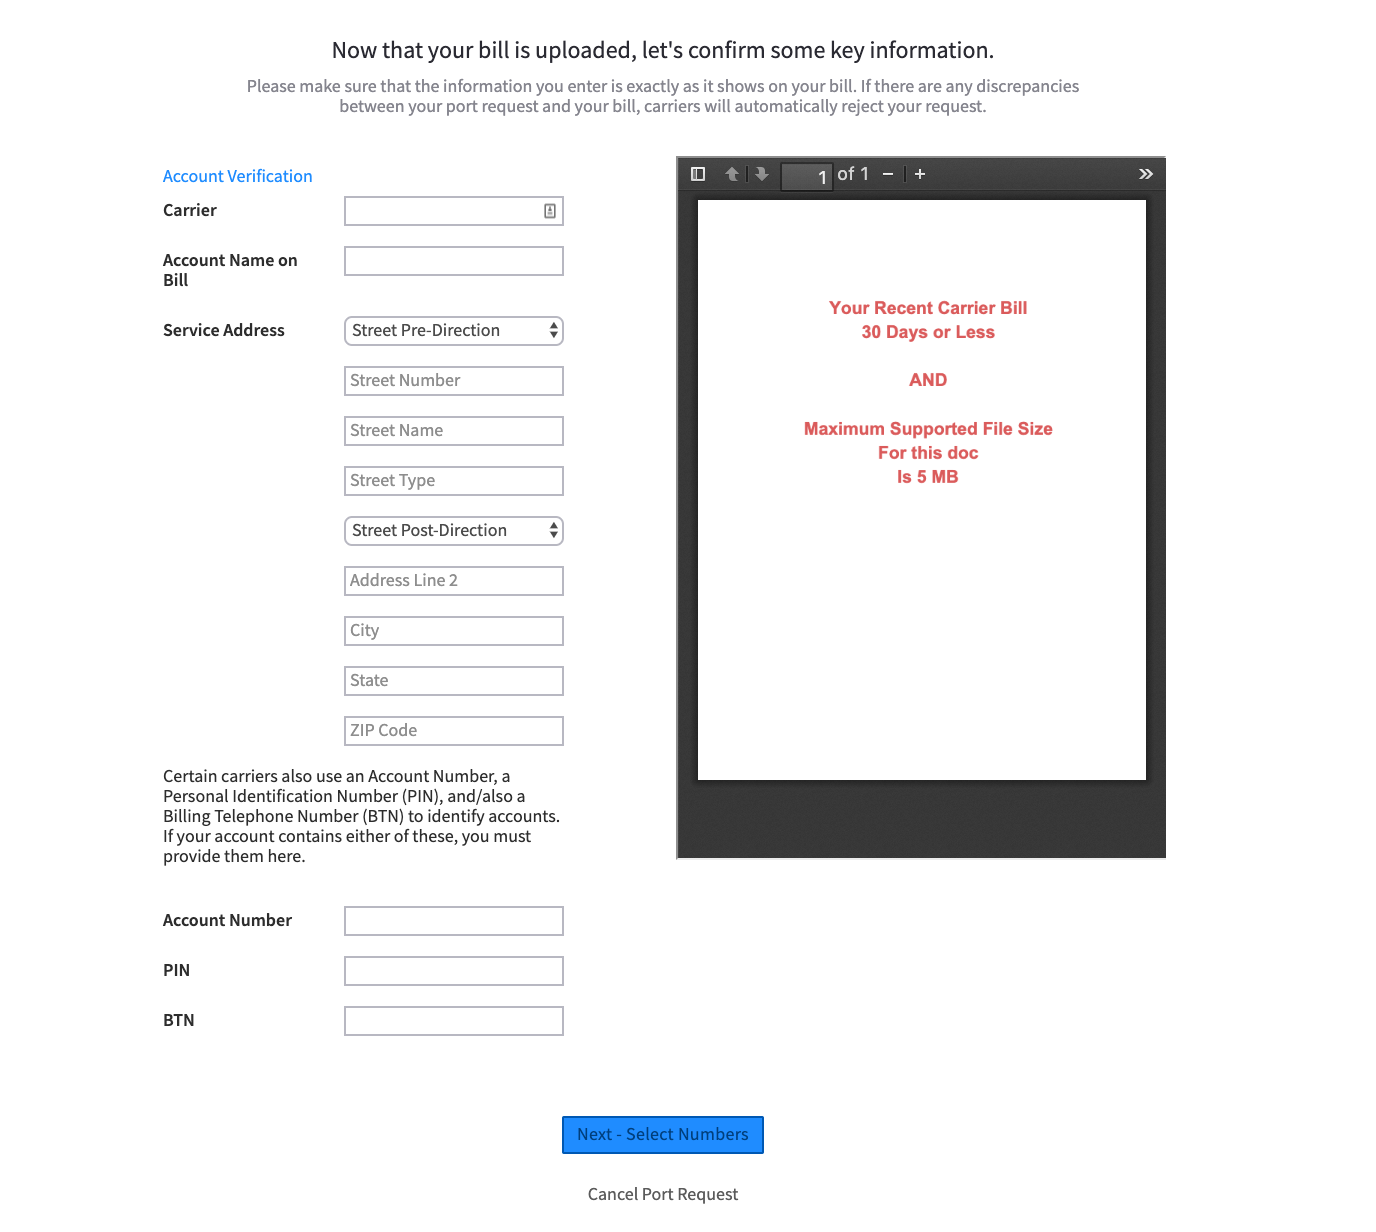
NOTE: If the information you are providing to the fields does not EXACTLY match the bill, this can cause a rejection. Some carriers will reject for missing or added punctuation or even a space!
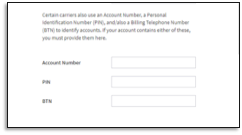
Some carriers also use an Account Number or PIN which should be typed into the appropriate field – if none are provided, leave these blank. You will also need to populate the BTN, or BillingTelephone Number, in the last field.
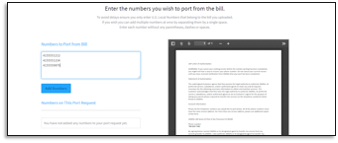
7. Select Numbers to Port
Next, you will be asked to list the numbers you wish to port, and then click Add Numbers to “add” them to the port. You can port a maximum of 100 numbers in one request.
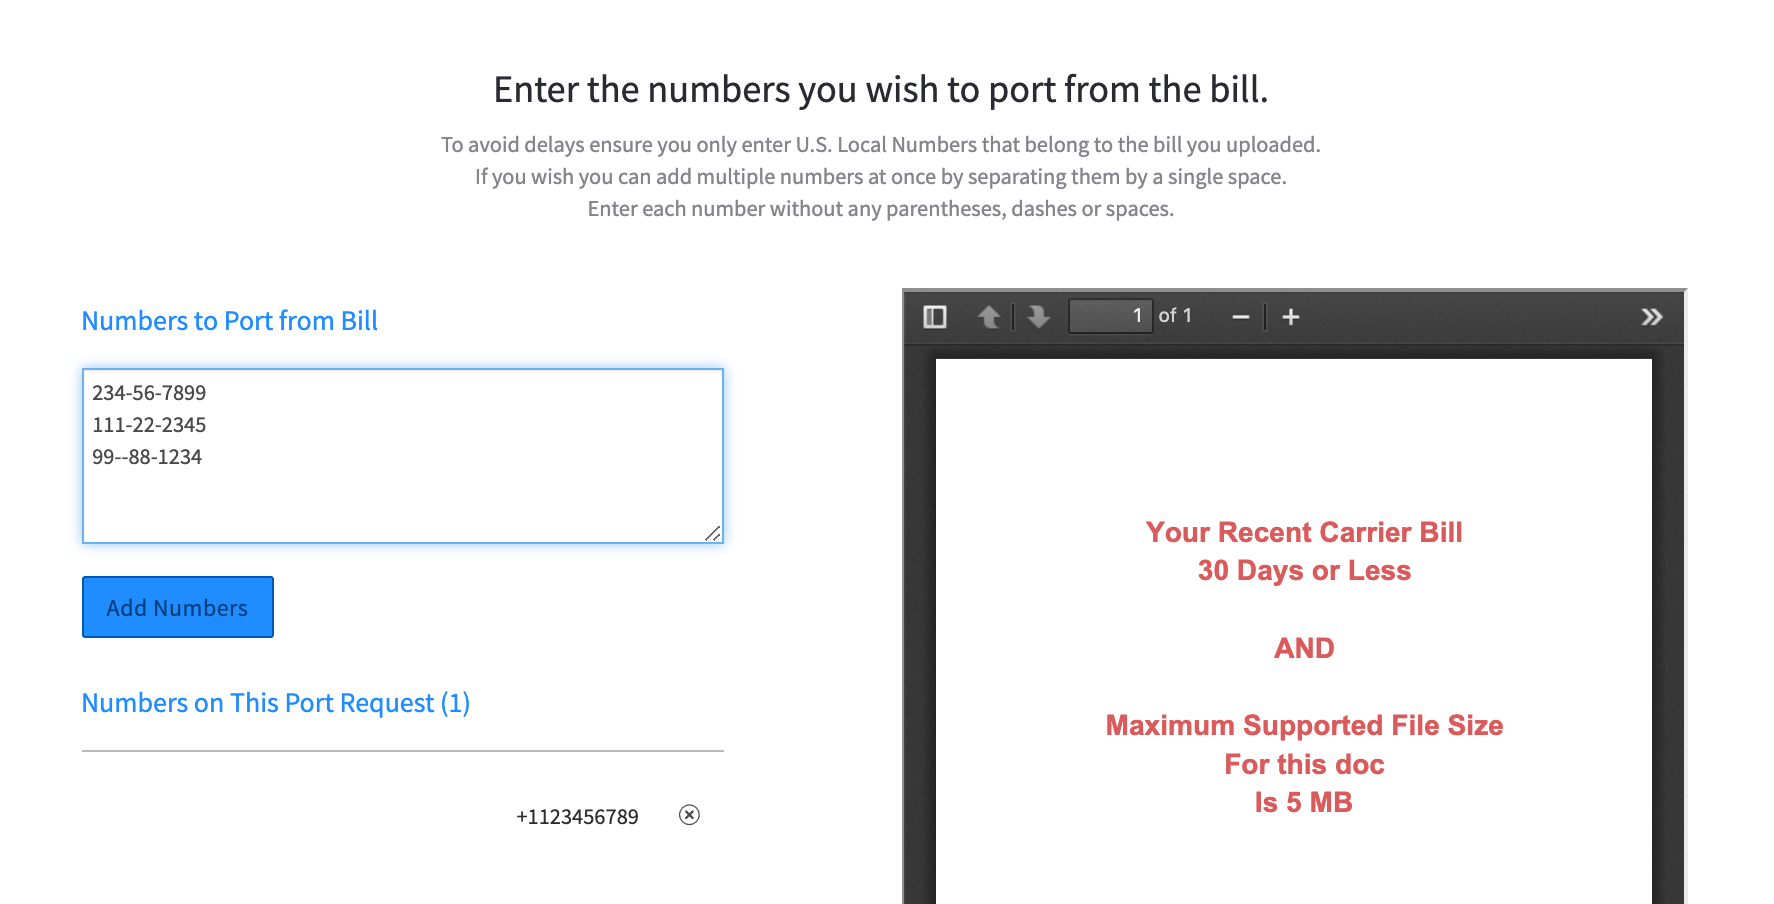
NOTE: Make sure to double and triple-check the numbers you enter! Solving fat finger mistakes on the numbers is close to impossible.
If you are trying to port the BTN (Billing TelephoneNumber), the system will immediately recognize it and flag as shown here:
IS THIS A FULL PORT OR A PARTIAL PORT?
If you are porting all numbers from the account, click Full Account Port
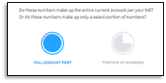
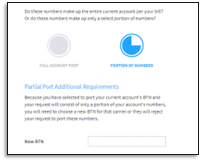
If you are only doing a partial port (meaning not all of the numbers), select Portion of Numbers. If your partial port includes the BTN from this account, you will need to note a new BTN from the numbers that will remain with the losing carrier.
You can save and continue later (you will find this order under “Suspended” when you come back in to complete) or Next – LOA Form to add the Letter of Authorization to the request.
8. Review your List of Numbers!
NOTE: Be sure to double check that all of the information in the document matches what is on the bill, and to double check the phone numbers to be sure they are correct. An incorrect number, or typo, can cause the entire port to be rejected!
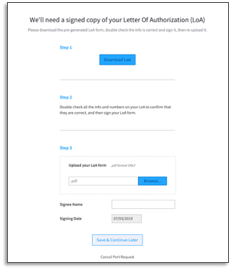
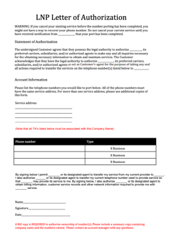
9. Submit your Letter of Authorization
Next, you’ll need to provide an LOA (Letter of Authorization). This confirms you are both eligible to authorize the cancelation of your old account and the start of your new account with 2600hz.
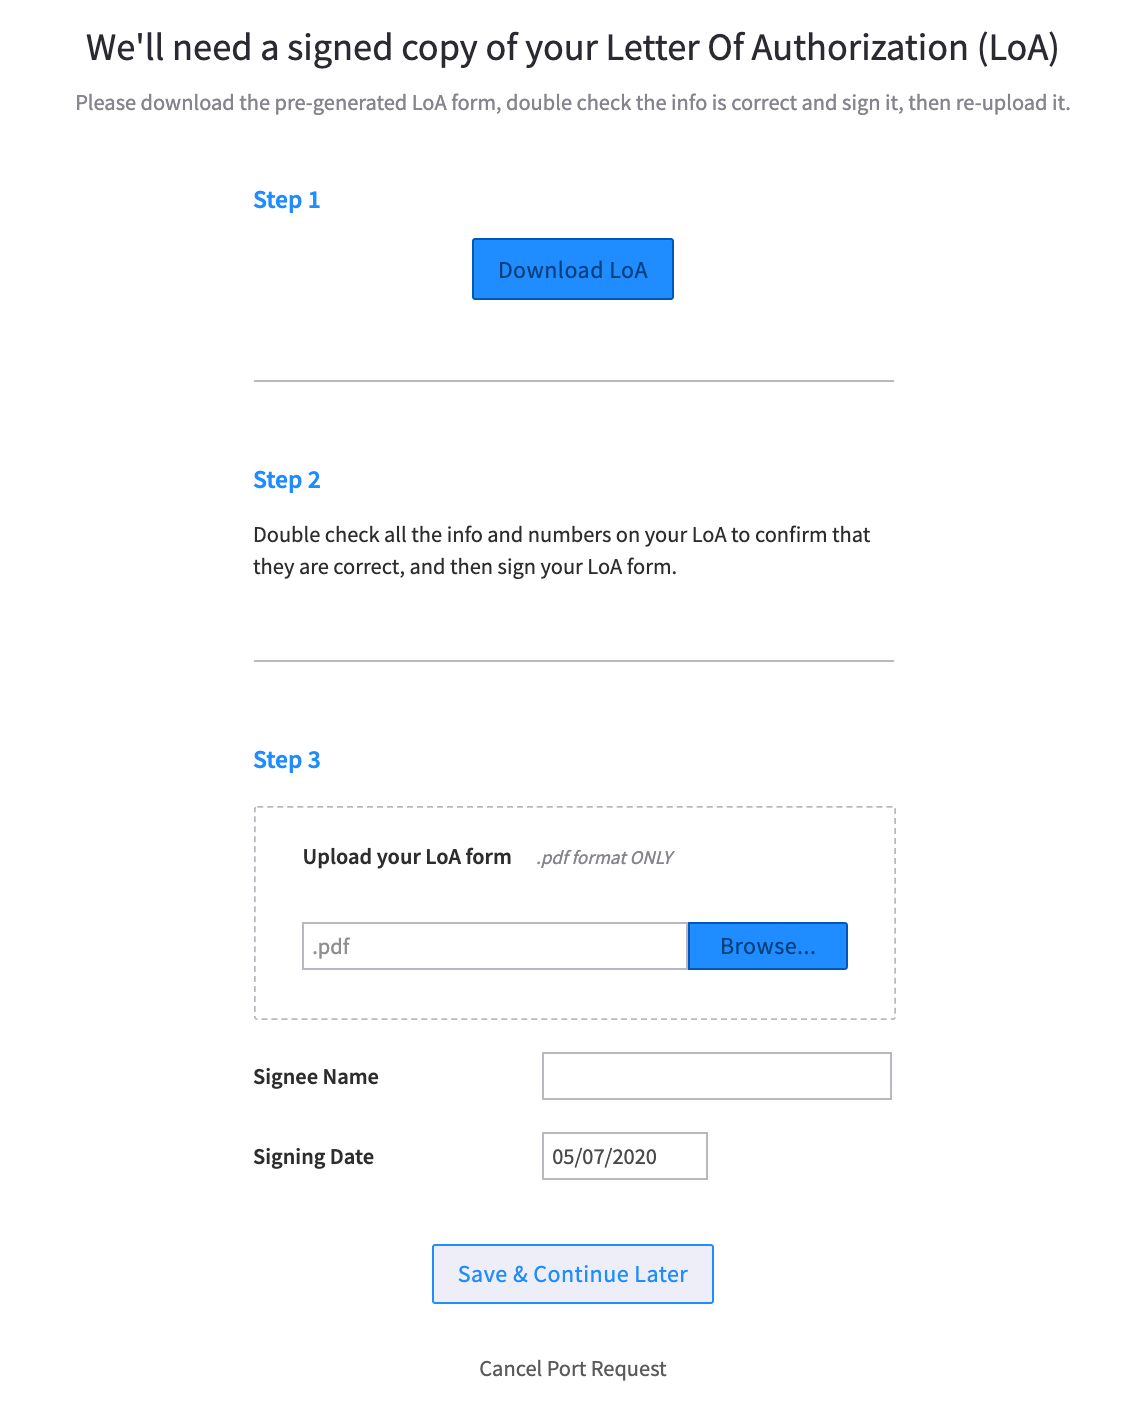


To do this, follow the steps from this dialog box. It includes downloading our form, filling it out, signing the form and uploading it back to this application.
NOTE: Your LOA MUST be uploaded in PDF format.
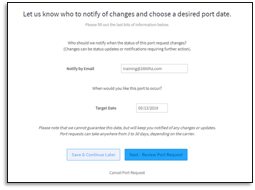
10. Enter preferred porting date and contact information
The last piece before the review is to let the carriers know who to notify of the changes and to request a porting date.
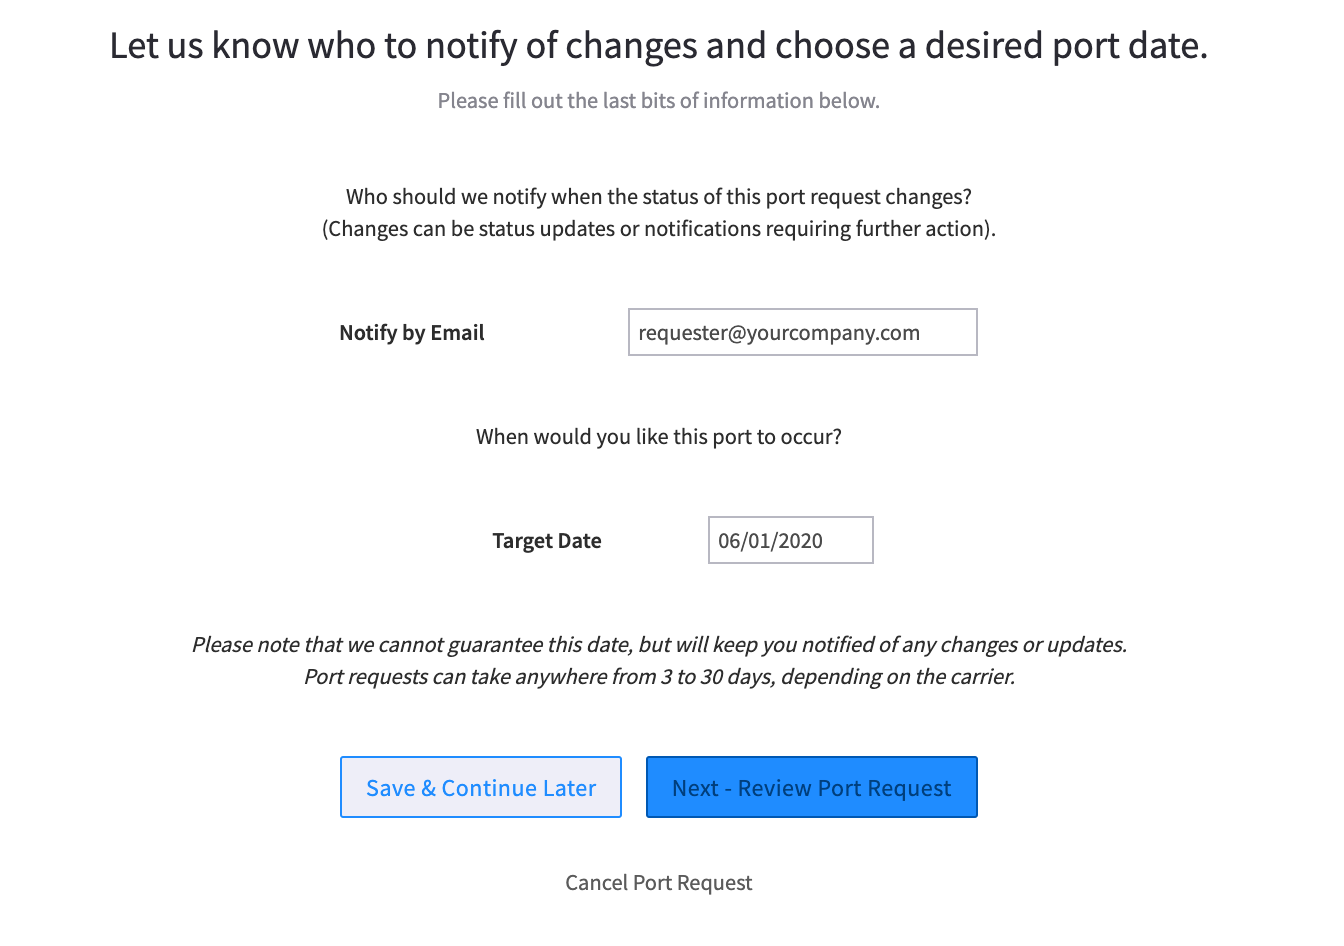
NOTE: Your requested date is not guaranteed – the porting date is not confirmed until you received your FOC date, or Final Order Confirmation date.
11. Save or Suspend your request if you're not ready

NOTE: You can choose to “save” or “suspend” your application if you want a second pair of eyes to review this. Look for a button like this, available on most screens. Once saved, the request will display on your Porting home screen and provide the option to Resume. It will then restore the data you entered.
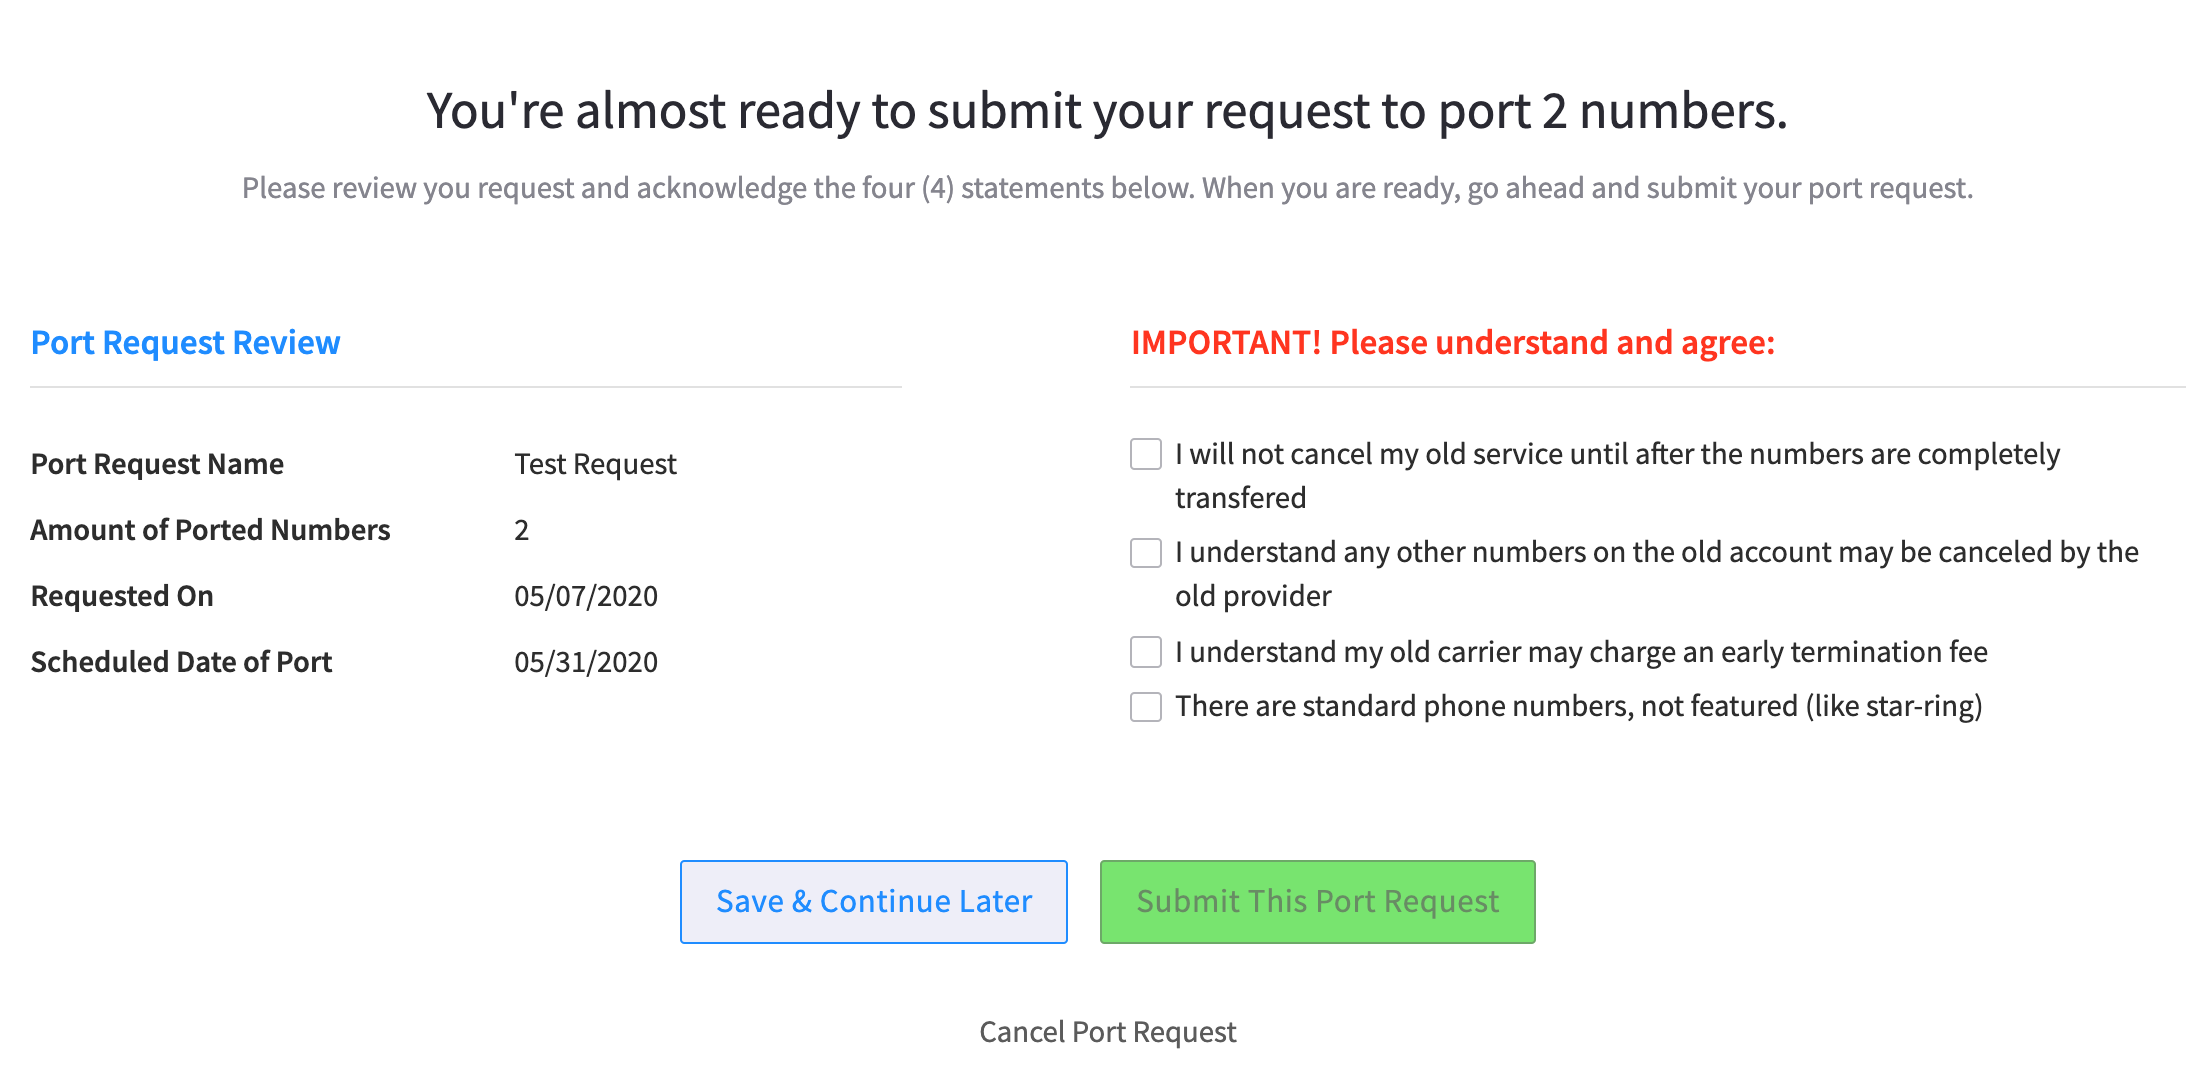
12. REVIEW REVIEW REVIEW
The final step is the review.
Be sure to double check the information provided, and you must check the boxes on the right, stating your agreement, before being able to submit the port. Once the boxes are checked, you can submit your port. You will see this confirmation and agreement. You will need to check all boxes.
13. What to expect next
Once submitted, you should see a screen like the one below. Please submit any questions in the Message block as shown. This is the channel for support for this process.
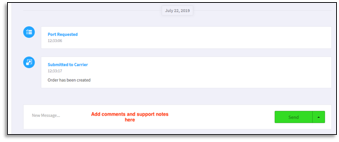
You will be notified by email:
- A confirmation of the date you have requested, or alternate date proposed
- When the porting process is complete.
You can also track the progress by clicking on the Progress tab in our application.
Related Articles
|
|
Porting Manager FAQ and Training Webinar |
 |
Bulk importing Names and Numbers using CSV export files |
 |
Managing Phone Numbers - User Guide |
 |
Branding Manager User Guide |
API Reference Docs
#######


Edited by Emily R (show revisions)
Recommended Comments
There are no comments to display.