User Story
- A user wants to add a device to his/her name in an existing account.
Steps
This can be achieved in the SmartPBX or Advanced Callflows app. It is recommended you us SmartPBX unlesss you are an administrator, as the Callflows setup may trigger additional reactions in the callflows application.
 Associate a device with its user in SmartPBX
- Open Smart PBX
- Select the User Tab to the left
-
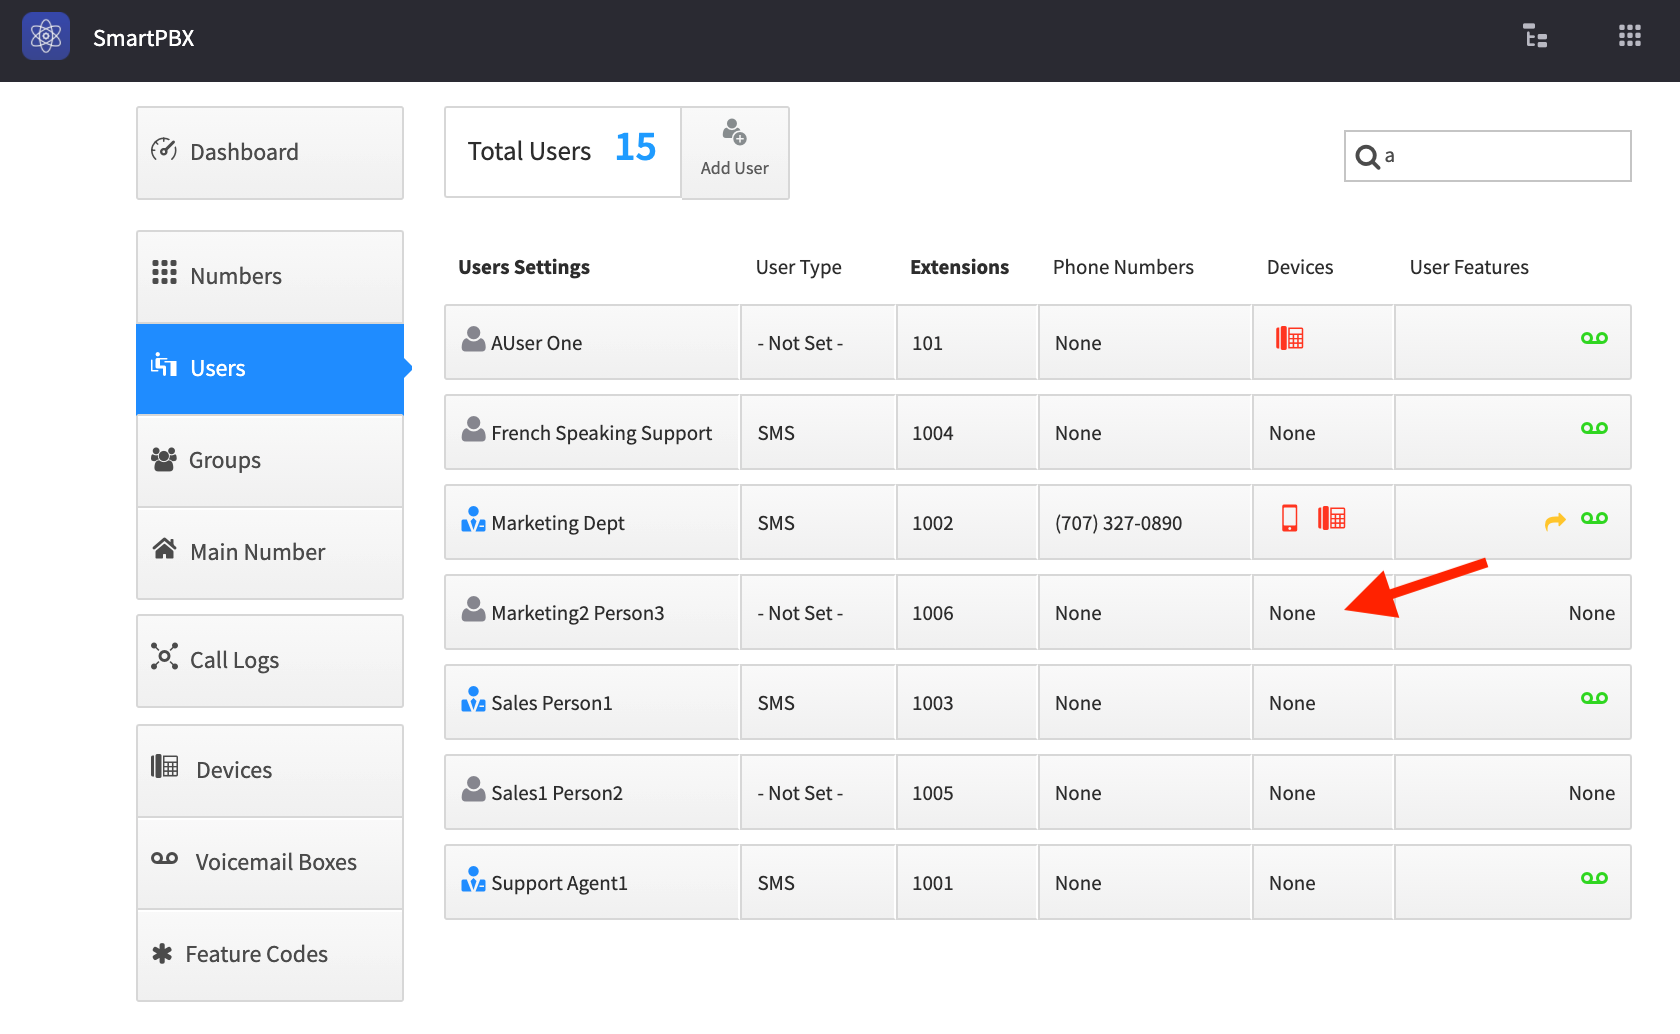
Find the user you want to assign a device to

-
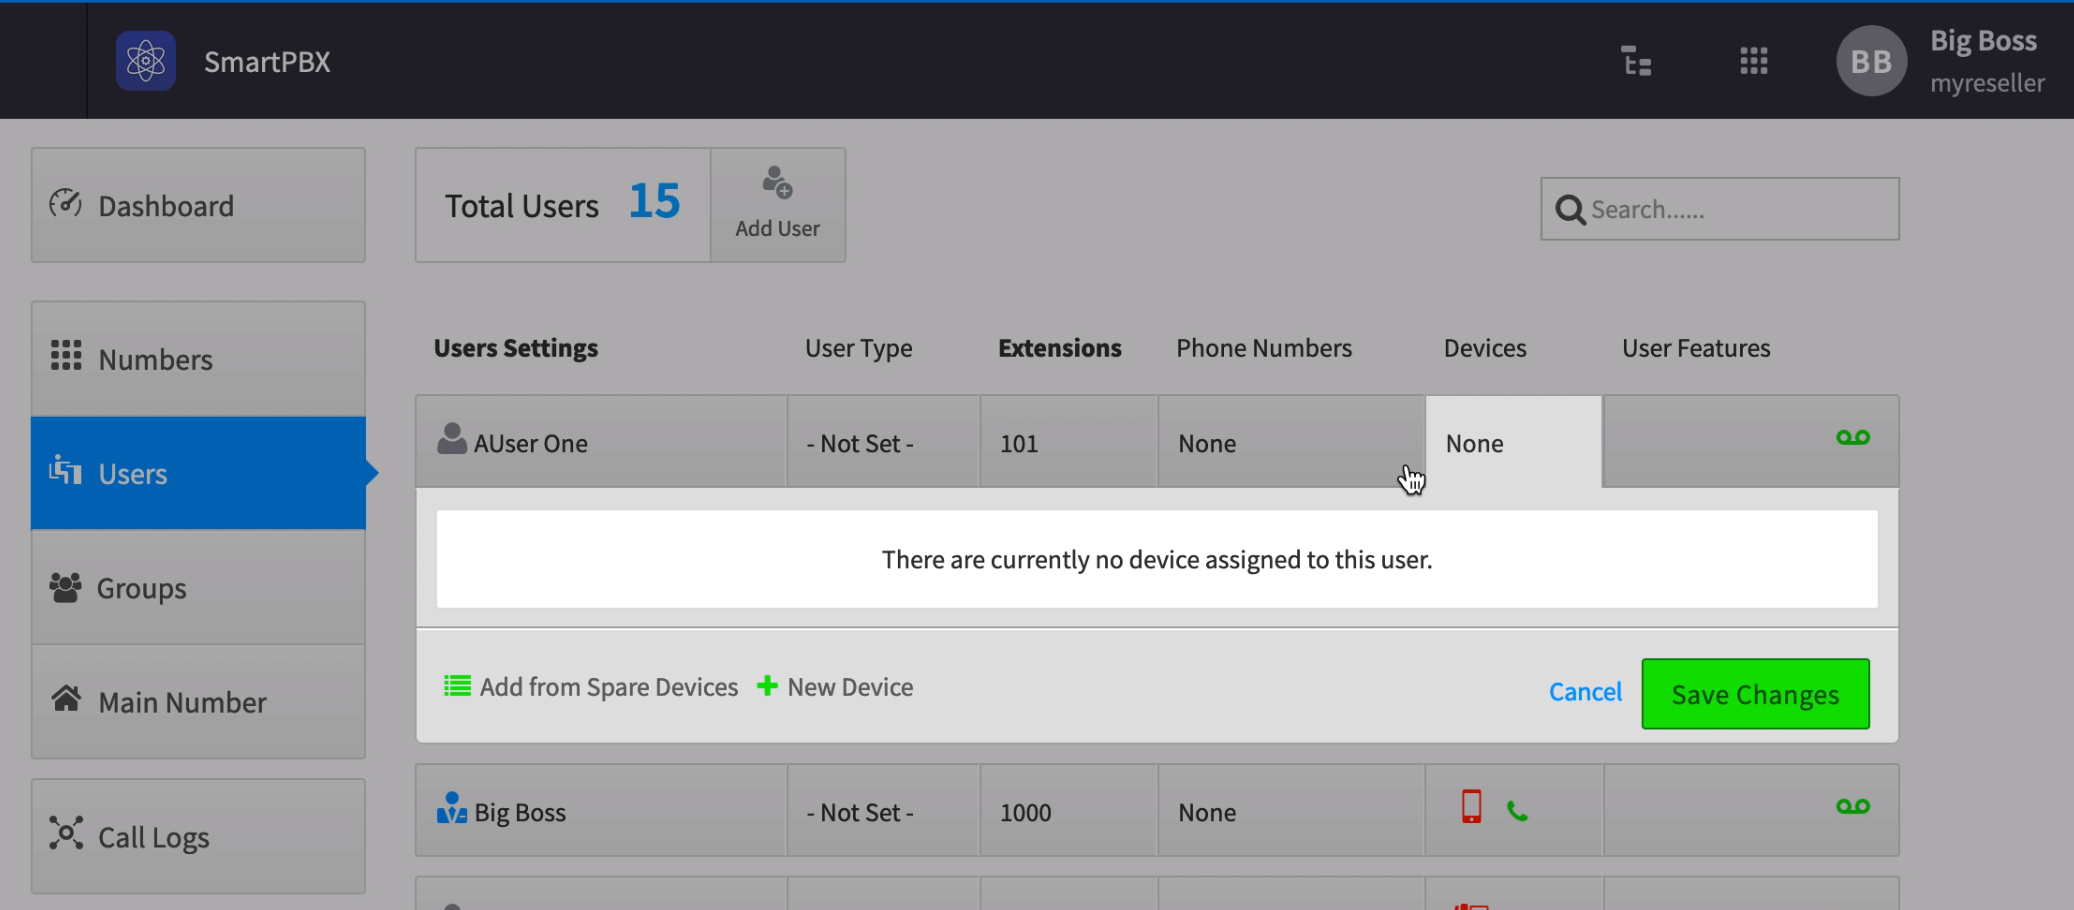
Under the devices column, select the area where devices will display - if there are no devices attached yet you will see the word None.

-
You will be given a choice to:
-
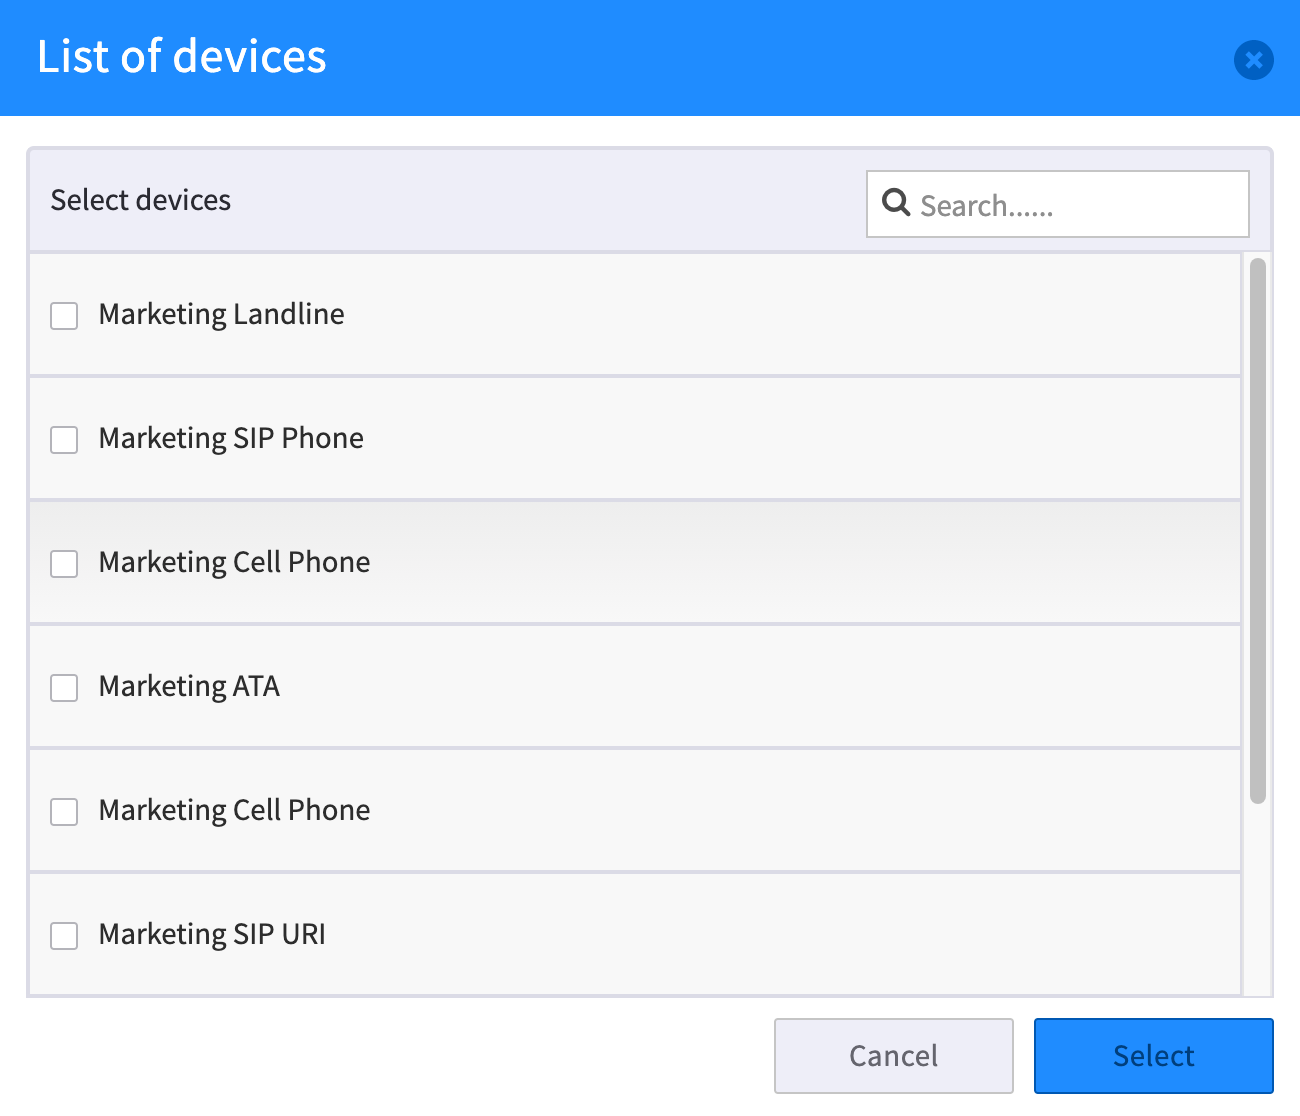
Add from Spare Devices.
This will display a list of devices your system admin has already added to the system.
-
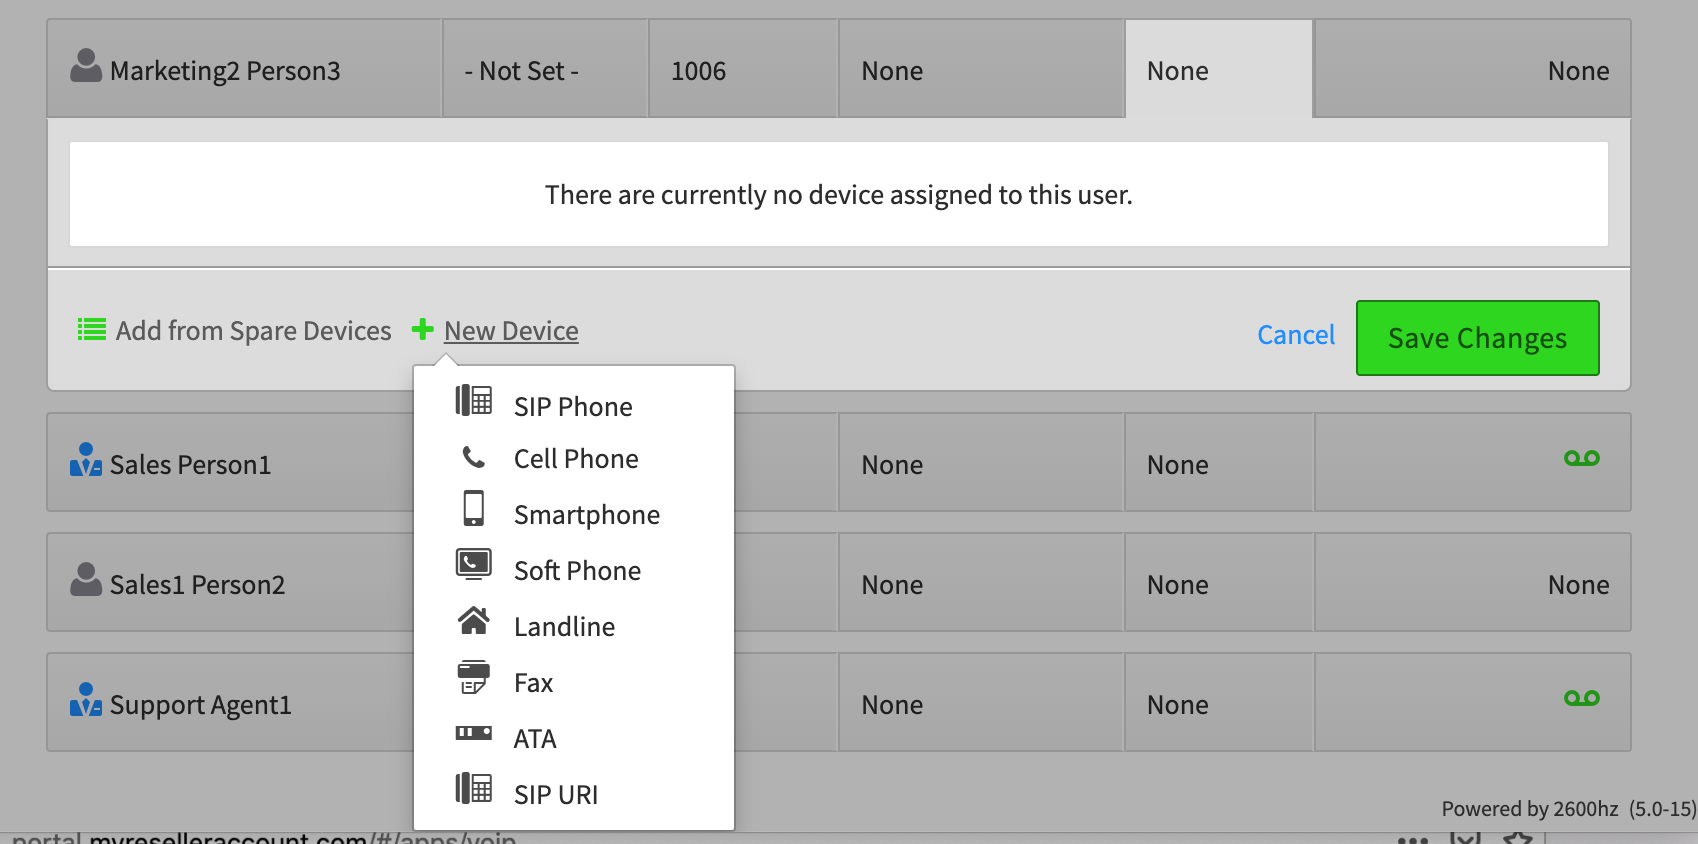
Add New Device
If you do not see your device listed, you can add it as a new device. Select New Device, and choose the type of device you have.
NOTE: each device type also will show “Advanced” Settings, unique to that device’s characteristics.characteristics. Make sure to review those settings in addition before you select the “Create Device” button.
Common settings include:- Allow use of the device’s voicemail
- Keep (or not) Original Caller ID
- Hide from Contact List
-
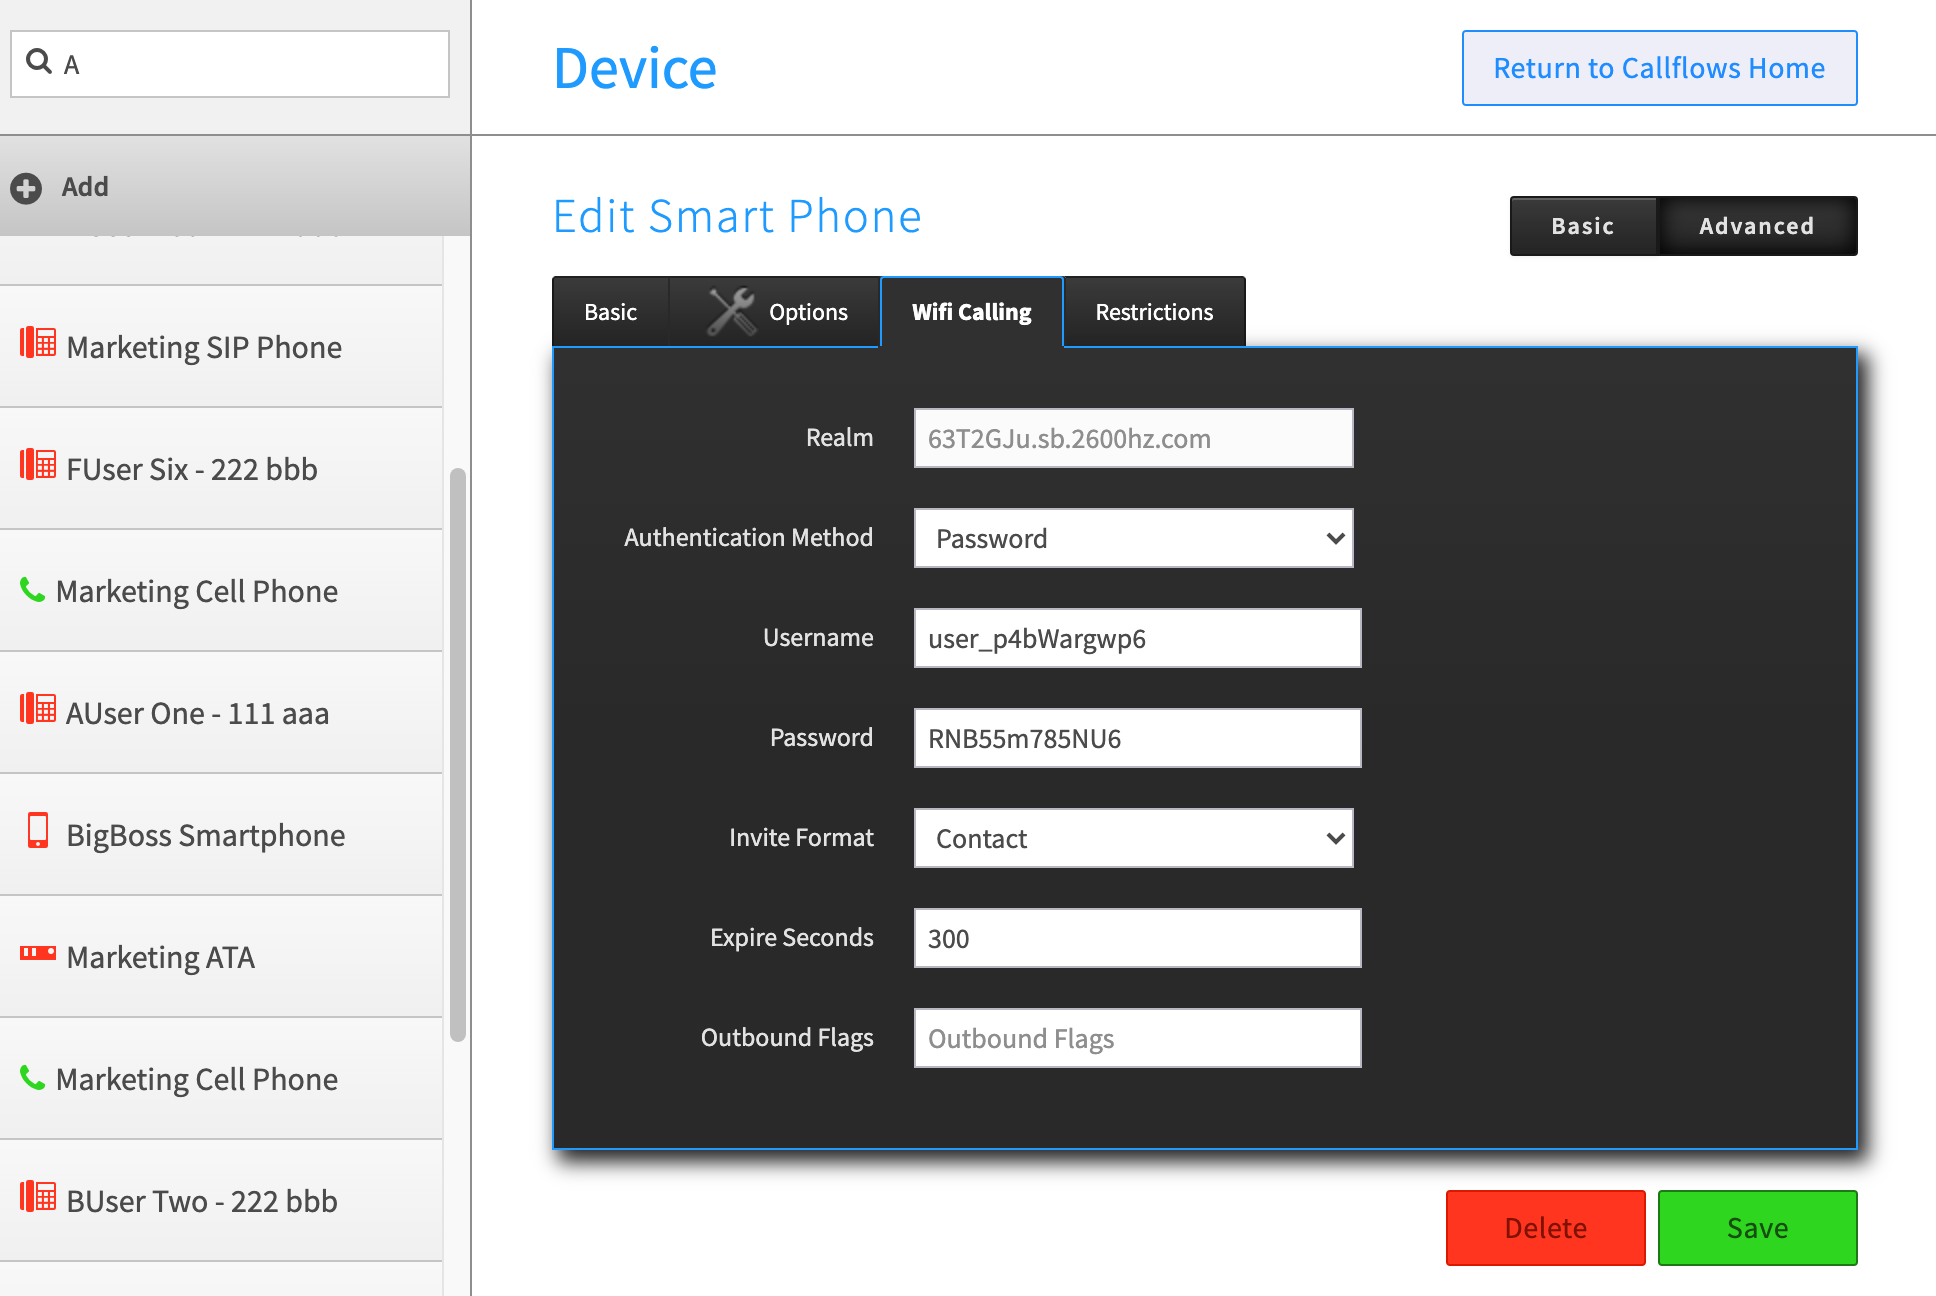
The screen shot below shows the Advanced settings for adding a Smartphone.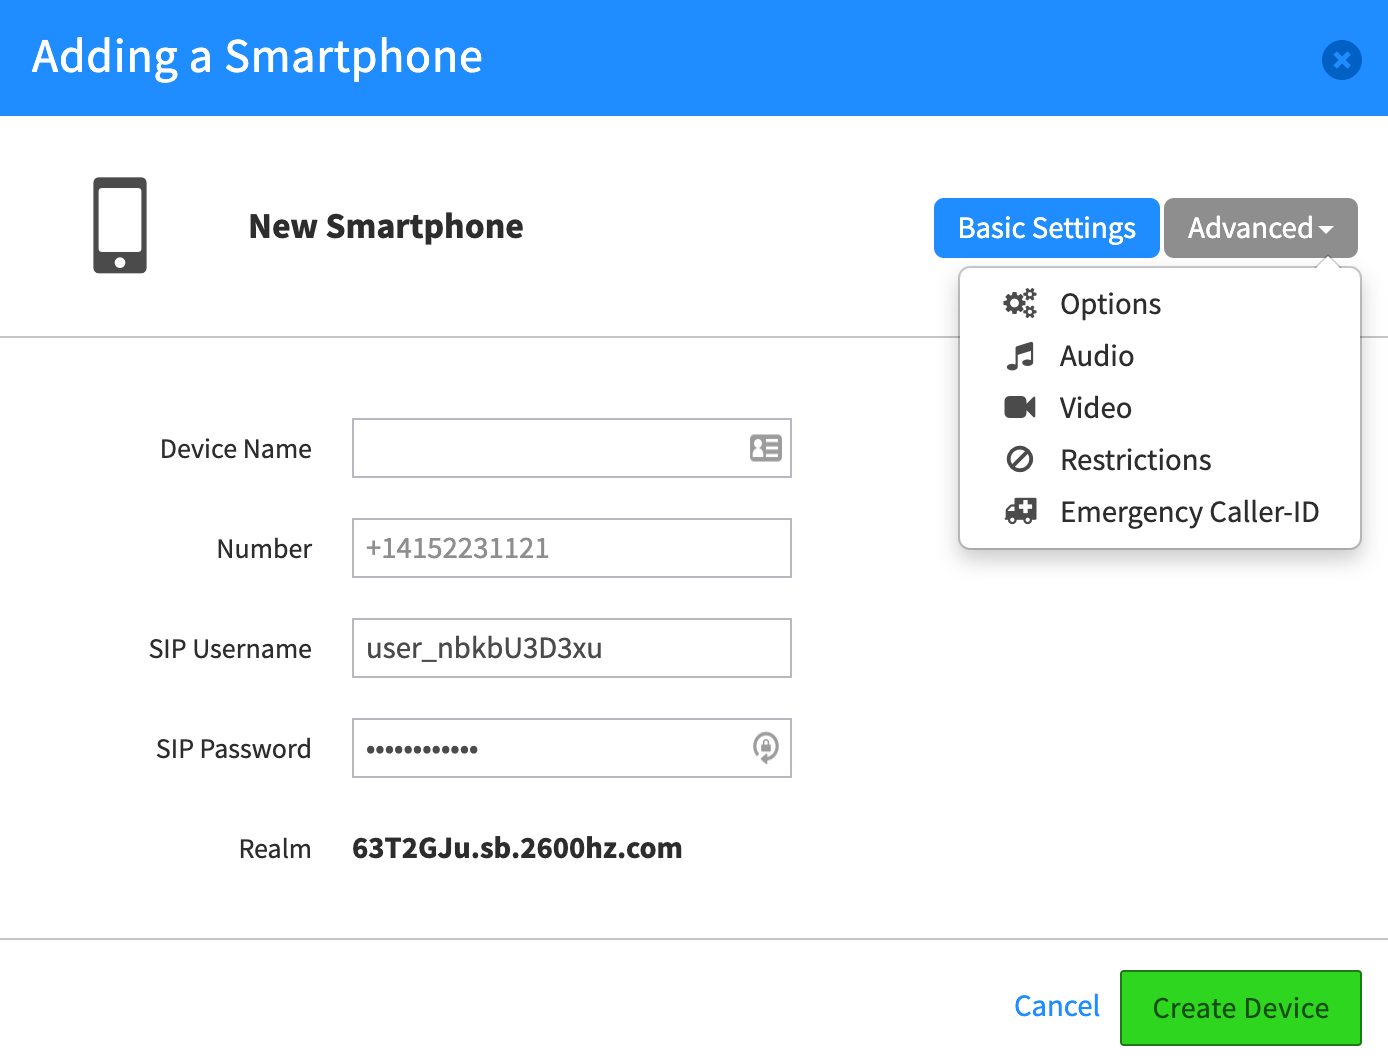
SAVE your new device!
Once it is added, you will see its icon in the devices area next to your name. Associate a device with its user in Callflows
We recommend you assign devices in SmartPBX as it has a newer user interface. Administrators with a programming background who use Callflows for advanced call routing can access the same settings within Callflows as shown below. 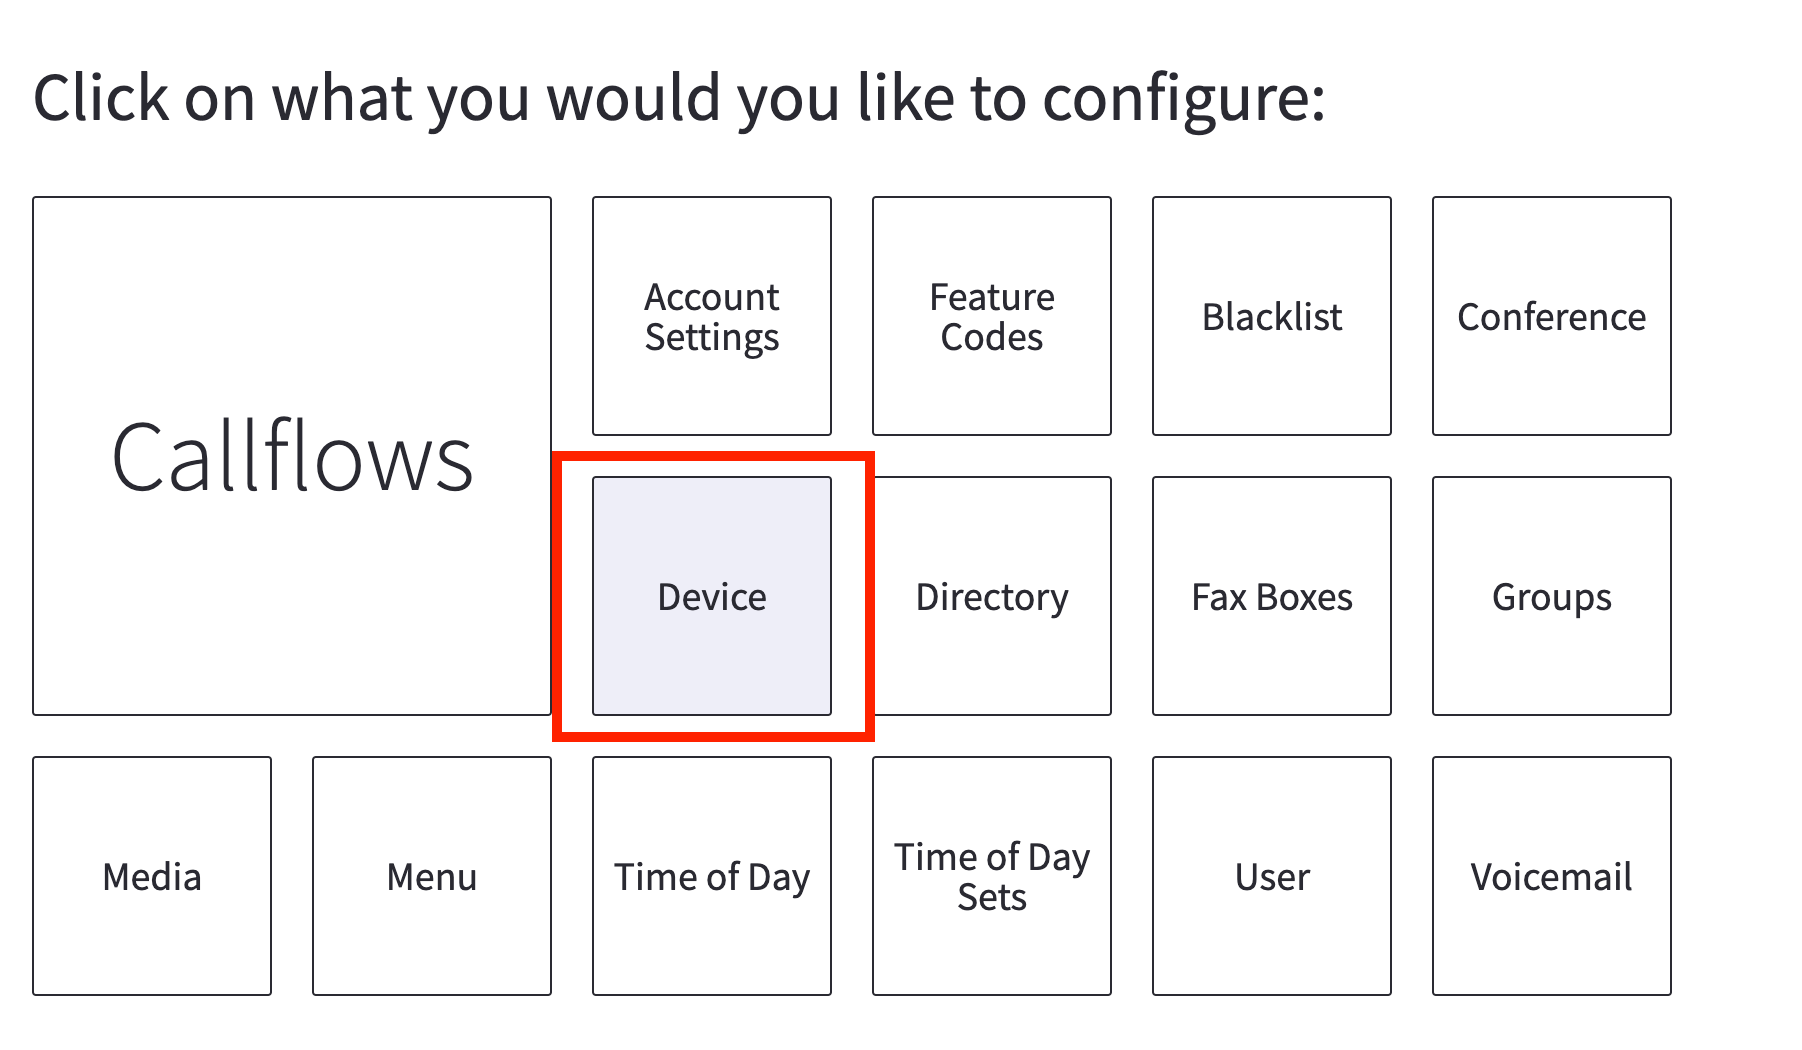
Select the user from your dropdown
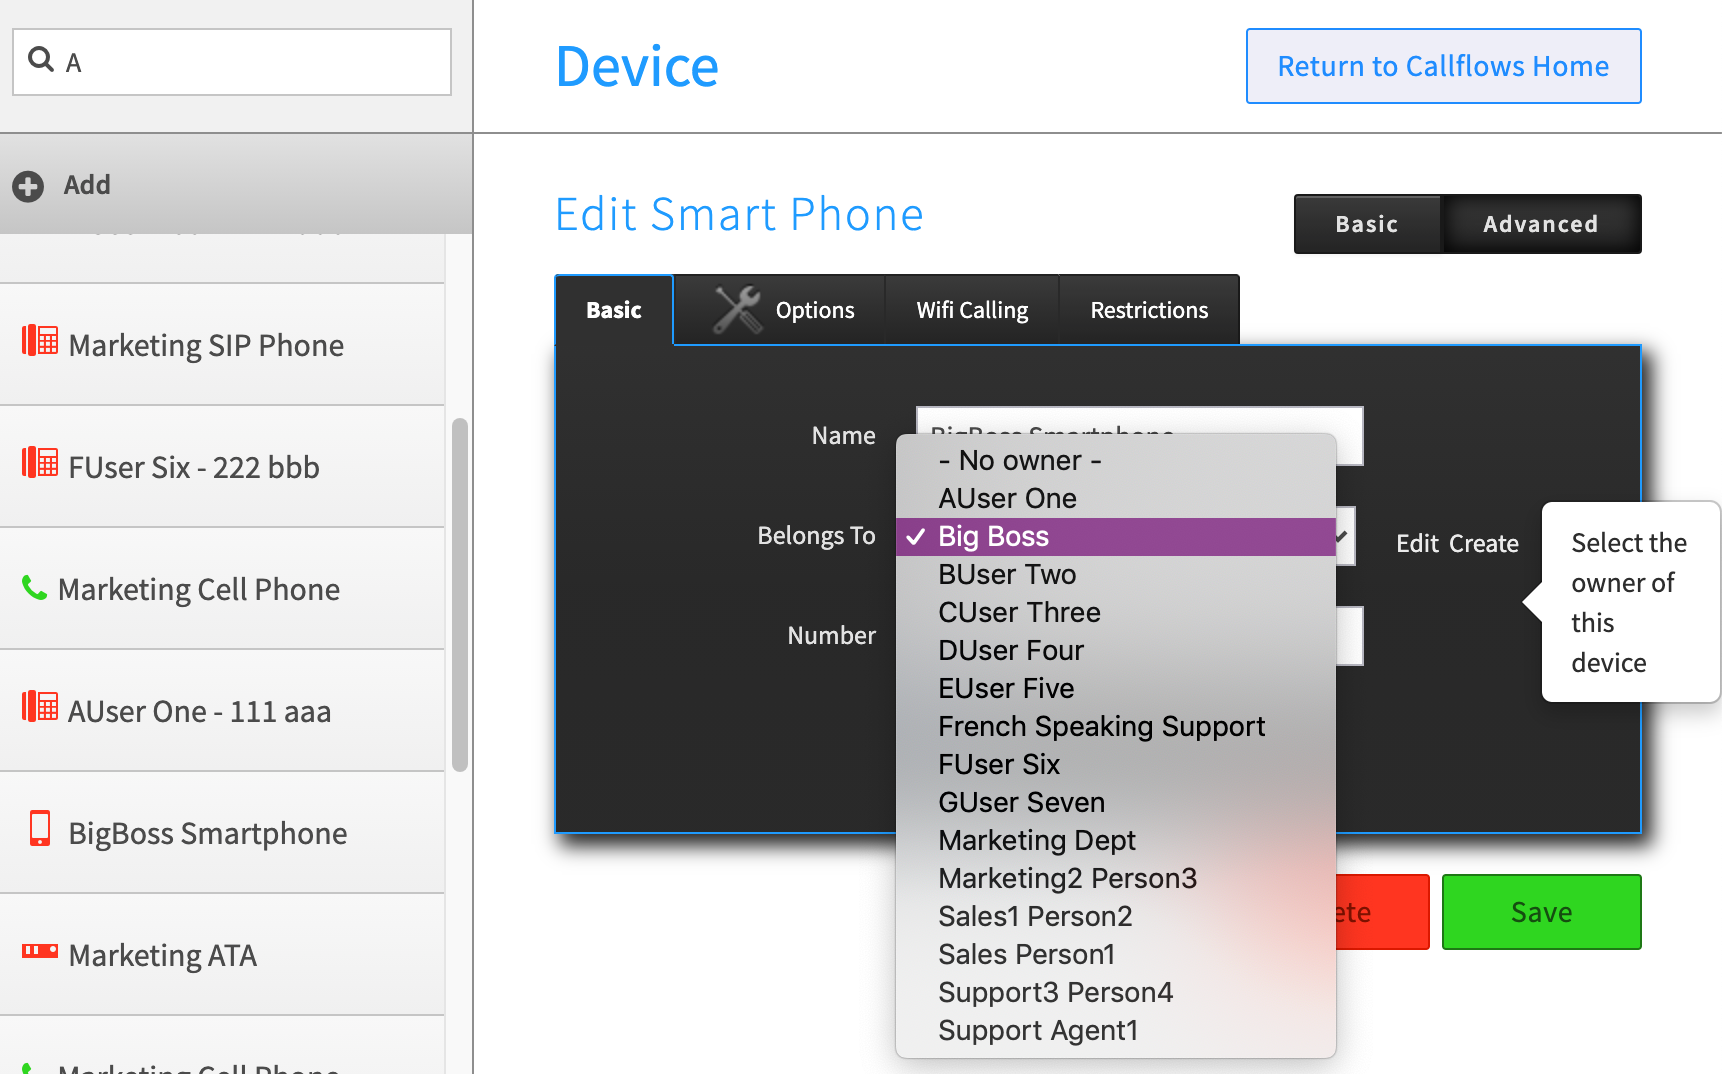
Once you assign the correct user,
make sure to check the “enabled” checkbox!
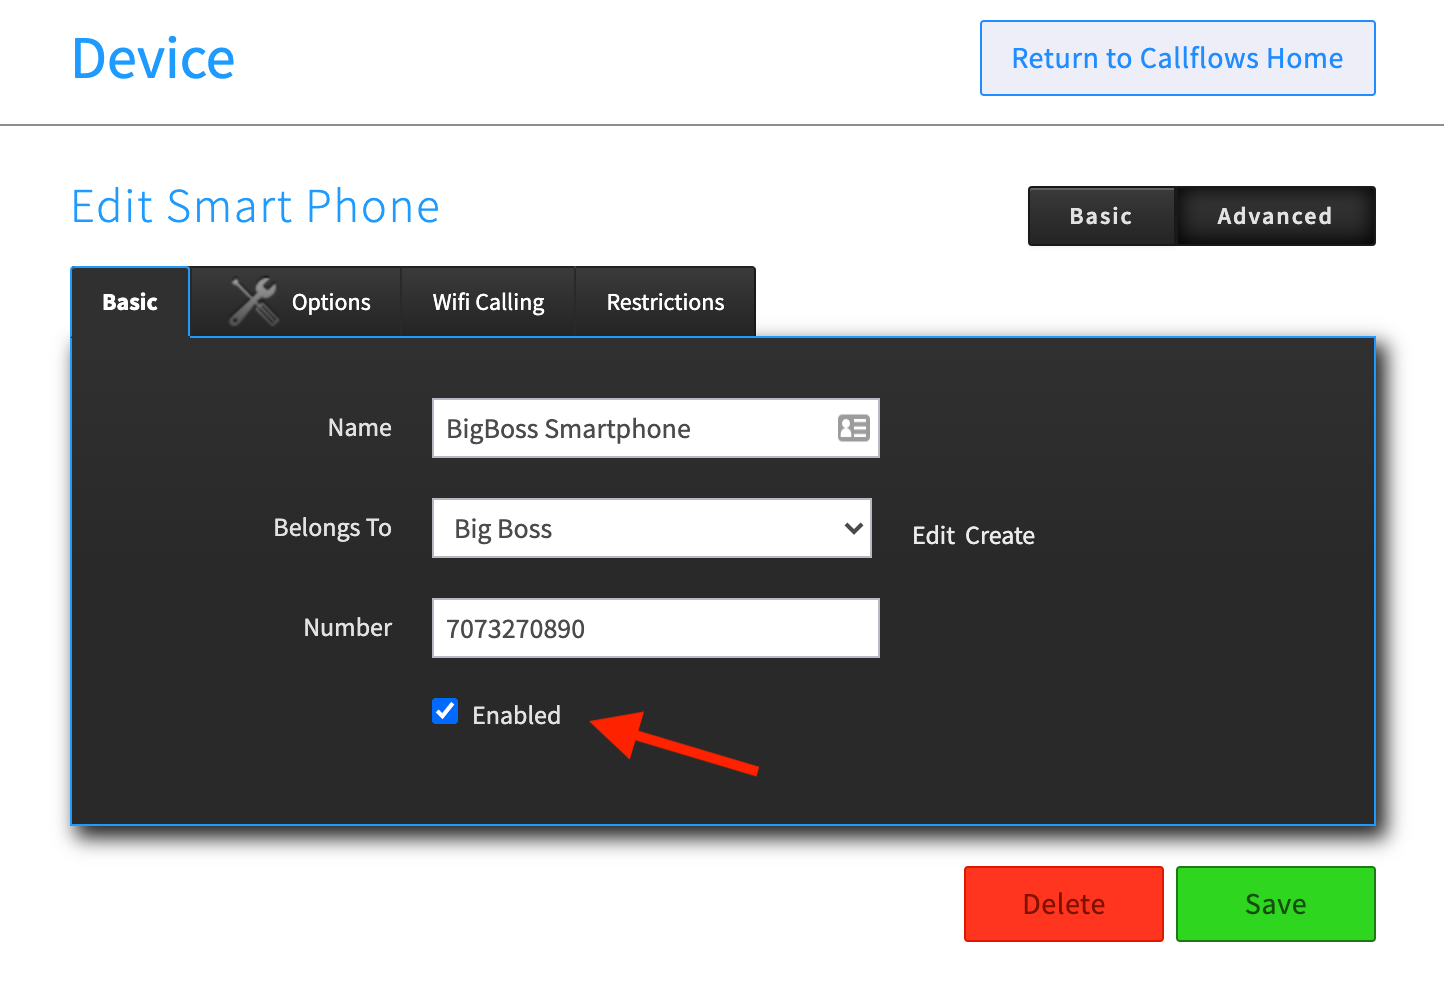
Review the additional settings tabs for both WiFi and Call Restrictions. Make sure an admin helps with these details.
Related Articles

|
|

|
SmartPBX Step Guide |
 |
|
API Reference Docs
####
Edited by Emily R (show revisions)






Recommended Comments
There are no comments to display.